0:00
Hey what's up guys Stephen Cults of Mac here and in this video I'm going to show
0:04
you how to use the free app Snapseed to tune your photos to best effect. So let's
0:09
get started. Snapseed is a free image editing app from Google that has some
0:13
fantastic editing tools to make any photo even better. So here's a quick
0:17
intro to these fantastic tools and how to make them tune your photos to best
0:21
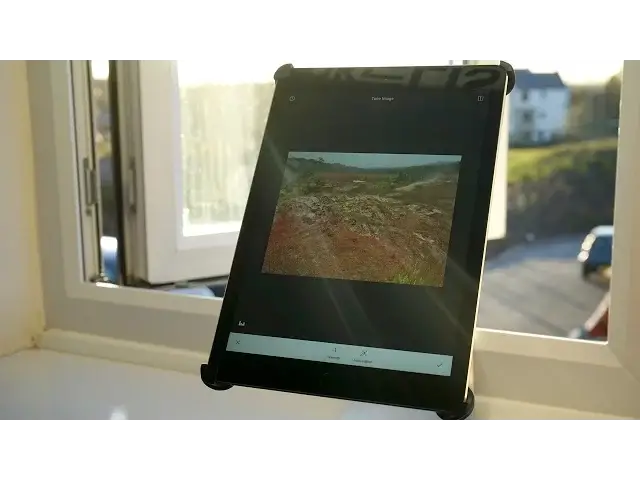
effect. Launch Snapseed then tap on open photo button in the lower part of the
0:25
splash screen. With your chosen photo up on the iPad screen tap the little pencil
0:29
icon in the lower right. Then choose the tune image tool to get down to it. If
0:34
this is the first time you've opened Snapseed you'll get a listless tutorial explaining that you can adjust the current setting which is brightness by
0:40
default by swiping across the screen left and right. If you swipe up and down
0:43
however you'll be able to choose one of the seven photo adjustments available. Brightness, ambience, contrast, saturation, shadows, highlights and warmth. Swipe
0:52
your finger and choose brightness to start. Swipe left or right to brighten or darken the entire image and stay at a subtle number between minus 10 and plus
1:00
10. Anything more or less is too much. Next try ambience. Swipe up to choose
1:05
ambience from the parameter list then adjust ambience with a swipe right or
1:08
left. Feel free to bump it up all the way to 30 or 35 if you want or heck just
1:14
slide around until your photo looks the way you like it. Using a negative ambience number will darken shadows and soften up lighter areas for some mood
1:20
Hop into contrast settings next and bump it up a bit to make shadows darker and
1:25
highlights brighter. Then try out the saturation slider. Colors get more vibrant as you slide to the right. You can slide all the way to the left to
1:31
make a gorgeous black and white image or just a little to the right to bring out the color in a photo. Don't do too much though as an overly saturated photo never
1:39
looks quite right. Use the shadow slider to bring in some more detail but again
1:43
don't overuse this one. The warmth slider is lovely for adjusting overall color
1:47
balance of the photo. It's called temperature in other editing apps and you'll be adding some orange overtones to warm up the photo or some blues to
1:54
cool it down. See what you can get with just small adjustments. With each of
1:57
these parameters you can also use the auto adjust tool near the bottom of the image. This lets the apps algorithms determine the specific adjustment
2:04
Finally to test out your edits against the original tap on the little preview
2:08
icon in the upper right. This will show you the original image before the
2:12
changes you made. Lift your finger up to see the edits. This is a great way to
2:16
really make sure you've made the changes you want to. Now you've got a simple free
2:20
way to tune your photos to the best effect right on your iPad with Snapseed
2:24
Well that's it for this video but if you've edited any photos using this
2:28
tutorial leave a link in the comments down below as I'd love to check them out
2:31
Also if you found this video useful go ahead and hit that like button as it
2:36
really does help me out and if you haven't already go ahead and hit subscribe so you don't miss a single video from Cult of Mac. I'll catch you in