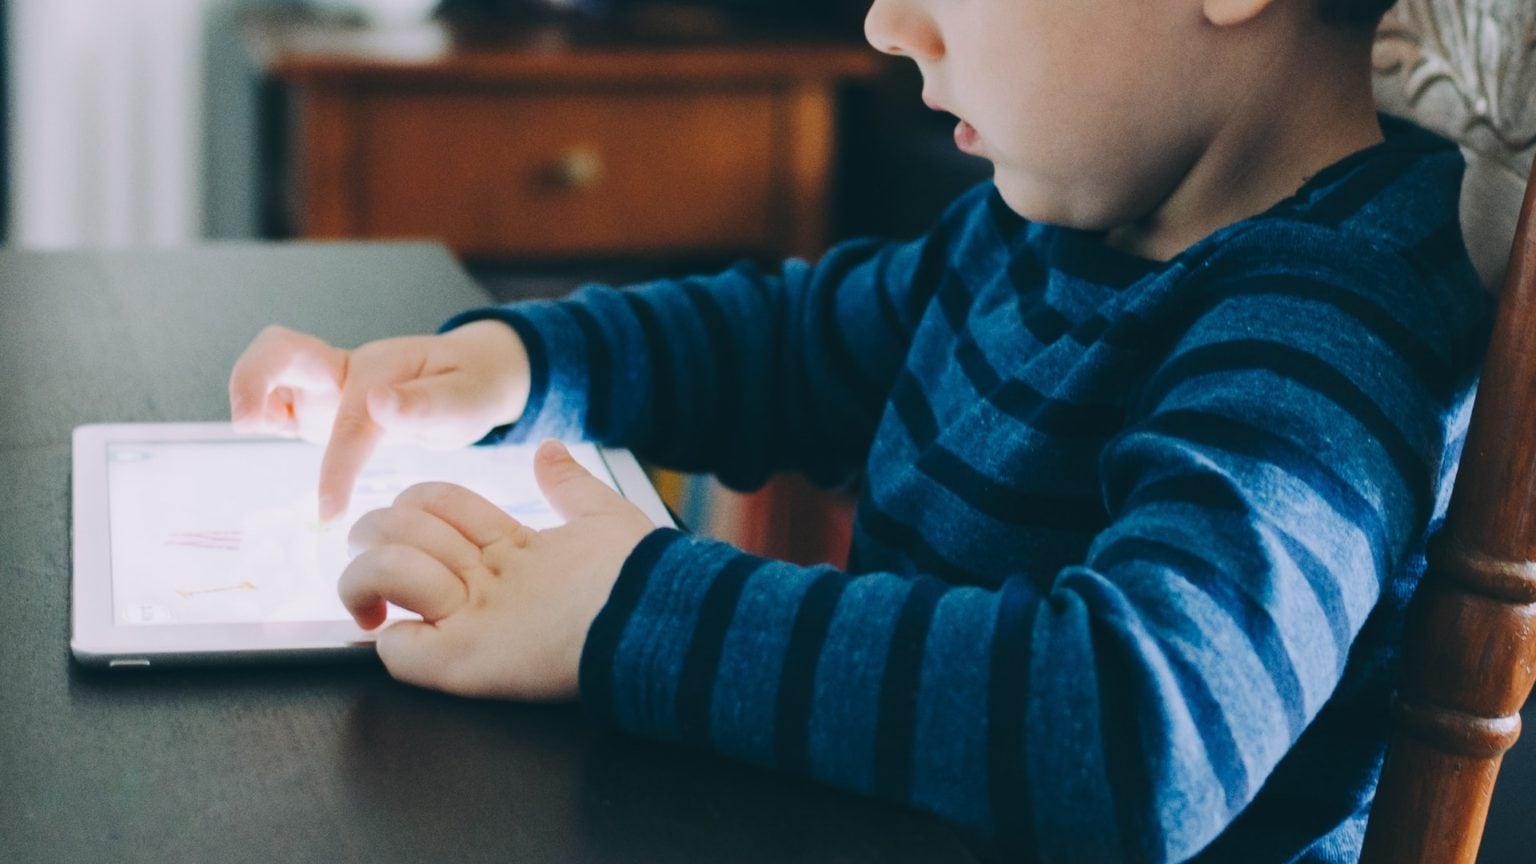
Don't let little ones have unlimited access to your devices. Photo: Kelly Sikkema
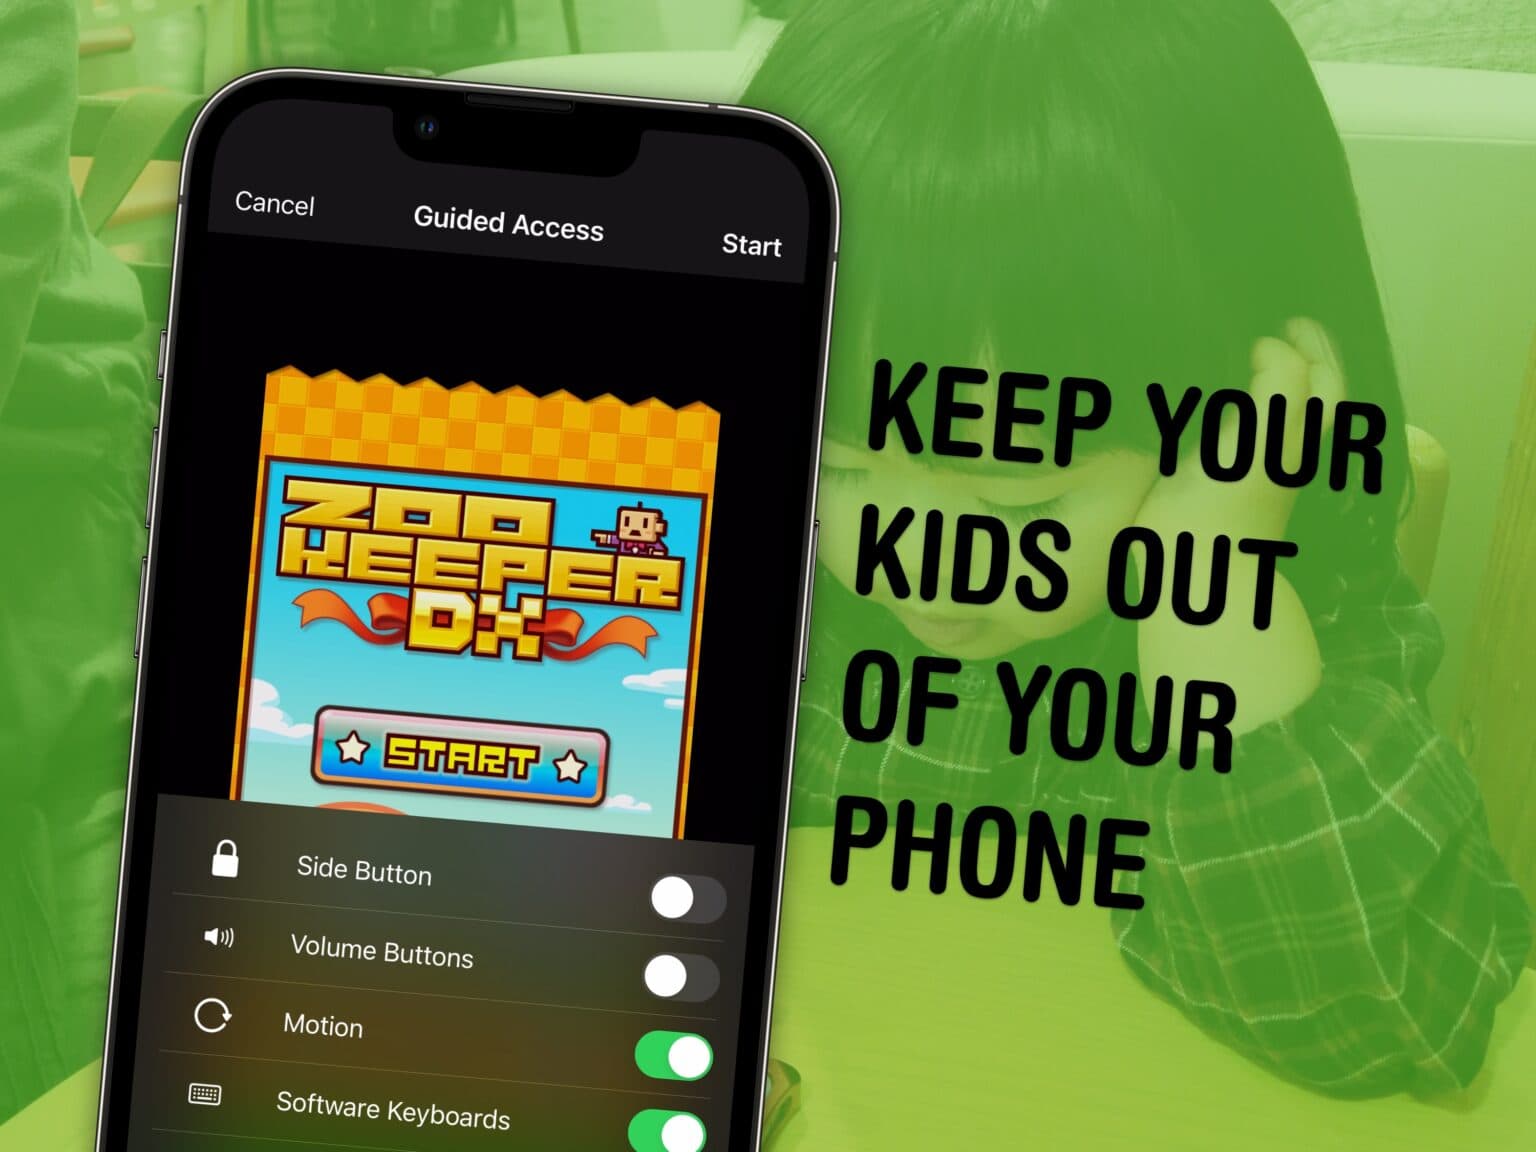
Worried your kids will get up to no good while using your iOS devices? Learn how to disable the touchscreen on iPhone or iPad so that your little ones can watch their favorite videos without accessing other apps and features.
Peek-a-View lets you limit a photo album to be view-only. Photo: Ian Fuchs/Cult of Mac
If you’ve ever found yourself showing other people pictures on your phone, you’ve probably also been trying to micromanage what they can and can’t see. And, if you’re a parent of a young kid, it’s likely that you’ve let your child look through a photo album on your device. In that case, you’ve certainly been worried about their ability to delete or accidentally modify an image.
There are ways to limit what a person — or child — can or can’t get to on your device through the Guided Access settings in iOS. But nothing is as simple as using a new iOS app called Peek-a-View to lock down your photos.
Photos were much simpler in the old days. Photo: Charlie Sorrel/Cult of Mac
I hate my friends. I want to show them a photo, or that screenshot I took of those cute otters, and all they can do is take one look, and then swipe off into the rest of my photos. And trust me, you don’t want to know what I have lurking back there. And I also hate myself, because I do the exact same thing without thinking. It’s human nature.
Some apps let you load up a few photos to show to other people, so they can’t pull back the virtual shower curtain and peek at your private photos. But these require that you do extra work to prepare them.
Happily, iOS offers a way to lock down a single image. That way, when you hand your iPhone or iPad over to a friend, or anyone else, they can’t swipe to other photos. In fact, they can’t do anything at all, because you’ve locked the whole touchscreen. Best of all, you can toggle this on and off in a second.
Guided Access can avoid embarrassing mistakes. Photo: Charlie Sorrel/Cult of Mac
The iPad’s main trick is that it disappears when you launch an app. Fire up a piano app, and your iPad becomes a piano. Launch YouTube and it turns into a TV for pacifying children. This is part of the magic of the iPad, but it’s not quite perfect. Kids can easily leave YouTube and start reading your sexts instead. And a musician might accidentally trigger a gesture while playing on those virtual piano keys, finding themselves back at the home screen in the middle of a performance.
What you need is kiosk mode, aka Guided Access. This locks the iPad into a single app, and disables the hardware buttons. And it’s equally good for keeping you in one app, or keeping people out of all the others.
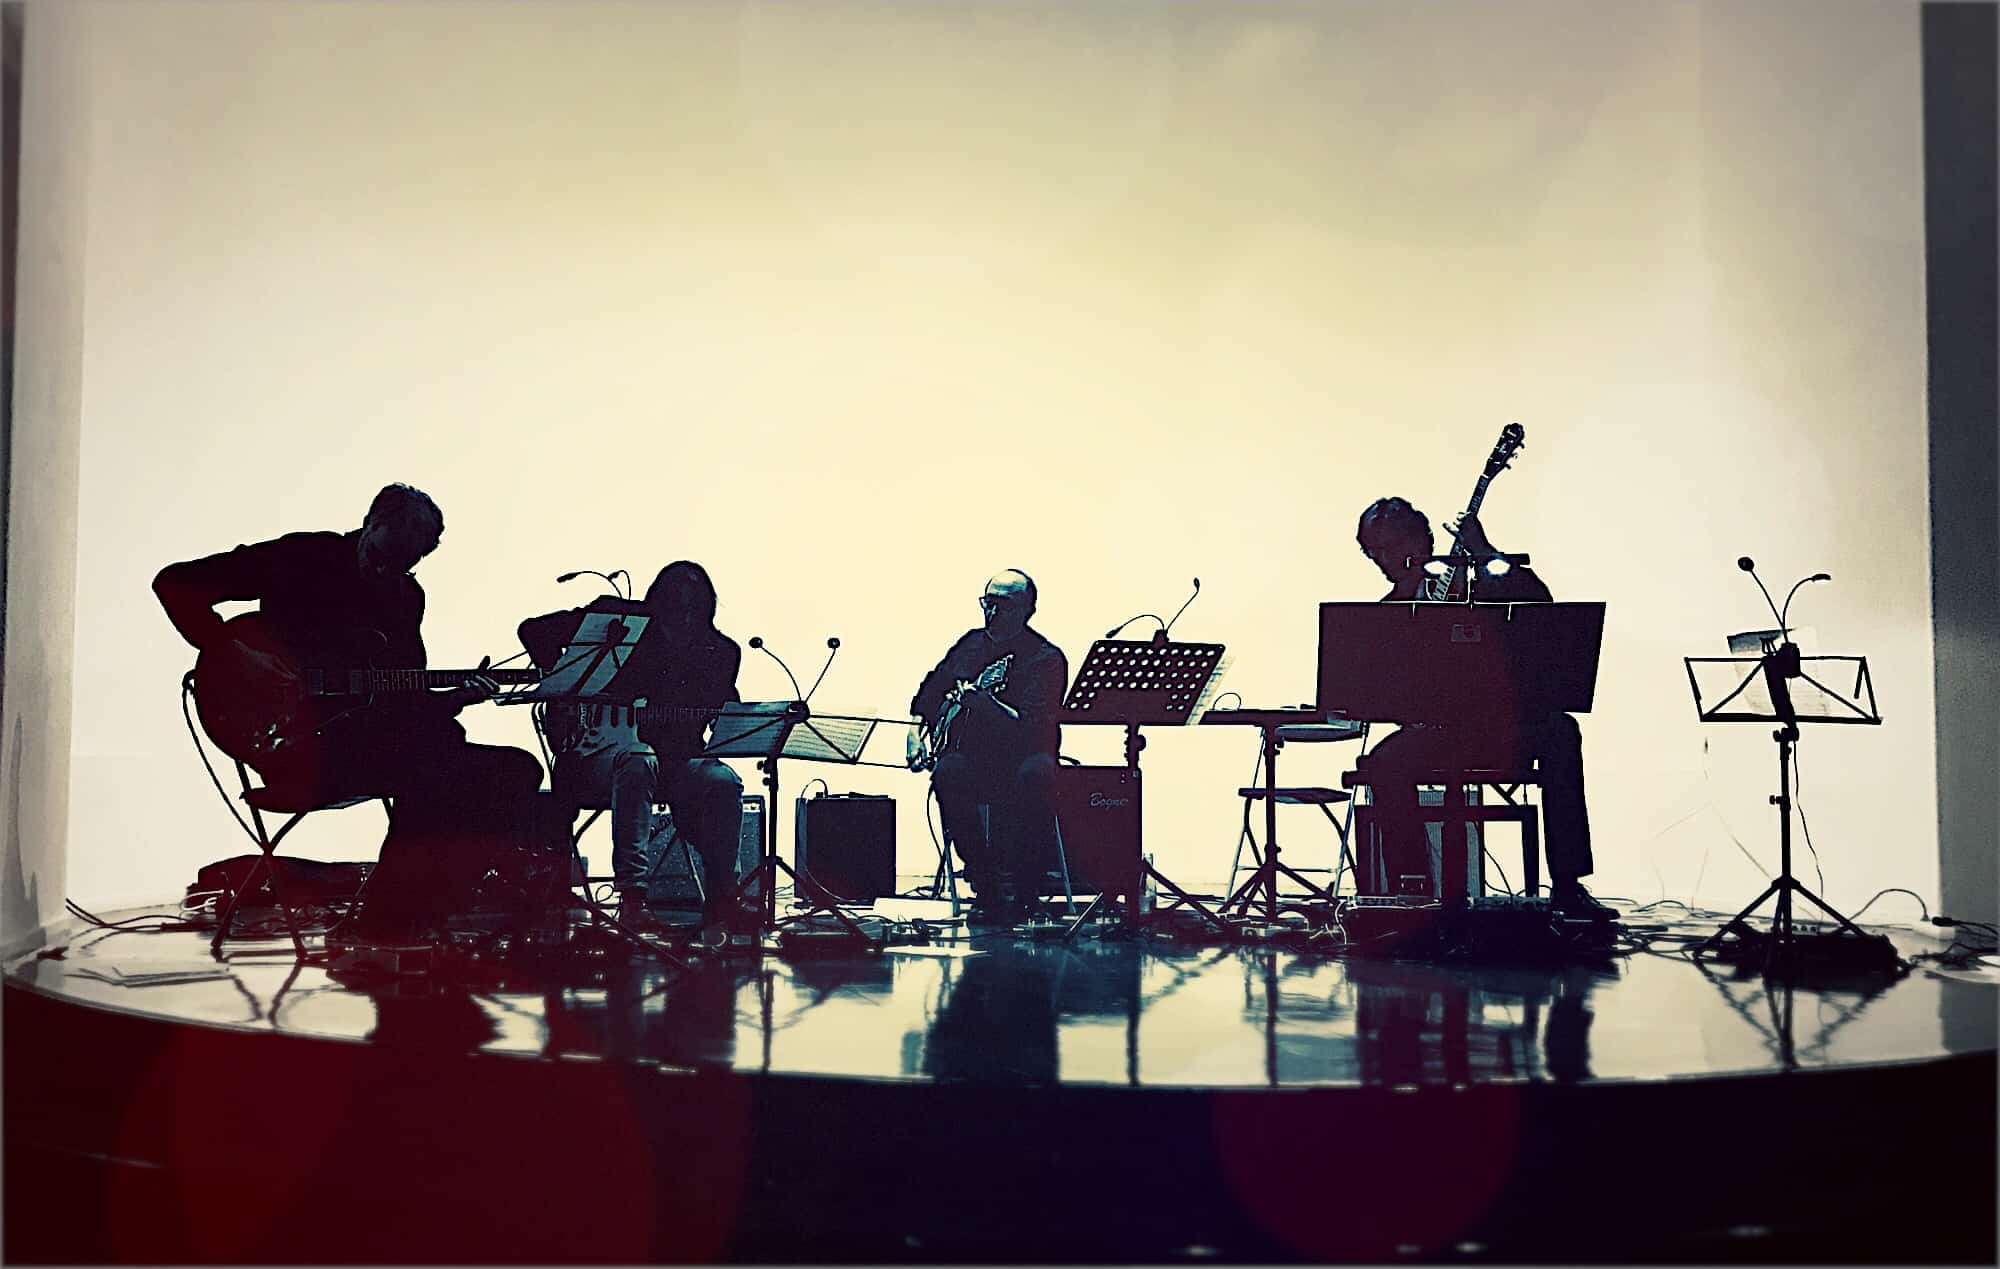
Stage performers don't want their iPads launching Facebook mid-show. Photo: Charlie Sorrel/Cult of Mac
Apple’s iOS accessibility features might be hidden away in the Settings app, but they are useful for everyone. For instance, Guided Access lets you lock your iPhone or iPad so it can use only one app, and you can even disable parts of the screen just by drawing on them. This is handy for giving the iPad to kids, or to people with impaired motor skills, but it is also fantastic for stage performers. A musician, for instance, might be using the iPad to produce or process their sound. The last thing you want to do in the heat of a performance is to accidentally do a four-finger swipe and end up on your Facebook page.
Today, then, we’ll see how to use Guided Access to keep your iPad safe on stage, but the same tips apply if you’re deploying an iPad as a cash register in your coffee shop, or as an information point at an exhibition.
Accessibility is a priority to the designers and engineers at Apple. They have built some amazing software right into each operating system, from OS X to iOS, all for no etra charge and no need to add extra programs on to be able to use the products if you have a visual, hearing, motor, or cognitive disability.
But if you don’t have a disability (yet–we’re all just a lucky step or two away), you can take advantage of these systems for yourself or other family members.
We’ve all done it. Passed our beloved iPhone handset to a young child or clumsy friend, in hopes that they’ll play a game for a bit and let the grownups continue drinking talking. Then the youngster in question ends up hitting the Home button, dropping into that secret stash of photos, or looking at our web history. Or even worse, playing some splatter-horror game that you forgot was even on the dang thing.
Guided Access is part of iOS 6’s accessibility options, but it can be useful for folks without the need for that specific adaptation. Here’s how to enable it for use.
We’ve all done it. Passed our beloved iPhone handset to a young child, in hopes that they’ll play a game for a bit and let the grownups continue drinking talking. Then the youngester in question ends up hitting the Home button, dropping into that secret stash of photos, or looking at your web history. Or even worse, playing some splatter-horror game that you forgot was even on the dang thing.
Guided Access is part of iOS 6’s accessibility options, but it can be useful for folks without the need for that specific adaptation. Here’s how to enable it for use.
Apple is heavily promoting accessibility features in iOS 6.
With every iteration of iOS, Apple provides more and more accessibility features to its users to make iOS devices open to more people than ever before. iOS 6 includes something big. Guided Access is essentially a tool that allows you to restrict certain areas of your screen and physical buttons in order to make the device easier to use for someone with a disability, or for younger children.
Guided access can even be used in the classroom, to stop children from exiting the current app while taking a test. It’s a really neat feature, and in my opinion, one of the most overlooked. With iOS 6 beta 2, the feature is finally functional, so in this video I’ll show you how it can work.