100 Tips - page 2

100 Tips #29: What Is That Button In The Top-Right Corner Of Every Window?

By

20100916-toolbarcontrol.jpg

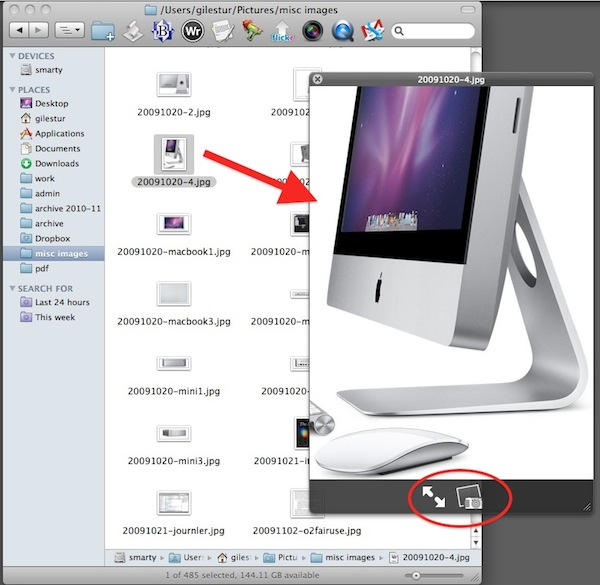
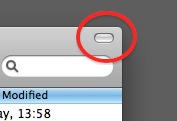
Look at this button in the top-right corner of a Finder window. Ever wondered what this is for?

It’s called the “toolbar control button” and you’ll see it all over the place in OS X. It lives in the top-right corner of an application or document window.

But what does it do? Simple: it hides the toolbar from view. The toolbar is that strip across the top of the window where buttons and controls live. You can choose to leave it there all the time, or you can reclaim that screen space by getting it out of sight. That’s what this button is for.

Let’s look at an example.
100 Tips #28: How Do I Defrag My Mac?

By

20100913-defrag.jpg
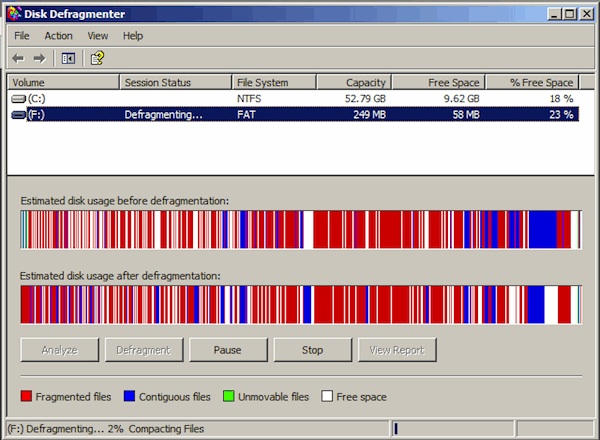
Image by mixlass, used with thanks under CC license

You don’t.

There’s no need to. The OS X filesystem is designed to look after files properly in the first place, so that’s one thing you don’t have to worry about.

Sometimes – not often, but sometimes – you might hear your computer’s hard disk whirring for no apparent reason. Among other things, that could be the system looking after itself – moving stuff around on the disk so that there’s no need for you to actually sit down and click a button marked “defrag.”

If you want to know more about the technical ins-and-outs behind this, go read this Apple support document. As it points out, there’s no need to defrag your disk, and even if you download a third party defragging application and run it, you probably won’t notice any difference.

Save yourself the trouble, and spend your not-defragging time doing something fun on your computer instead.

(You’re reading the 28th post in our series, 100 Essential Mac Tips And Tricks For Windows Switchers. These posts explain to OS X beginners some of the most basic and fundamental concepts of using a Mac. Find out more.)

100 Tips #26: What Are Stacks?

By

20100906-stack-fan.jpg

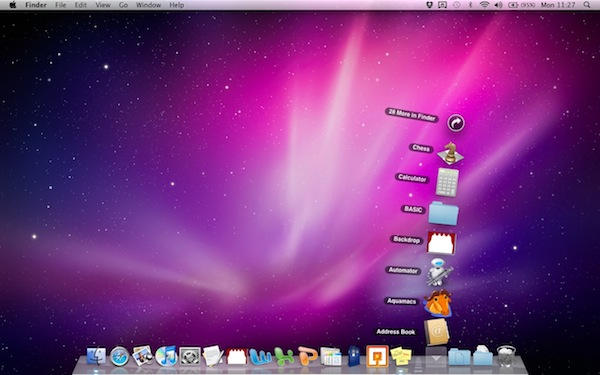
Back in tip number 5, we had a look at how the Dock is laid out. Application shortcuts are on the left, folders on the right.

It’s pretty clear what the shortcuts do: they open an app for you. If it’s already open, they switch you to it. You can change which ones stay in the Dock all the time, so that you’ve got quick access to the applications you use most often. But what happens with the folders on the right, and how do they work differently?

The idea with folders in the Dock is to make it easier to get to what’s inside them. When they’re in the Dock, they’re known as “stacks”.

100 Tips #25: What’s The Mac Equivalent Of File Properties?

By

20100825-getinfo1.jpg

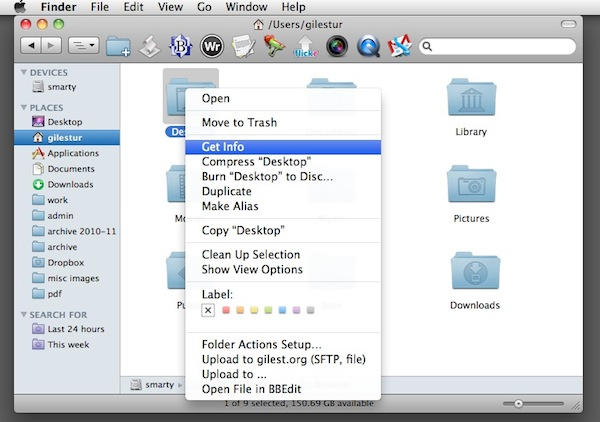
On Windows, you might have got used to right-clicking on a file and clicking “Properties” to see the meta information about the file itself – such as its size, and so on.

On Mac OS X, you can do the same thing by choosing the “Get Info” command.

You can get to it in a variety of ways:

  1. Select the file in a Finder window, and hit Command+I
  2. Select it, and click on the File menu, then Get Info
  3. Select it, then click the Action button in the Finder toolbar, and choose Get Info
  4. Control-click or right-click on it, and click Get Info from the popup list

100 Tips #23: How To Control Which Apps Open Automatically When You Log In

By

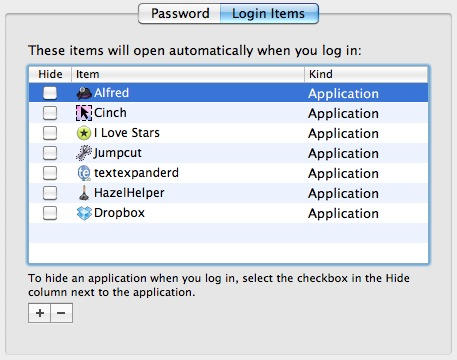
20100816-loginitems.jpg

Every time you log in to your user account, you’ll have to wait while a handful of applications and background processes get themselves started.

Finder, for example, has to start running – otherwise you won’t get very far. On a brand new Mac you won’t find a lot of things running as well, but as time goes on and you add more software to the basic system, you might want to make some changes and decide exactly which apps run at log in.

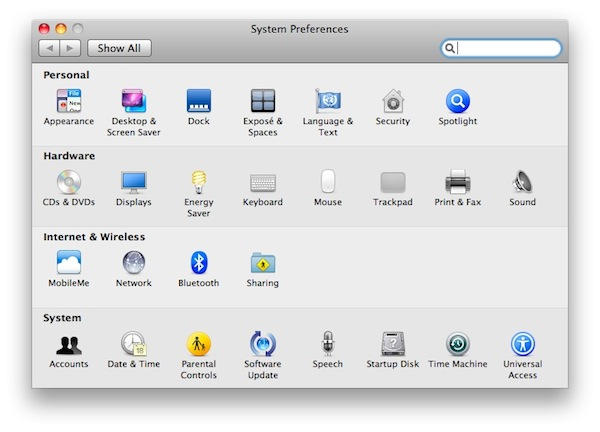
There’s a place to do that in System Preferences, but it’s not immediately obvious exactly where.

100 Tips #22: Hold Down Option For More… Options

By

20100812-optionsymbol.jpg

This is the Option symbol, which you’ll see quite a lot of as you use Mac OS X.

Depending on the age of your Mac or your keyboard, the key itself might have all sorts of different things on it. It might just have the option symbol. It might have the word “Alt” on it, or the word “Option”; or both; or some combination of one of those words and the symbol.

This can make things confusing for newcomers. To make it easier, remember that Option = Alt = ⌥, and that the key you need is adjacent to the Command key.

Just as the Mac Command key is similar to the Windows Control key, so the Mac Option key is similar to the Windows Alt key, or the AltGr key. Hold it down while pressing other keys, to make them do different things. It’s a modifier.

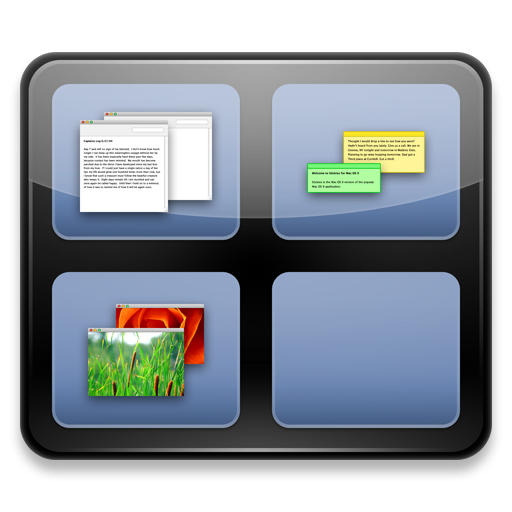
100 Tips #18: How to use Spaces

By

post-50129-image-800c1cb1d3bb08a8758f55f1b164e38a-jpg

(Yes, this is tip #18 and it’s appearing out of order – that’s my fault, because I wrote it then forgot to post it. Apologies to all. Now without further ado…)

Spaces is Apple’s implementation of an old idea known as virtual desktops. You might have used virtual desktop software on your PC.

It’s pretty self-explanatory. With Spaces active, your computer suddenly has a bunch of virtual screens hovering in mid-air around your monitor. You can switch between them with a keyboard shortcut or a mouse command, and make it seem like you have much more screen space available than you actually do.

100 Tips #21: How To Save PDF Files

By

default100tips.jpg

If Apple were interested in marketing their computers to people who live just to print, they’d probably use a slogan like: “Macs: PDF everywhere.” Or something.

Because it’s true. The ability to turn anything that’s printable into a PDF file is built right in to the OS X operating system. And it’s easy to get to from anywhere.

100 Tips #20: Cutting & Copying Files

By

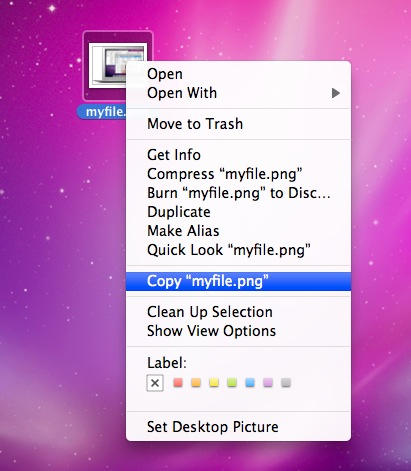
20100630-copypaste.jpg

On Windows, it’s easy to cut and paste files and folders between locations; but that’s one of the first things people notice missing from Mac OS X.

The Windows system works just like cutting and pasting text or pictures inside a document, which is why it’s so popular. People understand what’s happening when hit the “cut” command and the file disappears – they know it hasn’t been deleted, but that it’s gone to the clipboard, ready to be pasted elsewhere.

On OS X, things work differently. In short, there is no built-in way of “cutting” a file to the clipboard. But you can copy stuff.

100 Tips #19: What Are Smart Folders?

By

post-48911-image-b94913c079961f7a7f21e67e279c687f-jpg

A normal folder is simple; it’s a thing you store files in. You choose which files are there, you have complete manual control over what’s inside that folder.

A smart folder is one whose contents are partly or completely determined by a set of rules that you’ve created.

To set up a Smart Folder, make sure you’re in Finder and then select File -> New Smart Folder. You’ll see a Finder window appear, but it’s slightly different to normal ones.

100 Tips #16: How To Get By Without The Start Menu

By

default100tips.jpg

One thing a lot of Windows users miss is the Start Menu. How do you find your way around a Mac without a Start Menu to help?

If you stop to think about it, the Start button is a visual aide-memoire; you click on it to start the process of figuring out where to go next. If you’re looking for a particular file, you can navigate to it using the default locations listed in it. And if you want to open a particular piece of software, the likelihood is that you’ll find it there too. The Start button is there for you to click on when you don’t know where else to begin. No matter what you want, you can find it (eventually) from the Start button.

Unfortunately for switchers, Mac OS X doesn’t really have a single button that completely replaces Start. But I can suggest a couple of alternatives.

100 Tips #10: How To Quickly Switch Between Apps

By

default100tips.jpg

Some of our previous tips have guided you around the Dock, but you might not always want to use that.

Sometimes, you just want to quickly flit between applications, and constantly taking your hands off the keyboard to use the mouse or trackpad can be annoying.

This tip shows you a quick way to switch from one app to another, without taking your hands off the keyboard at all.

100 Tips #9: The Geography Of Finder Windows

By

20100413-findergeog.jpg

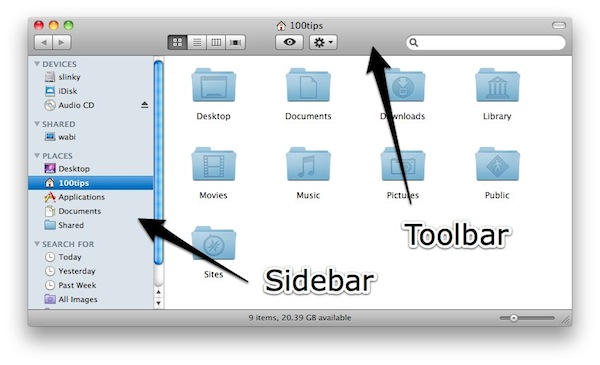
We’ve looked at the Dock, and we’ve looked at the Menu Bar. Today we’re taking our first look at Finder.

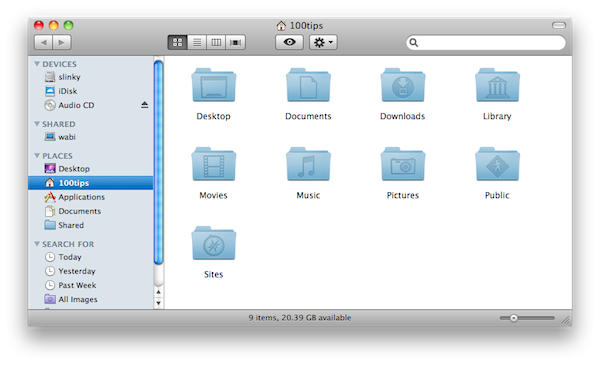
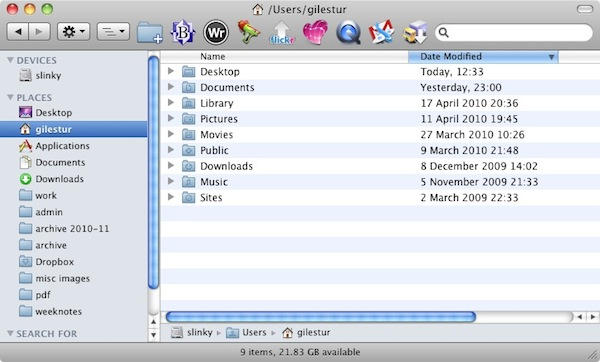
This is what you’ll see when you first start to use Finder in Mac OS X. Broadly speaking, it does the same job as Windows Explorer, but it does many of those things in different ways.

Before we go into any more detail (which we will, in forthcoming tips), it helps to understand the layout of a Finder window.

100 Tips #8: How To Use Exposé

By

default100tips.jpg

Exposé is a system built into Mac OS X, designed to help you find your way around windows and applications more easily.

When you have a lot of different windows cluttering up your screen, it can be hard to locate the exact one you want. Exposé makes it easier by momentarily displaying all of them, shrunk down a little so that they will all fit into view.

100 Tips #5: Understanding The Dock’s Split Personality

By

default100tips.jpg

The Dock is a weird beast. Even long-term Mac users will tell you that. Quite a lot of them don’t even like it, because it’s a bit of a mish-mash. It’s a launcher, but it’s also a switcher. It can be used for storing shortcuts to files and folders, and it can be used to store minimised windows. Sometimes it flashes up status messages from applications, too.

It can get a little busy.

So then. The Dock you get when you first start up your Mac will look broadly similar to this:

20100325-defaultdock.jpg

Each icon represents an application. If you want to use a particular application, you click on its icon.