live_tv
Livestream Starting Soon
00
Hours
:
00
Minutes
:
00
Seconds
Up next in 10


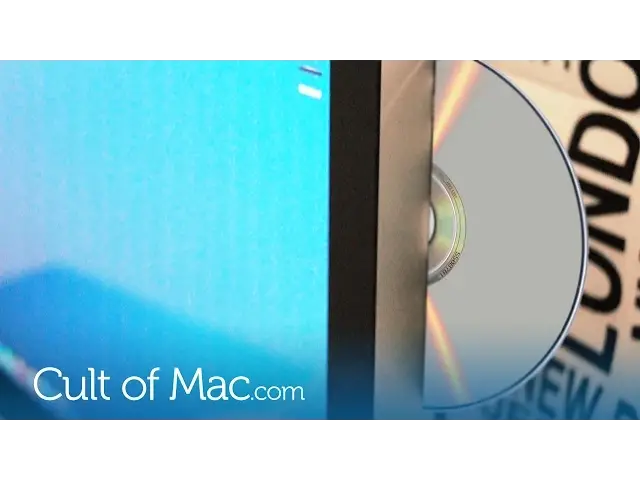
Sometimes a disc can get stuck inside your beautiful Mac. But there are some simple methods to sort this problem. Check out this video to find out how!
Make sure to subscribe to Cult of Mac!
Show More Show Less View Video Transcript
0:00
Sometimes, a disk can get stuck inside your beautiful little Mac. But, there are a few
0:08
easy ways to combat this. So, let's get started. There are a couple of ways to remove a stubborn disk from a Mac drive. And, I'm taking into
0:20
account that you've already tried hitting the eject button or dragging the disk icon
0:24
into the trash. Firstly, try pressing Command and E. It's not too different from pressing the eject
0:29
button, but it's definitely worth a try. You can also eject disks from certain apps
0:34
such as iTunes. So, make sure to try that as well before we go any further
0:39
The second method is to restart your Mac and, after the chime, press and hold down the left
0:44
mouse button until the disk ejects. Has that not worked? No problem
0:51
The next method is to use Terminal. You can find Terminal within your Utilities folder
0:56
within Applications. Or, if you're running Yosemite, you can hit Command and Spacebar
1:00
to open Spotlight. Or, you can click the magnifying glass found at the top right of your screen
1:05
Once Terminal is open, we need to type in the following commands. Either
1:10
forward slash user, forward slash bin, forward slash drutil eject or drutil eject. Again
1:18
it's worth giving these both a try. If you're still stuck with your favourite film or album, inside your shiny Apple computer
1:24
the fall is not lost. You can try to physically eject a disk from your Mac. But, we do need
1:28
to be really careful as this can damage the disk drive within. If you are scared of this
1:33
your best bet may be to take it to an Apple store. The most common way to physically eject a disk is done by using a thin card or piece
1:40
of paper. Or, sometimes even a credit card can do the trick
1:44
Carefully push the disk further into the drive with something like a business card or folded
1:47
paper. It's common for Macs not to read the disk because it's got stuck before being fully
1:51
inserted. If this hasn't worked for you, you can sometimes eject it pushing a thick
1:56
piece of paper against the disk for a couple of seconds. This can work as it stops the
2:00
disk from spinning and forces the computer to eject it. Last, but not least, if you're using a MacBook, you may have noticed a small hole next to
2:07
your drive. This is almost like what you find on an iPhone to eject your SIM tray. Firstly
2:11
shut down your Mac to ensure no damage is caused to the tray or disk. Using either an
2:15
unfolded paper clip or even your SIM eject tool from your iPhone, press into the hole
2:21
And your disk should have ejected. So there you have it. Hopefully the problem has been sorted and you've released the disk
2:27
from the jaws of your Mac. Until next time, leave a comment down below to let me know
2:32
if you've got any other tips or maybe you've got another Apple related problem. Also, hit
2:37
the subscribe button so you don't miss a single video from Cult of Mac for more like this
2:40
and much more. I'll see you next time
#Consumer Electronics
#Other