The Mac offers a lot of options for taking screenshots without installing any third-party apps. You can take a screenshot of the entire screen, get a clean image of a specific window or select specific areas to capture.
There’s also a built-in way to take a video of your screen and even record a voiceover from your microphone, headset or AirPods.
We’ll show you various ways to take screenshots on Mac, so you can decide what’s best for your needs.
How to take Mac screenshots
As mentioned, Apple gives you a lot of options — and a lot of control — over how you take Mac screenshots.
If you have the free Screenshot app that comes with recent versions of macOS, that’s probably the best way with the most capabilities for getting the exact image or video you want. But we’ll also show you how to quickly use Mac keyboard shortcuts for screenshots and screen recordings or use the built-in QuickTime Player to capture your Mac’s screen.
- Use the Mac’s Screenshot app
- Use Mac keyboard shortcuts.
- Capture a screen recording with QuickTime Player.
Select your options in Mac’s Screenshot app

Screenshot: D. Griffin Jones/Cult of Mac
You can open the Screenshot app in one of three ways:
- From Launchpad.
- By pressing Shift-Command-5 (⇧⌘5)
- By pressing Command-Space (⌘_) and searching for it.
The Mac’s Screenshot app comes installed with macOS Mojave 10.14 or newer. (Go to the Menu > About This Mac to see what version you’re running. If you do not have the Screenshot app, skip to the section below to take a screenshot using Mac keyboard shortcuts.)
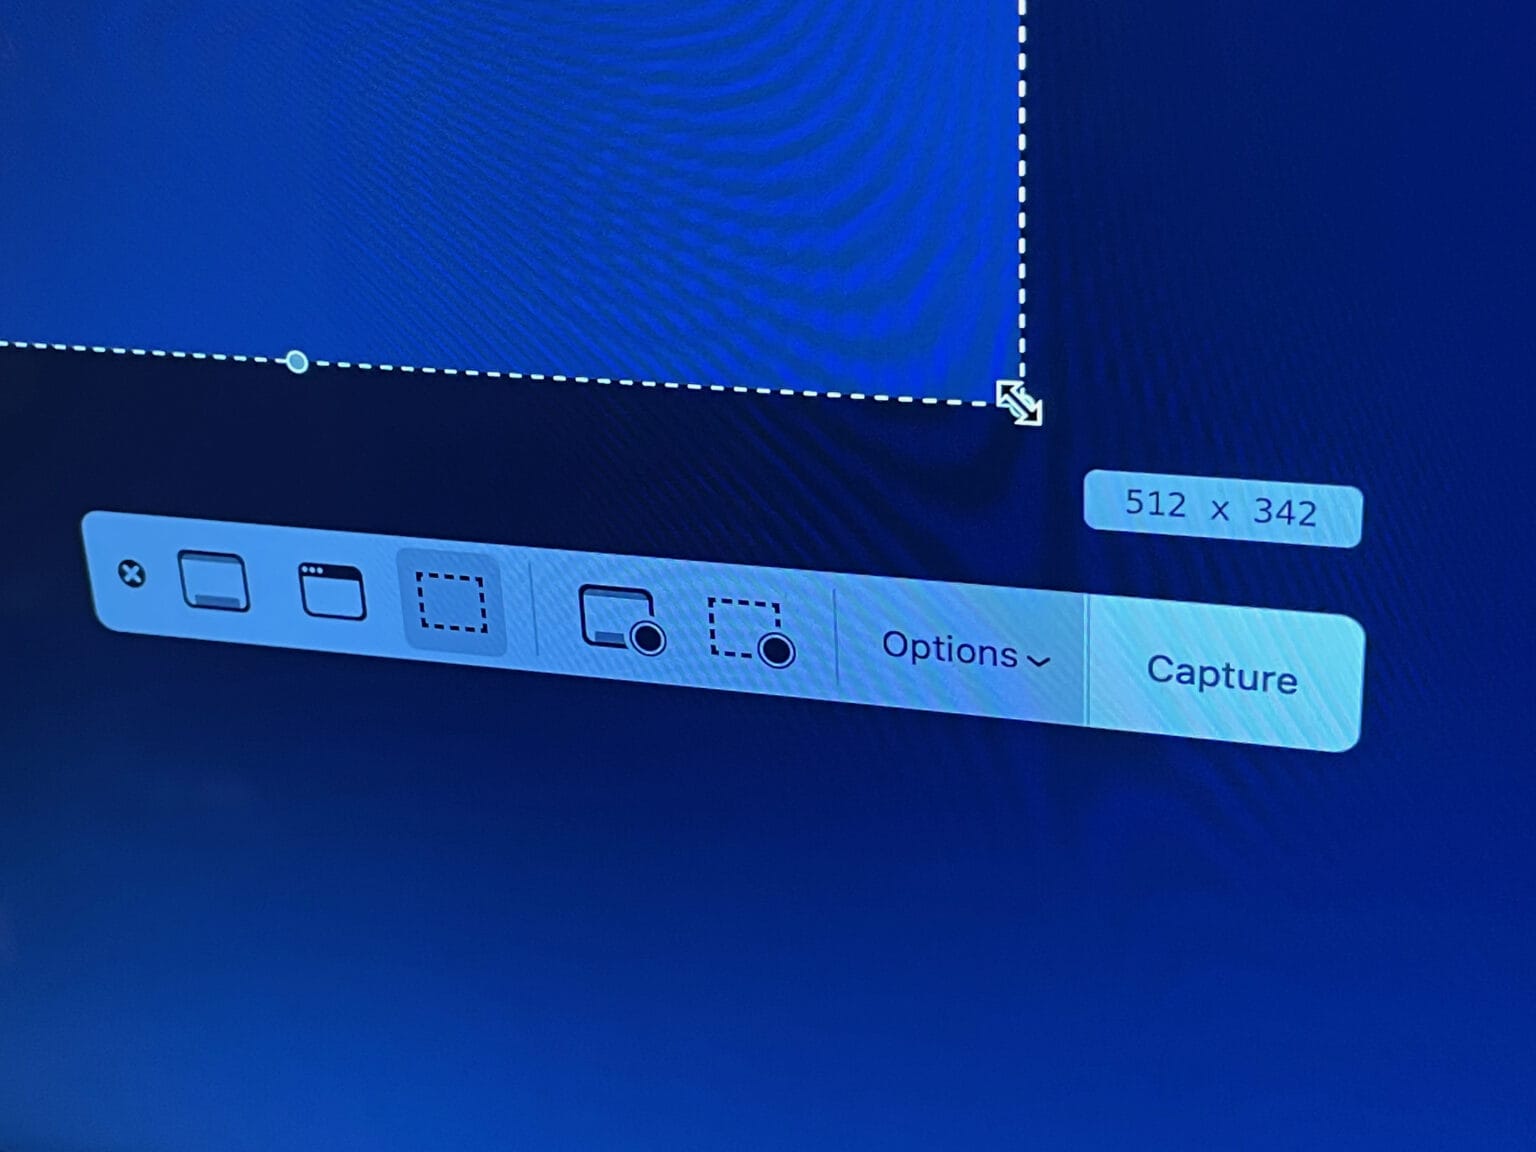
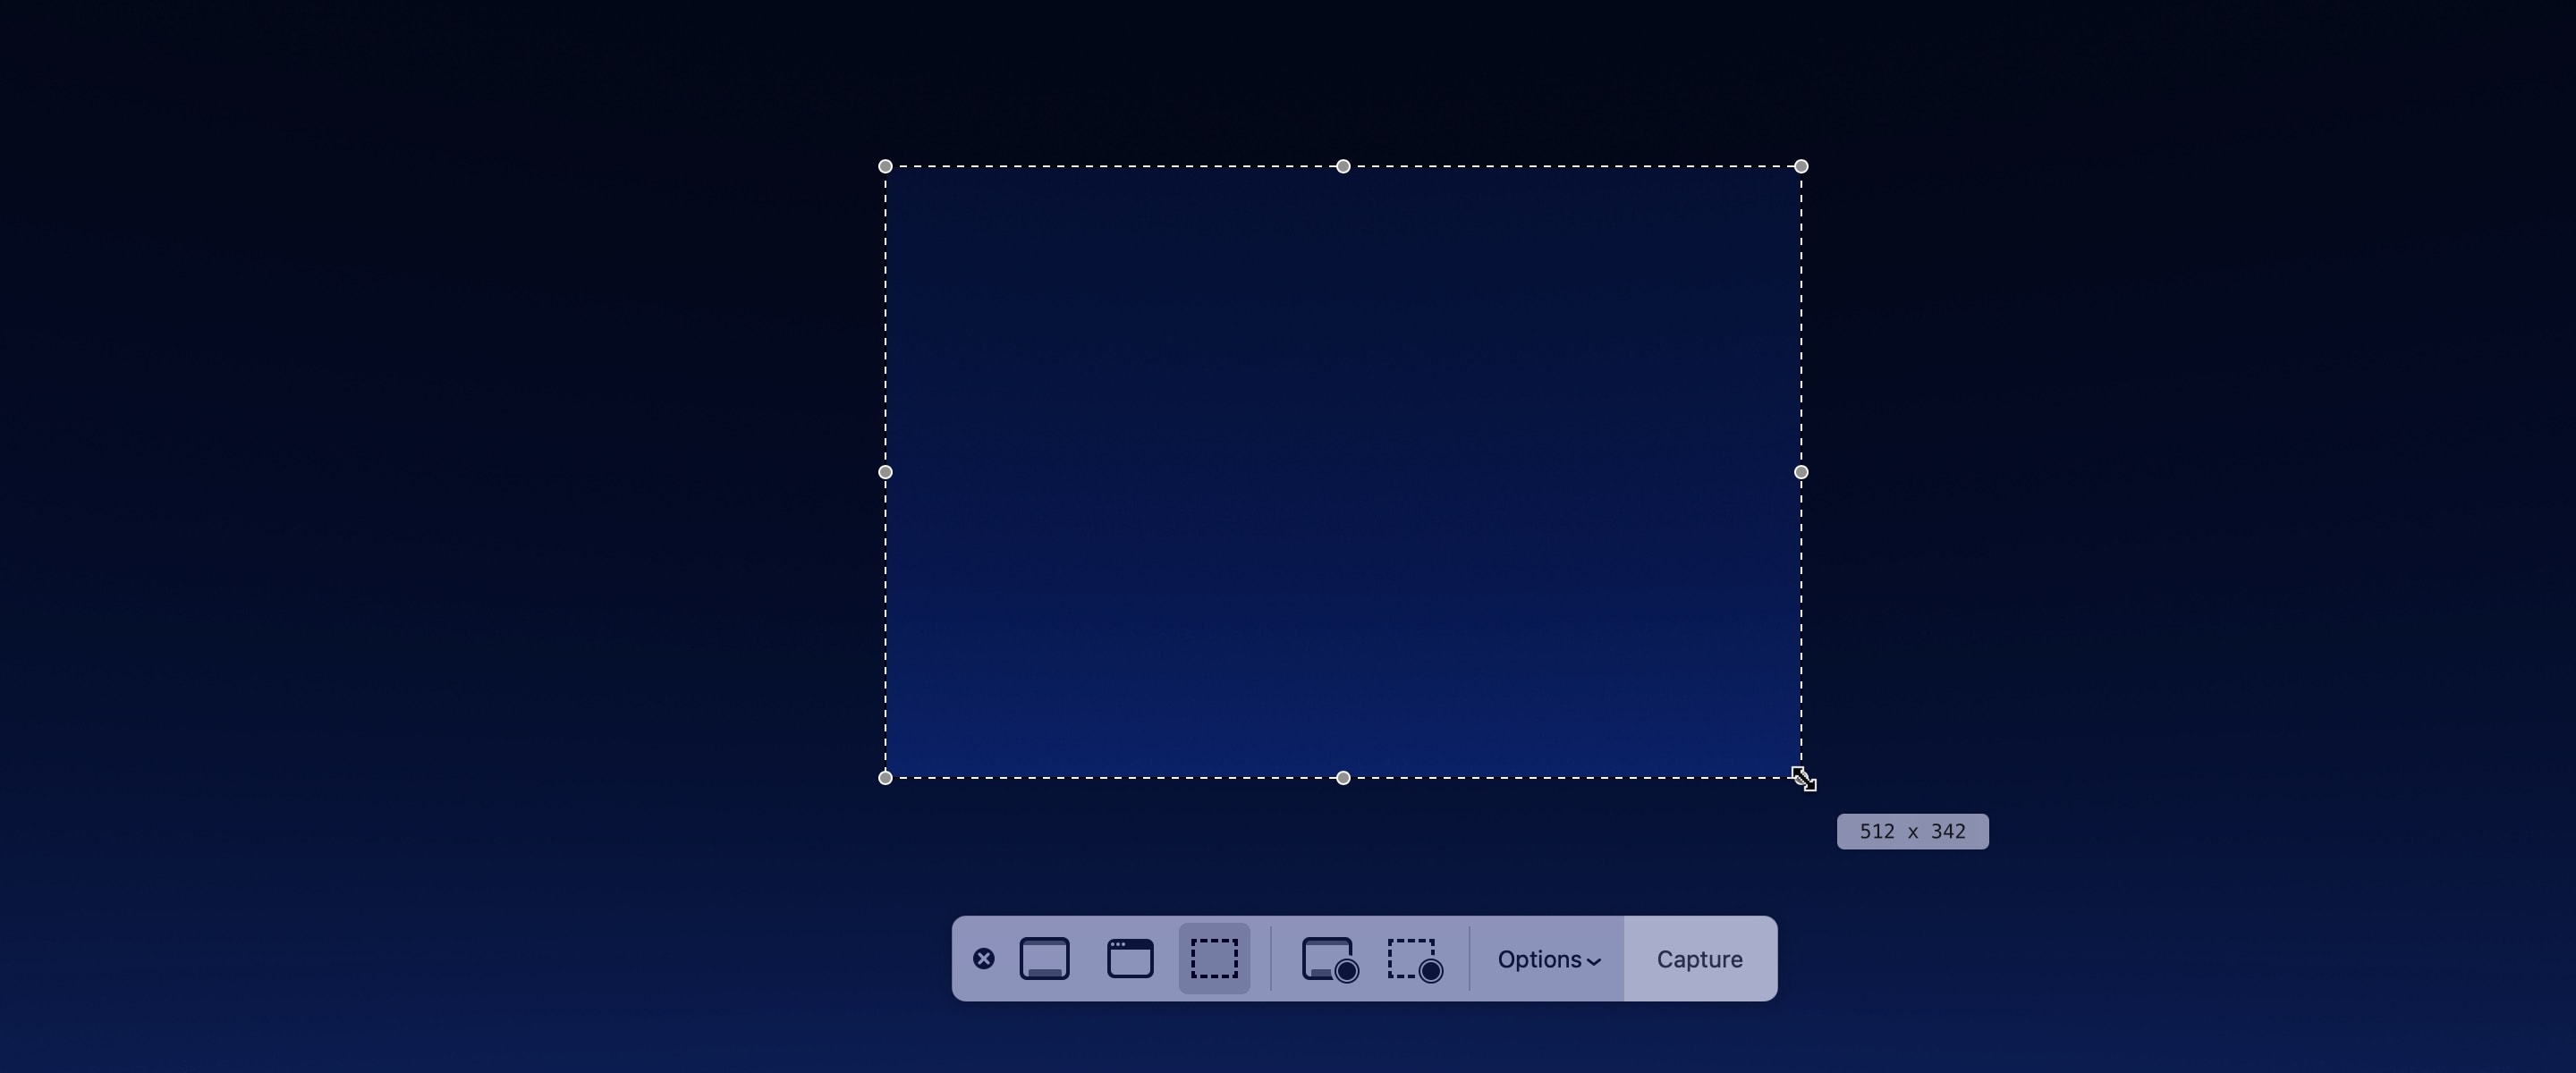
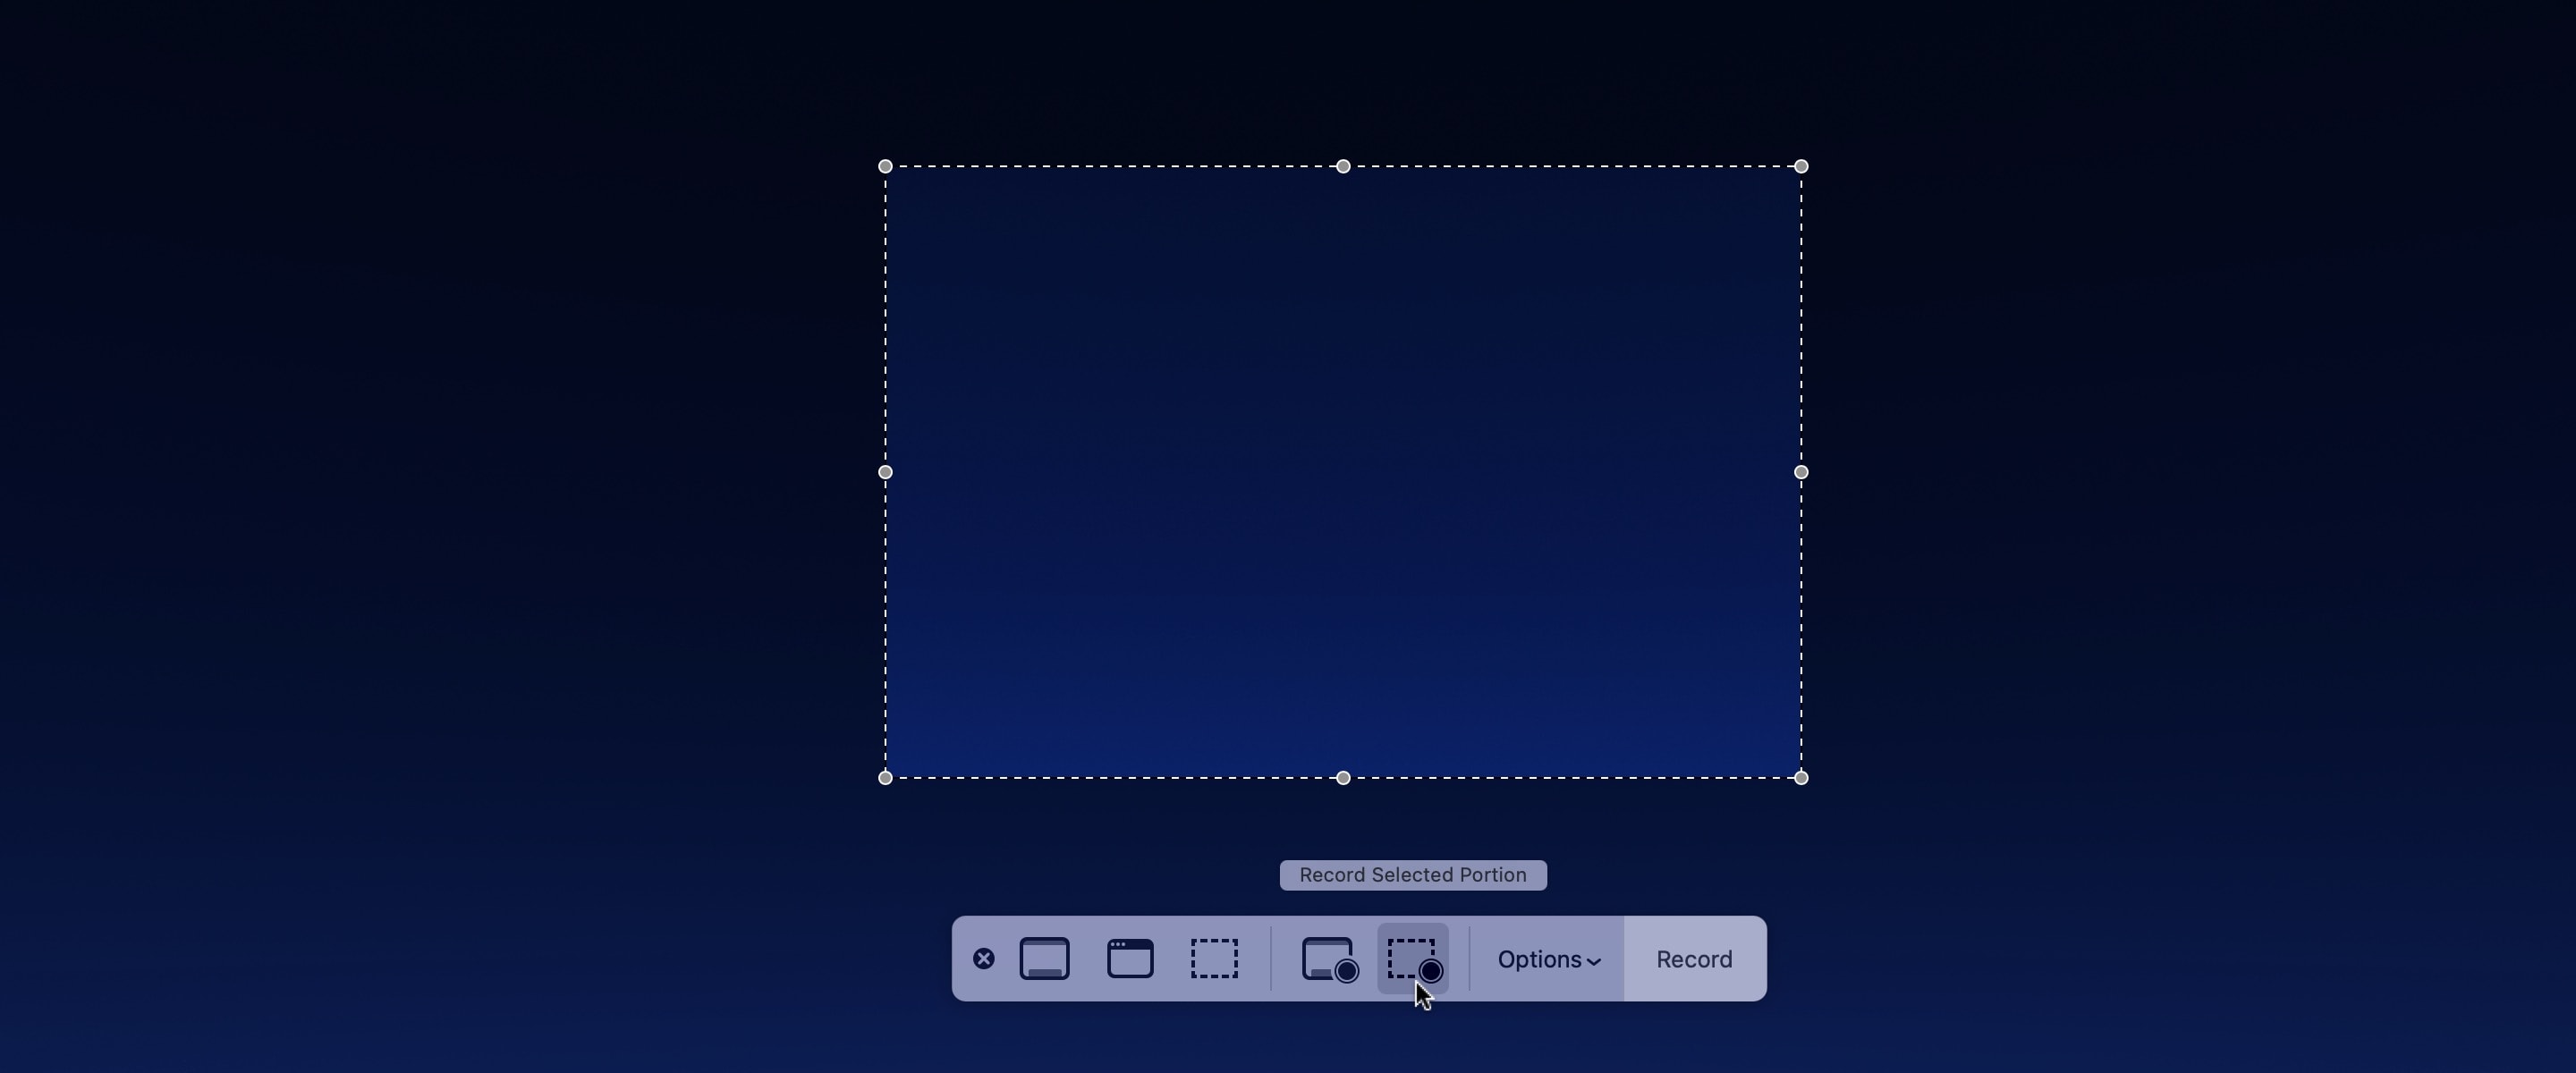
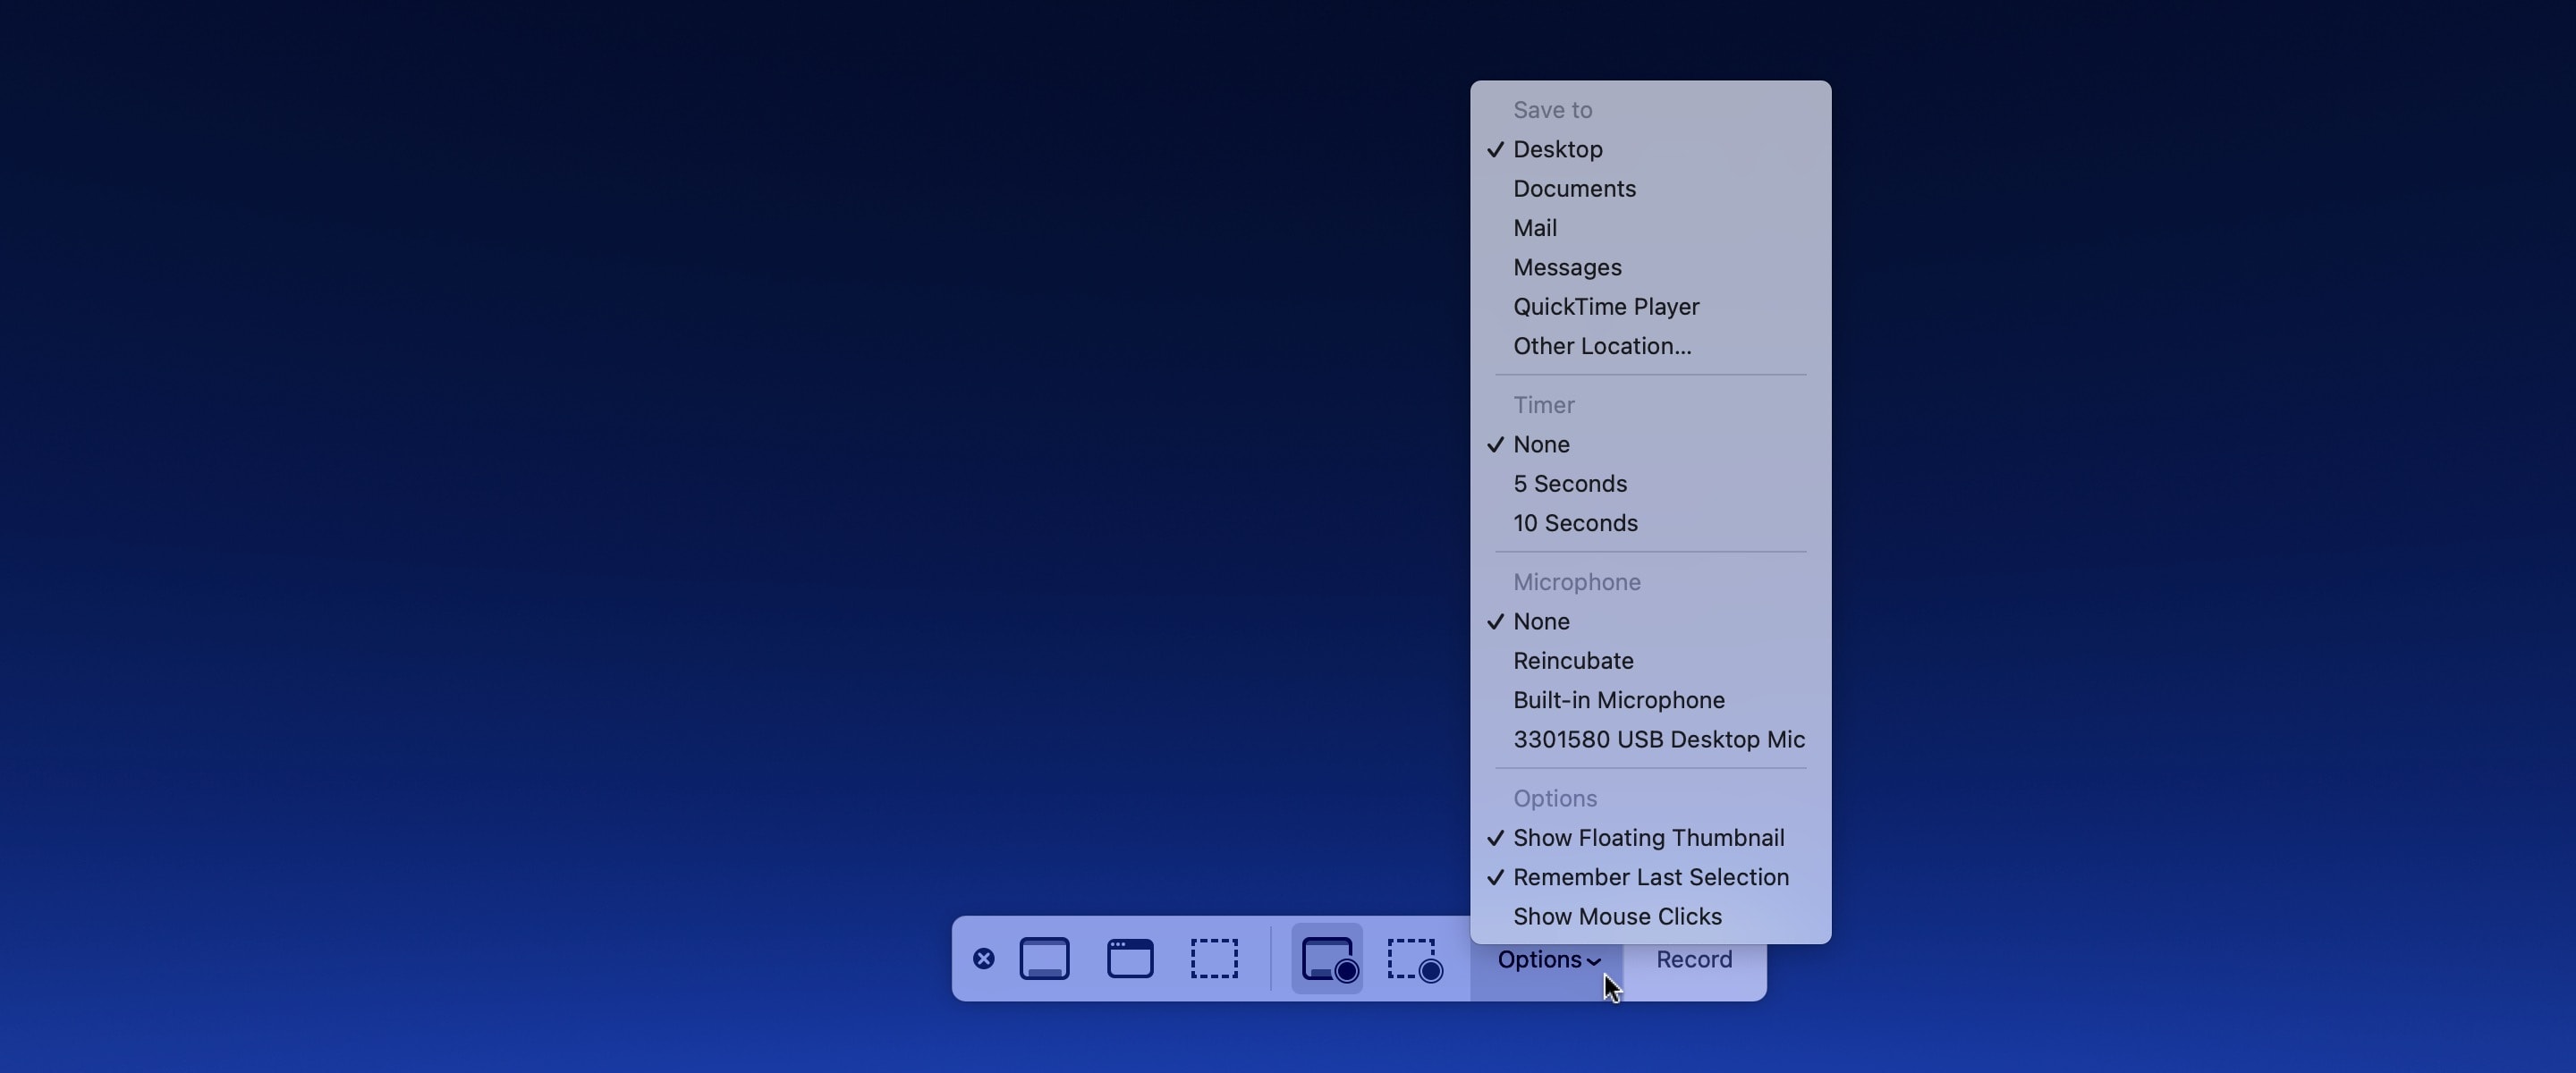
After you launch the Screenshot app, a toolbar will appear on your screen. Various buttons on the toolbar let you pick the type of screenshot you want to take. The three buttons to the left will capture an image of the entire screen, a specific window or a selected portion of the screen. The next two buttons will record a video of the entire screen or a video of a selected portion.
Screenshot: D. Griffin Jones/Cult of Mac
Next comes the Options button. Clicking it opens a context menu that lets you change these settings:
- Save to: This option lets you choose whether you want to save the screenshot to a folder like Desktop or Documents, send it to somebody using the Mail or Messages apps, open it in Preview (for still images) or QuickTime Player (for videos), or copy it to the Clipboard to paste somewhere else.
- Timer: This option lets you choose whether to capture the screenshot immediately or after a short timer of five or 10 seconds.
- Microphone: This lets you choose whether to include audio (for video screen captures). If you want to add audio, it lets you pick which microphone to use.
- Options: This section lets you choose whether you want to see a preview of the screenshot after you take it (Show Floating Thumbnail). It also gives you the choice of remembering your previous settings (Remember Last Selection) and whether to include the mouse cursor in the screenshot or screen capture (Show Mouse Pointer or Show Mouse Clicks, respectively).
Take a screenshot on Mac
To capture the entire screen, select the mode on the left and click Capture.
To screenshot a specific window, select the second mode from the left and click on the window want to capture. Hold Option (⌥) as you click if you do not want the window shadow to appear in your screenshot.
Note: This screen capture mode doesn’t just work on windows. You can also capture your Mac’s Dock, menu bar, desktop (with or without desktop icons) and other things.
To capture a specific portion of the screen, select the third mode from the left. Then move and/or resize the box to highlight the area you want. Finally, press Capture.
Make a Mac screen recording
To record the entire Mac screen, select the fourth mode from the left, then click Record. (If you have multiple screens, you will need to pick one.)
To capture audio from your Mac’s microphone or from connected AirPods, click Options and select the device. When you finish recording, click the Stop icon in the menu bar.
To record a specific portion of the screen, select the fifth mode from the left. Then, move and resize the box to highlight the area you want before pressing Record. While your Mac is recording, the part of your screen that isn’t being recorded will be dimmed. When you are done recording, click the Stop icon in the menu bar.
How to edit a Mac screenshot using Markup
If you have the Show Floating Thumbnail option checked and are saving your screenshots to the Desktop or Documents, Apple’s Markup app gives you a chance to edit the image.
After you take a screenshot, you will see a floating thumbnail on the bottom right of your screen. To immediately save it, hover your cursor over the thumbnail and swipe it to the right.
To preview it and make quick edits, click on the thumbnail to open the Markup app. From here, you can draw on it, add shapes, add text, add a signature, rotate it 90 degrees, crop it and add a description. Press Done to save it, the Trash button to delete it and the Share button to send it over iMessage, Mail, AirDrop and more.
How to take Mac screenshots with keyboard shortcuts
If you have an older version of macOS, or if you need to capture a screenshot instantly, you can use the Mac keyboard shortcuts:
- Shift-Command-3 (⇧⌘3) will instantly capture the entire screen.
- Shift-Command-4 (⇧⌘4) will capture a selected portion. Click and drag the cursor to select a region. The screenshot will be taken when you release the mouse button. Alternatively, instead of clicking and dragging, you can press the Space bar. Your cursor will turn into a camera icon, and whatever you hover over will be dimmed. Simply click to capture a specific window, the Mac’s menu bar, etc. Just as before, you can hold down Option (⌥) as you click if you don’t want the window shadow to appear in the screenshot.
- Shift-Command-6 (⇧⌘6) will capture a screenshot of the Touch Bar if your Mac has one.
Note: If you have the Screenshot app on your Mac, these keyboard shortcuts will use the options you selected in the Screenshot app. If you want to save your screenshot to the Desktop or to the Clipboard, open the Screenshot app with Shift-Command-5 (⇧⌘5) to change the options.
Record your Mac screen with QuickTime Player
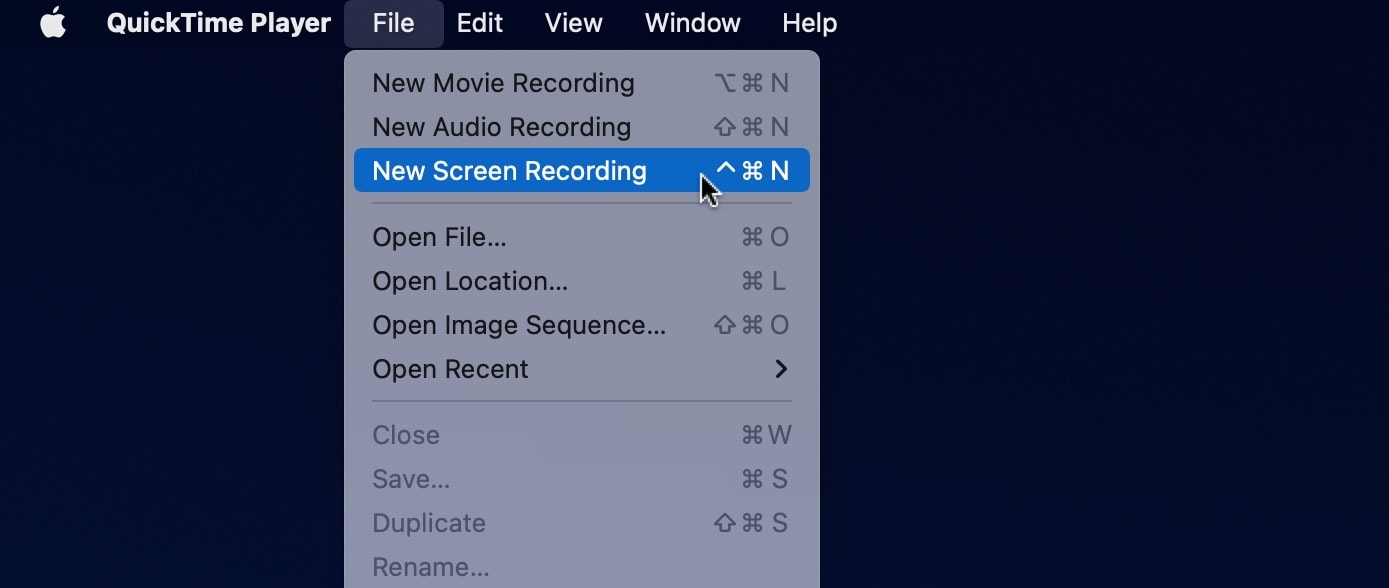
You can also make a screen recording using the Mac’s built-in QuickTime Player. Open QuickTime Player from Launchpad, or by pressing Command-Space (⌘_) and searching for it. Select File > New Screen Recording.
Then you will see either the Screenshot app’s toolbar or the QuickTime Player’s Screen Recording window. Select your desired options, then click the Record button. To stop the recording, click the round Stop icon in your Mac’s menu bar.
