This weekend, you’re “enjoying” some extended time with your family. After you’ve fixed their devices, and taught them that the battery of their iPhone lasts way longer if they don’t leave the damn screen on the whole time, you might decide to swap some photos. You may grab the your old childhood snaps off your mother’s iPad, or photos of the family recipe book off your father’s iPhone. There are a few ways to do this — slow, fast and faster, wired or wireless. Let’s see how to transfer photos between iPhones and iPads, and how to share the best holiday photos with everyone.
iMessage and email

If you just want a family member to send you a couple of Photos, then just have them use iMessage or email. It’s easy, and you won’t have to explain how to do it. Bonus tip: If you’re both on iOS 12, then they can share an event from the camera roll via iMessage or email, and it will be sent as an iCloud link. This is great if your parents/relatives/friends have a slow internet connection. You can also “Share Back” any pictures you took at the same event.
Pros: Easy to use, anyone can do it. You can send picture even when the other person isn’t around.
Cons: Slow for lots of photos, or large videos.
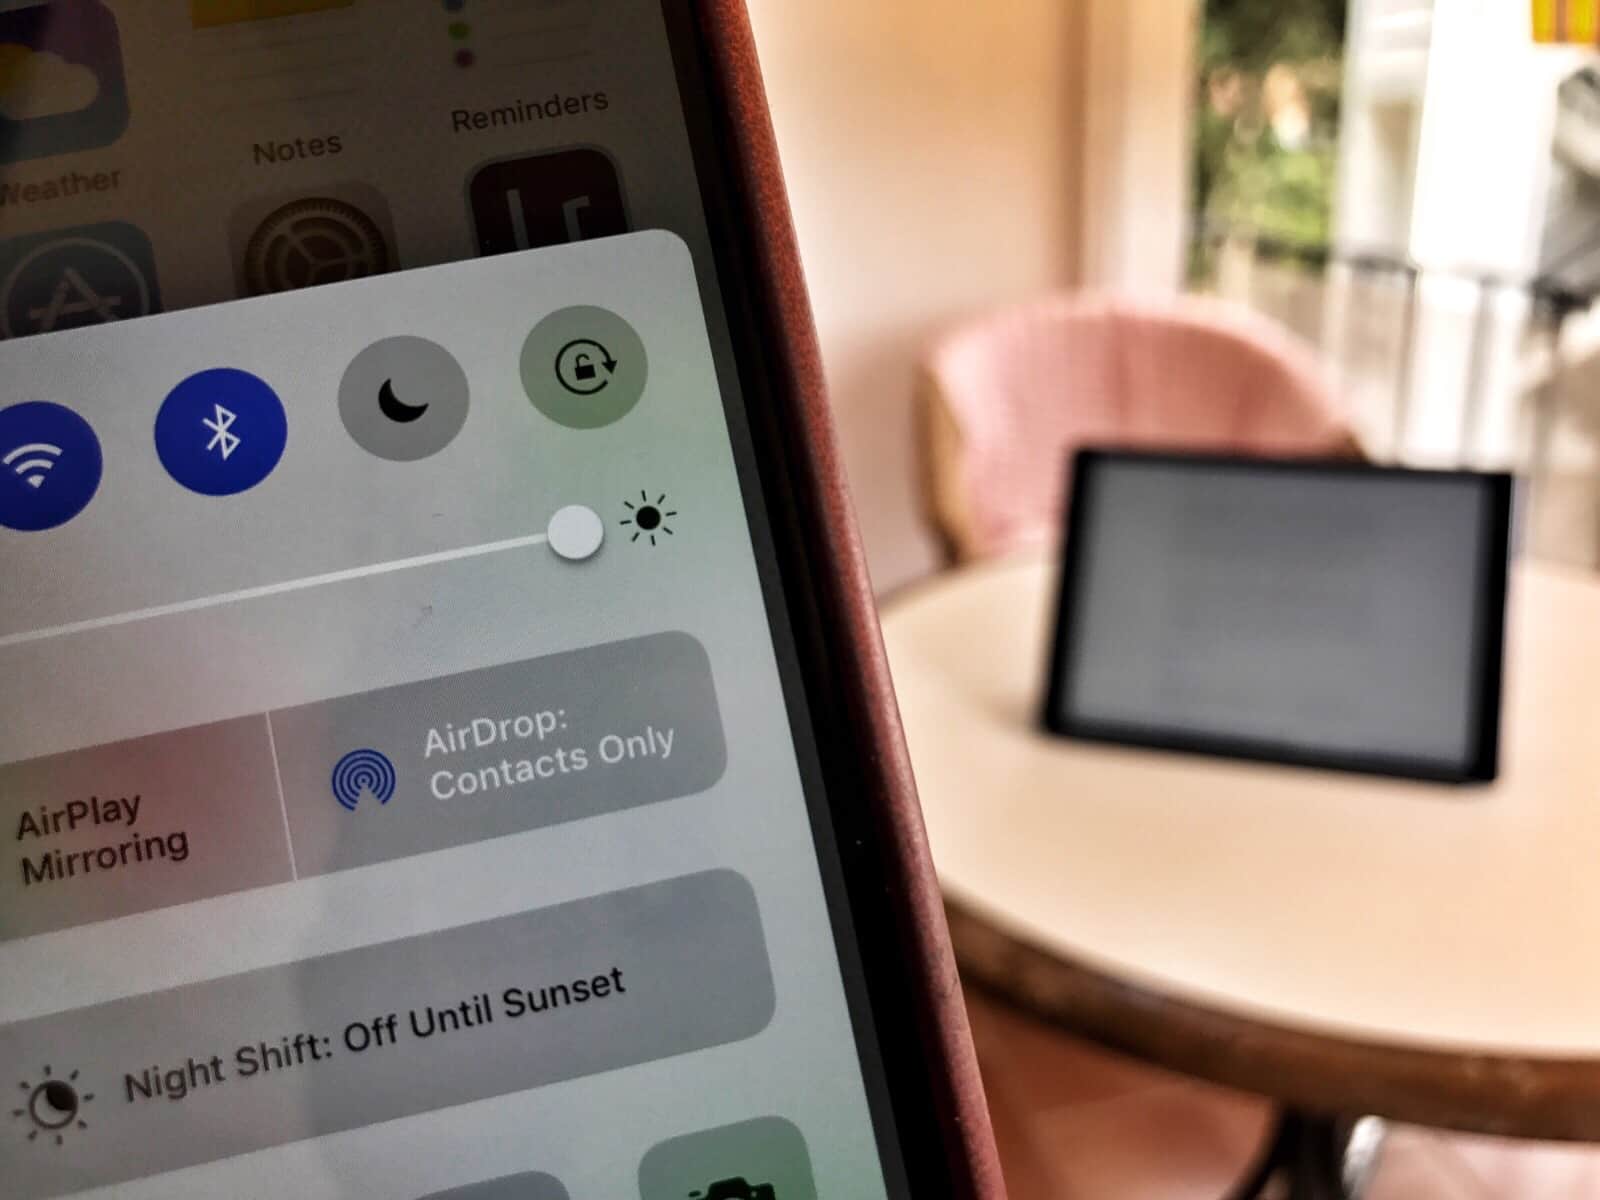
AirDrop

AirDrop works across the room to make sharing files between Apple devices easy as can be.For most purposes, AirDrop is the best way to share anything on iOS. The devices find each other via Bluetooth, and then do the actual transfer over peer-to-peer Wi-Fi. That it, they connect directly to each other. This Wi-Fi is crazy fast, and can work anywhere – even in the wilderness, with no Wi-Fi or cellular networks around.
Airdrop is dead easy, because it shows up right there at the top of the sharing panel, and all you have to do is tap to send. Recently I’ve used it for video, and the transfer was so fast that at first I thought it hadn’t worked. But if you really have a lot of images to share, then you need a cable.
Pros: Fast, easy, almost magical. Good for lots of pictures and videos.
Cons: Sometimes fails to find available shares, and is then impossible to troubleshoot.
Camera Connection Kit
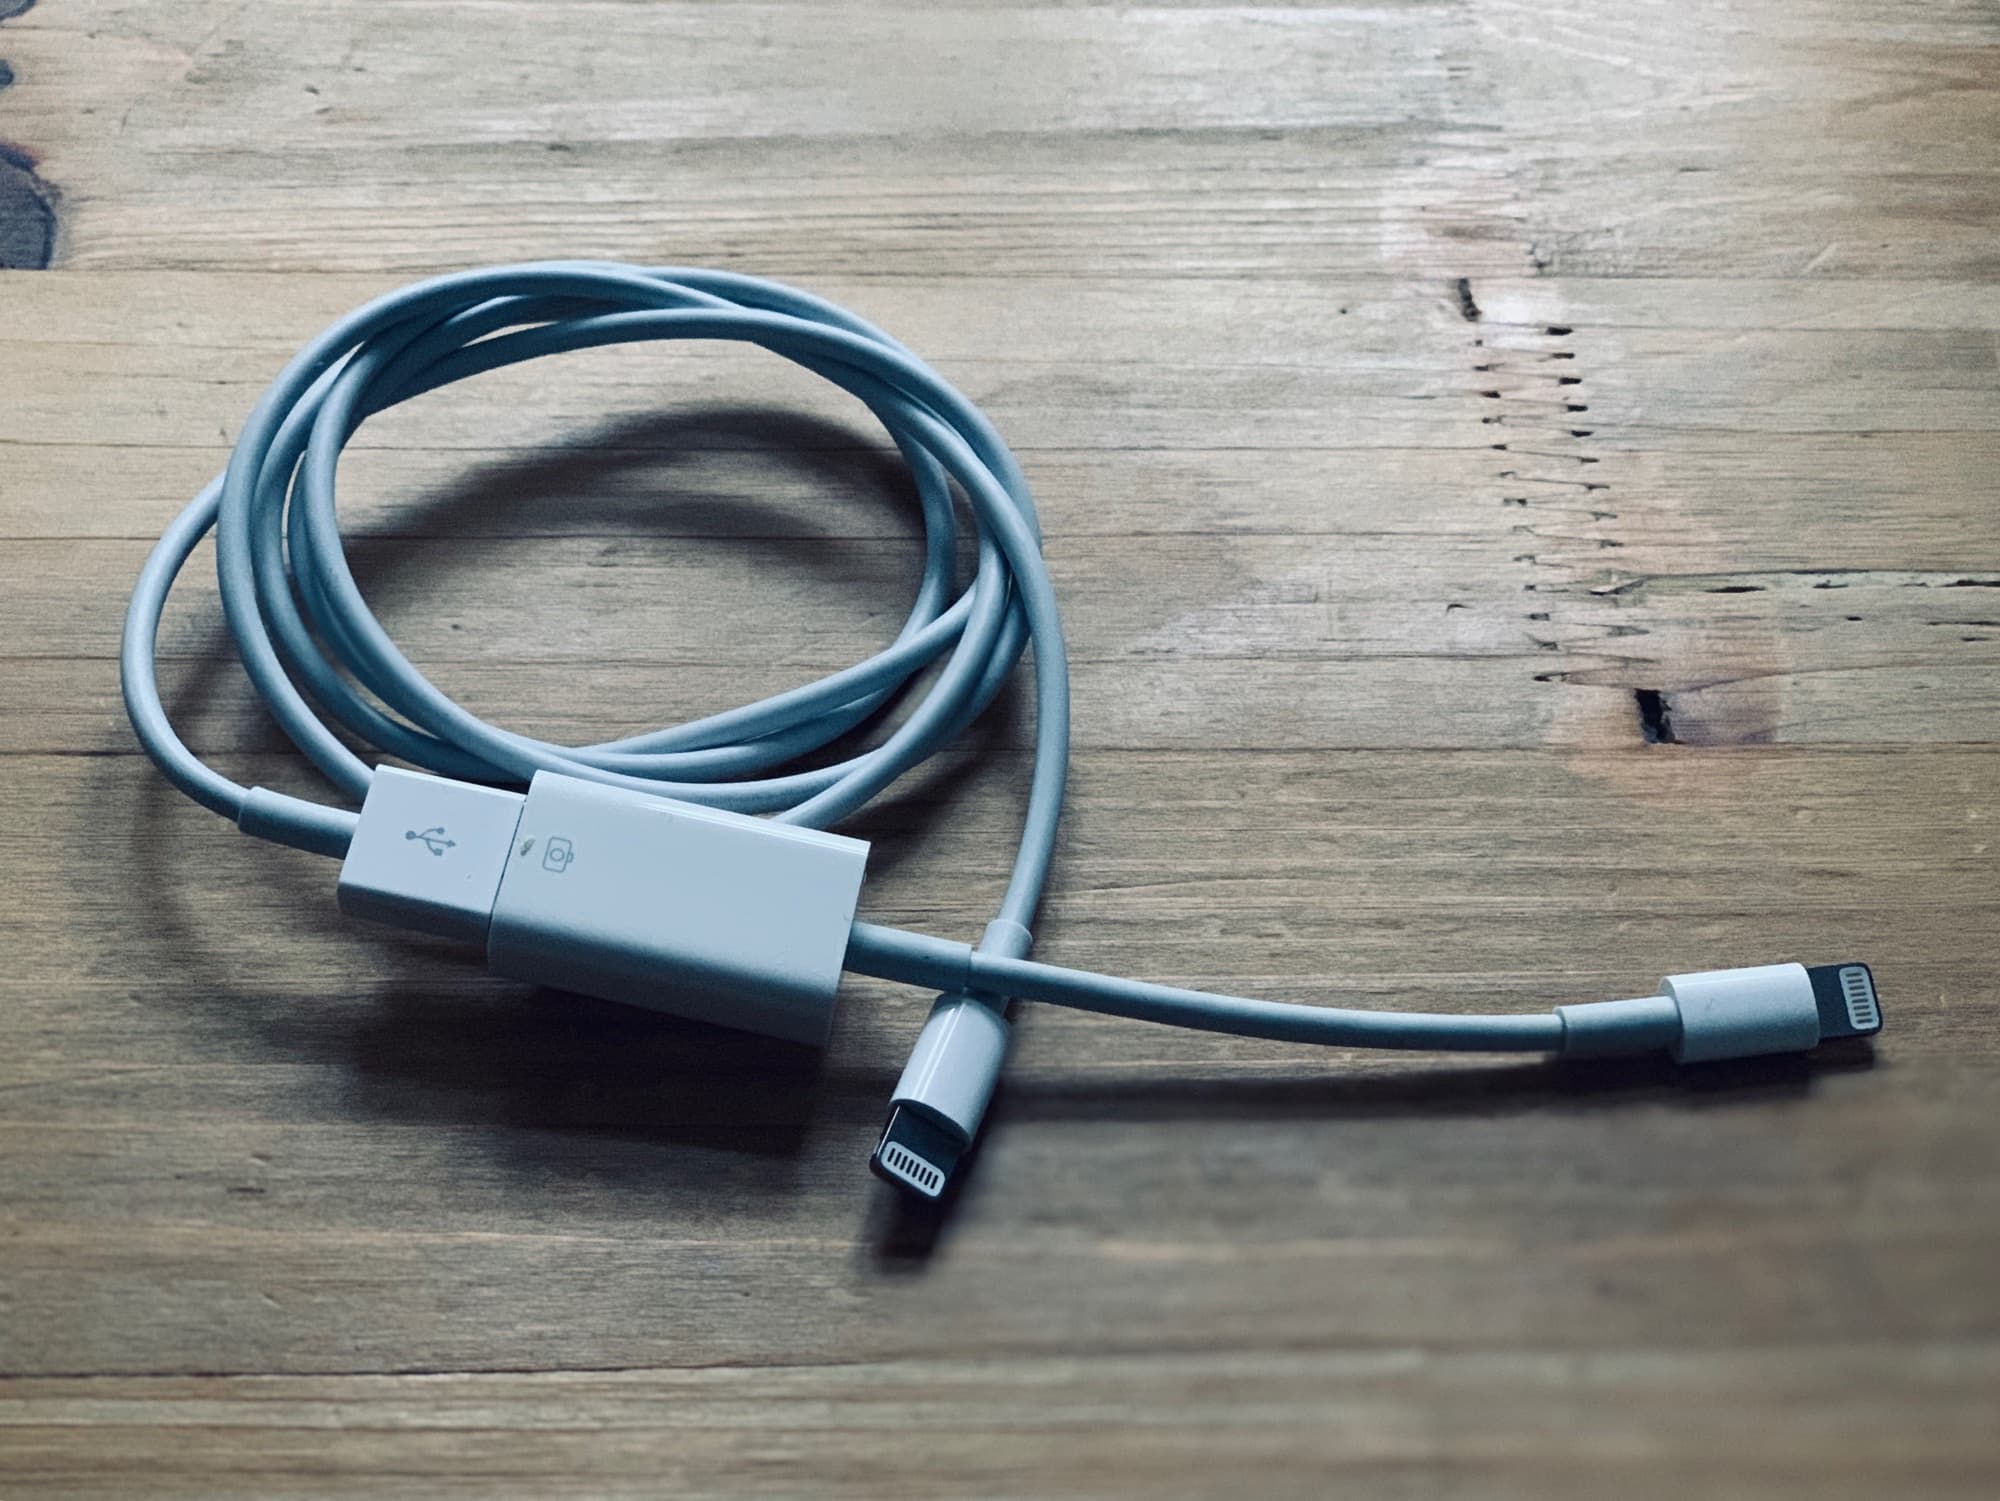
Apple’s iOS Camera Connection Kit lets you connect a camera to your iPhone or iPad, and slurp up its photos. But the iPhone can also be a camera. If you connect two iOS devices together via the Camera Connection Kit, then one of them can view the photo library of the other, just as if you’d connected an SD card reader.

To do this, you’ll need the Camera Connection Kit, and a regular Lightning cable (if you have a new USB-C iPad Pro, things will be more complicated). Plug the big USB end of the Lightning cable into the Camera Connection Kit dongle. Then plug the dongle into your device i.e. the device that will receive the photos. Then, plug the plain Lightning end into the iPhone/iPad that is acting as the camera.
If all goes well, the Photos app will launch on the “master” device with its Import tab already open, and the “camera” iPhone will show up as the import source. If it happens the wrong way around, just switch the cable connections. You will almost certainly be prompted to authenticate on the “camera” iPhone to allow access over USB.
This method is great if you are transferring a lot of images or videos. Depending on your setup, though, it may run at USB 2.0 speeds, which could be slower than AirDrop. On the other hand, you can browse the entire Photo library of the other person’s device, so it’s really easy to pick just what you want.
Pros: Fast, reliable, easy to pick any photo or video from somebody else’s photo library.
Cons: You need cable and dongles.
Sharing the best holiday photos with your family
Once you have all the family holiday photos in one place, what do you do with them. I’m a fan of using technology to augment my laziness, and to impress people while doing very little actual work. That’s where the Photos app’s Memories feature comes in.
Memories are auto-generated albums of photos and videos, which can be shown as a slideshow, or shared as a video of a slideshow, complete with music. The problem for us is that these Memories can sometimes take a while to appear. Fortunately, you can create new Memories easily.

Photo: Cult of Mac
First, create new album with the best photos and videos you have collected. Do this by selecting photos, and then click/tap the Share button, and choose Add to Album…. Tap New Album…, and give it a name.
Next, while viewing this new album, tap the little gray chevron at the top right of the main section. It’s easy to miss:

Photo: Cult of Mac
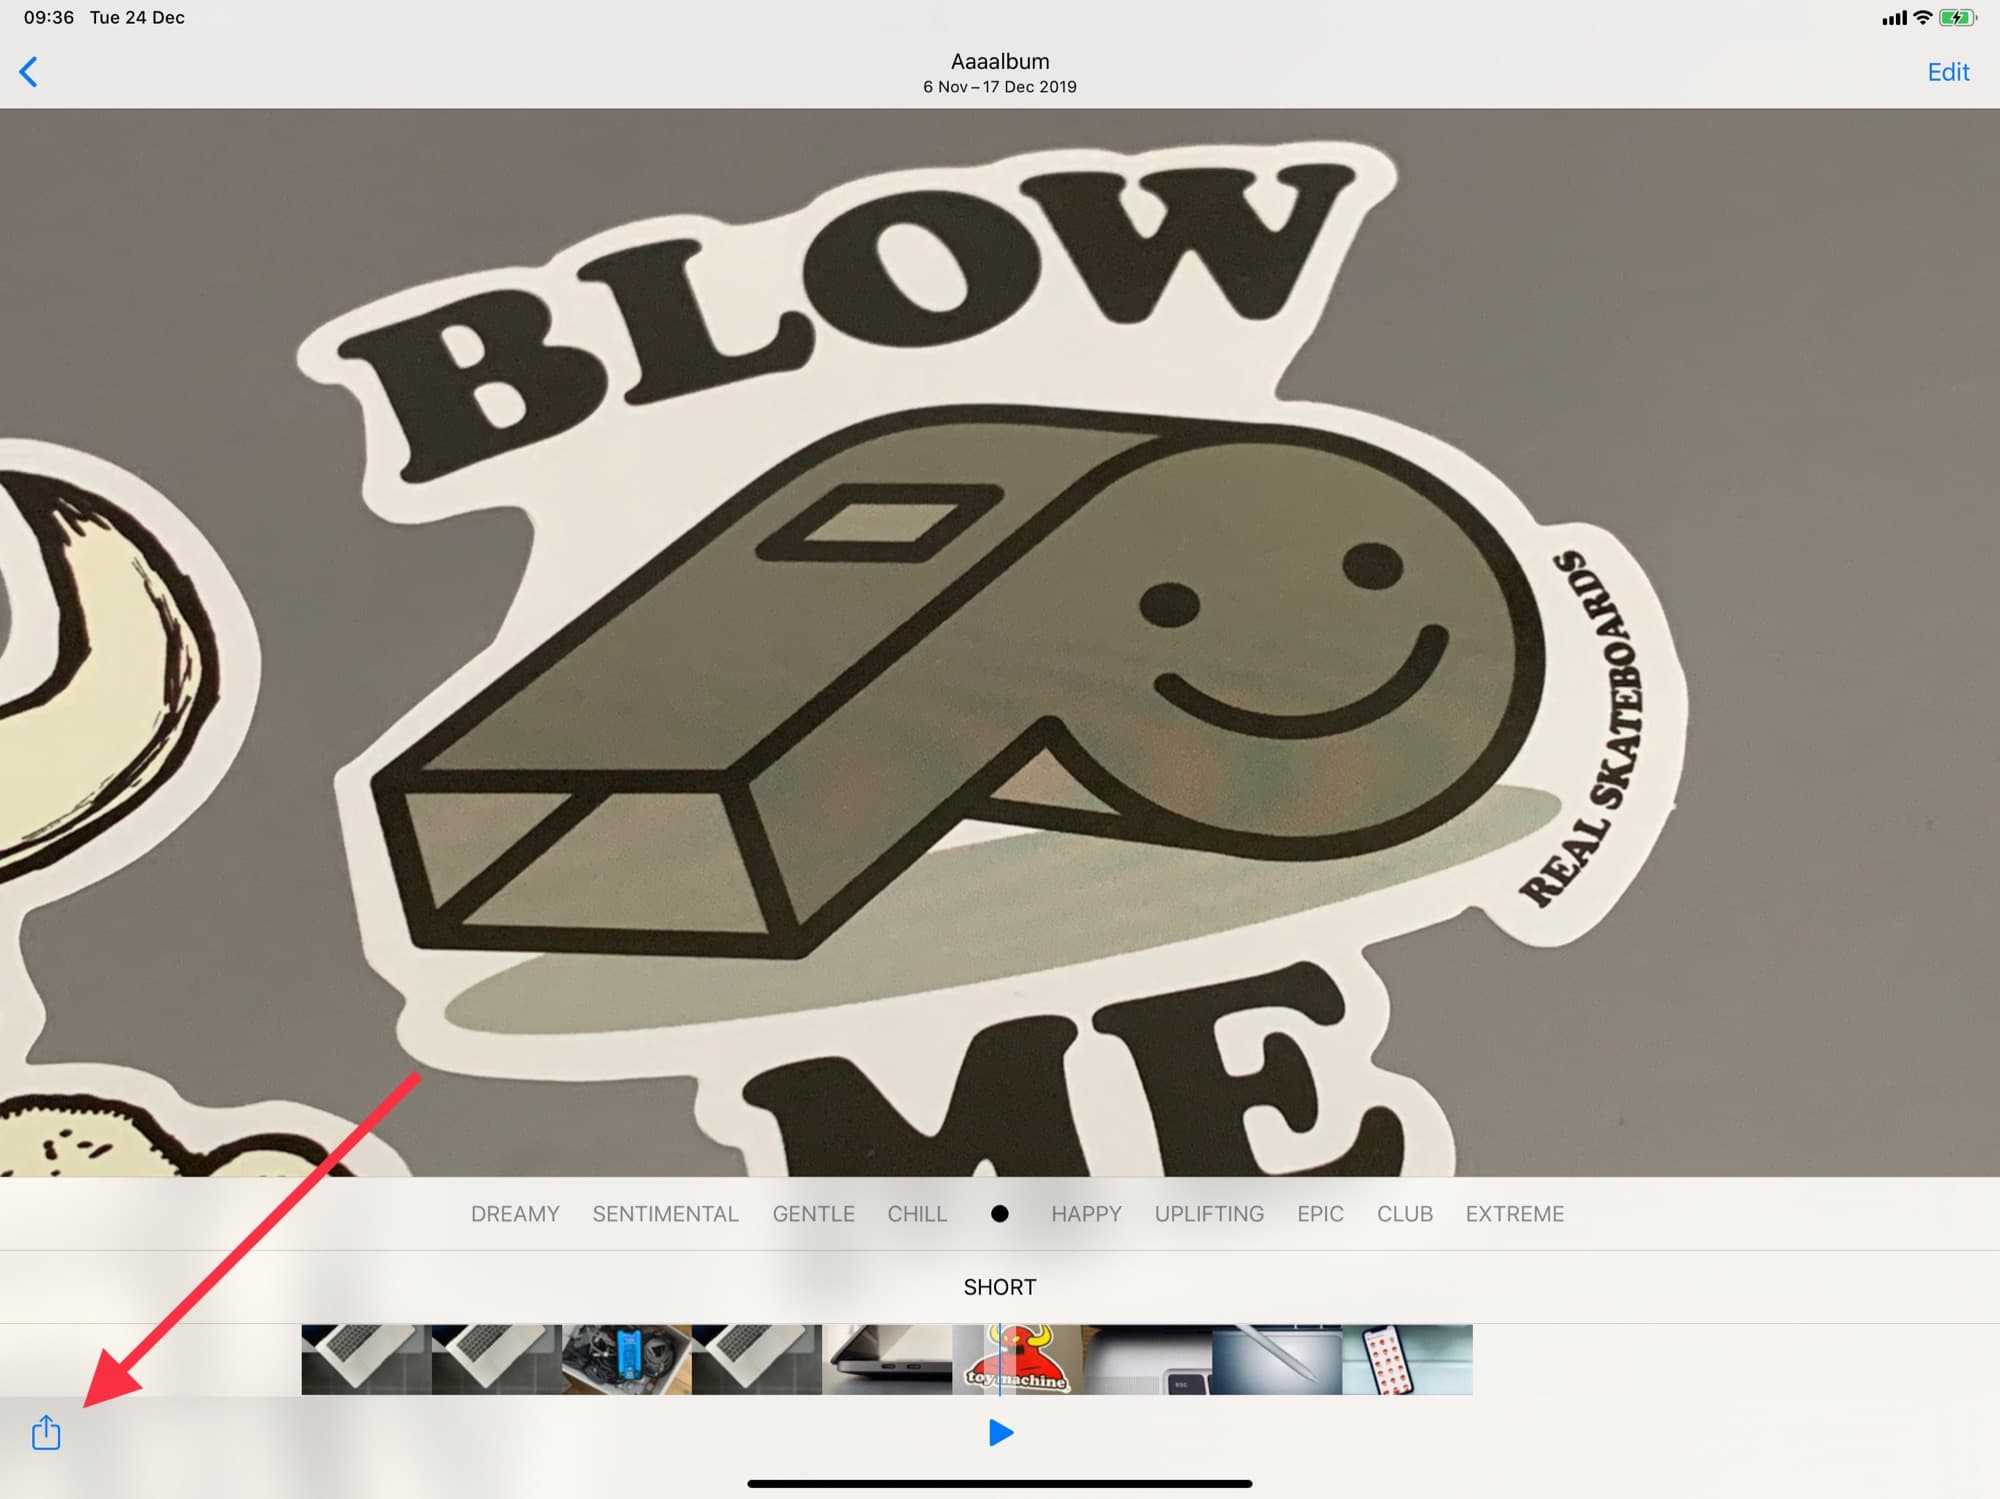
This brings you to a new screen where you can view the album. Tap the Play icon, and the slideshow will commence. This is exactly the same the the slideshows created from your Memories. In here, you can edit lots of options, including the background music, and the length of the entire slideshow.

Photo: Cult of Mac
And, unlike in the regular slideshow view, you can share it as a video. To do this, just tap anywhere on the screen, then tap the share arrow which appears. You can share the video with anyone you like, in any way you like.
But don’t become distracted from the real purpose of technology this Christmas: Using it as an excuse not to interact with your family. Happy holidays!


