Apple’s AirPort routers introduced one game-changing new feature to the world: easy backups. Time Machine is Apple’s automatic backup utility, and it made backups easy enough for non-nerds to use regularly.
The easiest way to use it was to buy a Time Capsule, a wireless AirPort router with a hard drive built in. Before Time Capsule, nobody backed up. After Time Capsule, anyone could keep hourly, daily and weekly backups without even thinking about it. But now that Apple has stopped making Time Capsule, and AirPort routers in general, how do you keep using Time Machine?
This post contains affiliate links. Cult of Mac may earn a commission when you use our links to buy items.
Why use Time Machine?
Time Machine is fantastic. Not only does it create a backup of your Mac, it updates it hourly, and it does it all without any interaction from you, the user. It also lets you restore single items you may have deleted in error, and in a pinch it will serve as a full-disk backup to be used to restore to a new Mac if your current Mac dies. Even if you use another backup method, you should also use Time Machine.
Time Machine doesn’t care (much) about the disk you use
Time Machine is software. In the beginning you needed a Time Capsule to use it, but later Apple added support for any hard drive plugged into your Mac. And later still, support for network drives was added.
So, the simplest way to keep using Time Machine is to plug a new USB drive into your Mac, and wait for macOS to pop up a panel asking if you want to use it for Time Machine backups. It will do this every time you connect a new drive, making it just about the easiest way to use Time Machine. Once you agree to use it, the new drive will become the destination for Time Machine’s incremental backups. And because it’s hooked up direct to your Mac, it’s fast.
How to add a connected disk to Time Machine
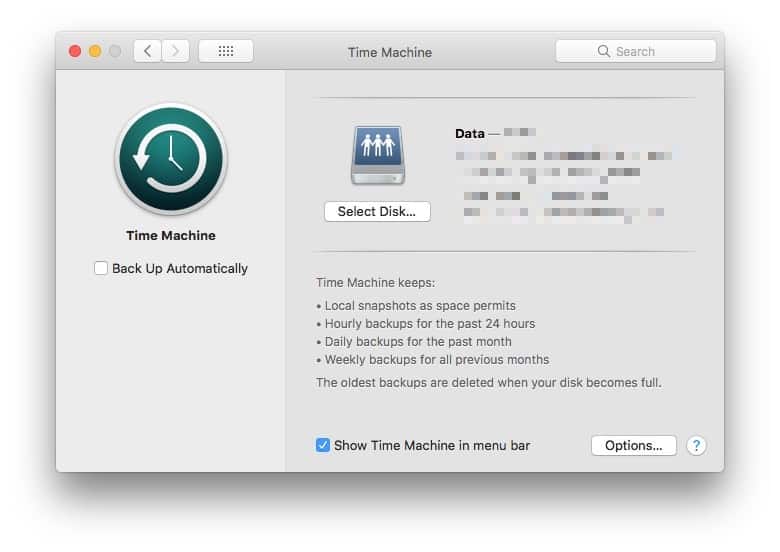
If your drive doesn’t trigger the auto-setup when you plug it in (perhaps it’s an old disk you’ve used before), then you can easily set things up manually in Time Machine’s preferences. Get to these in System Preferences > Time Machine, or by clicking on the Time Machine icon on the menubar, and choosing Open Time Machine Preferences… from the list. Click Select Disk, and then pick your connected disk from the list that pops up.

Photo: Cult of Mac
That’s it. Just make sure you check the Encrypt Backups box, to keep prying eyes out of the backup disk. Remember, all the sensitive data on your Mac will be copied to this disk, too.
How to add wireless backup to your Time Machine
Plugging in a USB drive is the easiest way to use Time Machine, but you need to have the disk connected for it to work. That’s fine on an iMac (you can even use a spare internal drive as a Time Machine volume if you have one), but not so good for a MacBook.
Thankfully, there are alternatives. You can buy a NAS (Network Attached Storage) device that’s compatible with Time Machine, and just connect that to your network. Or, if you have a fancy router, you can use that.
Some routers have USB ports to which you can connect a USB drive. Once connected, the drive becomes available to any computer connected to your home Wi-Fi. The instructions for getting this set up vary from device to device, but in general it’s not much harder than setting up a Time Capsule.
Connection tips for Time Machine backups
For all of these options, you just have to make sure the that the connected disk is available to the Time Machine app on your Mac. Because there are so many different kinds of router and NAS available, we can’t possibly cover them all here. There’s one good tip that applies to many of them, though.
The tip is that it can often help to do the initial backup by plugging the USB drive directly into your Mac. This takes care of turning the disk into a compatible Time Machine disk, as well as completing the initial backup over a wire, which — for USB 3.0 at least — is much faster. Then, when you hook the drive up to your router, not only is the biggest backup out of the way, but the disk is already properly set up to work with Time Machine.
What router should you buy instead of AirPort?

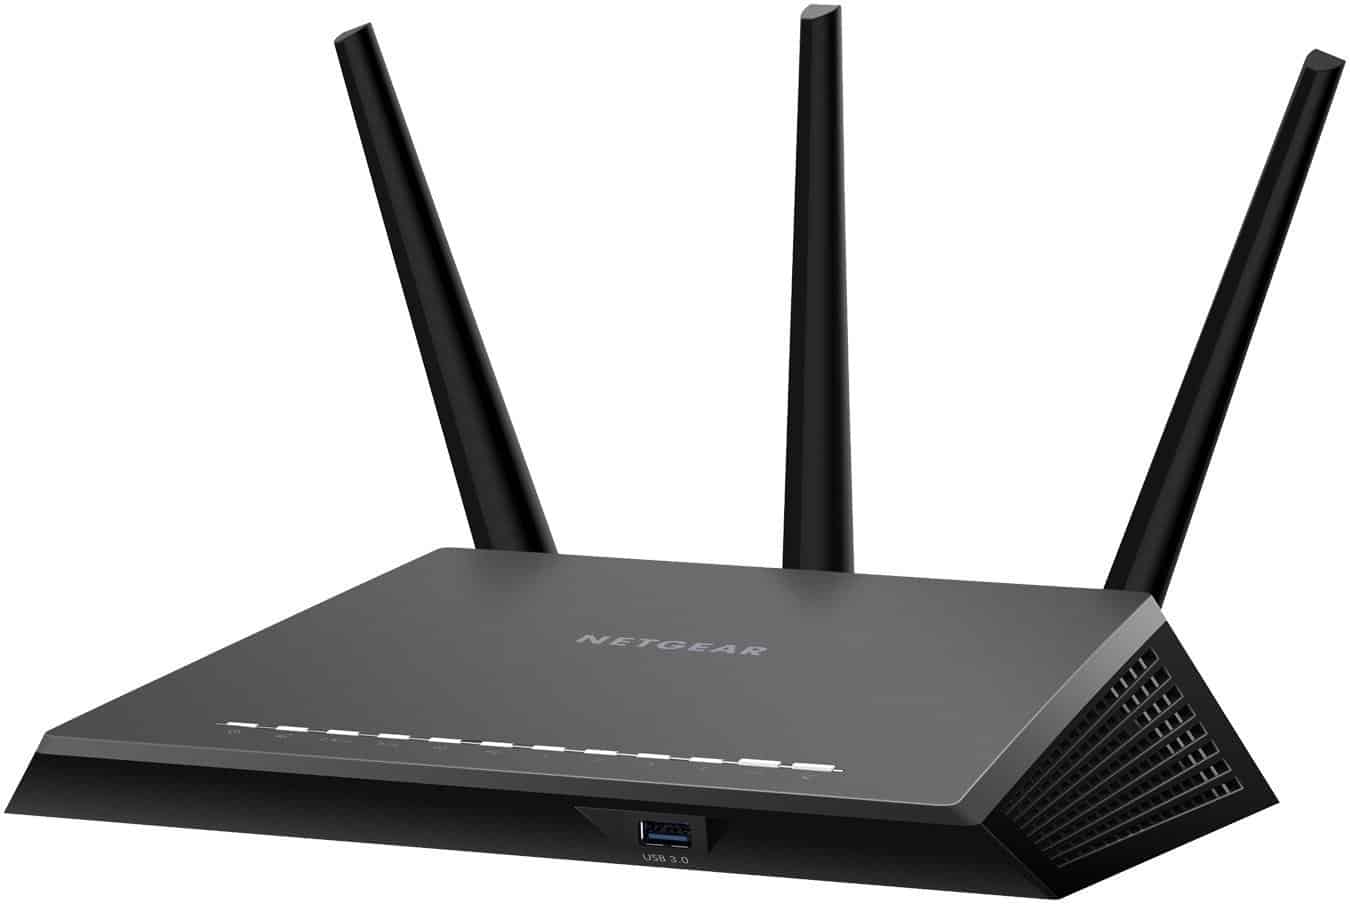
Photo: Netgear
If you’re considering a replacement for your AirPort router, or your Time Capsule, you might consider the Wirecutter’s current pick, the Netgear R7000P, which has a USB port, works great as a router, and is easy to set up. It’s also, in Wirecutter’s tests, one of the fastest routers around.
If you do decide on that unit, the instructions for setting it up to work with Time Machine. Even if you don’t have a Netgear router, the instructions are a pretty solid overview of how to set up any router to work with Time Machine.
Buy from: Amazon
Don’t Panic
The options for Time Machine backups will continue long past the demise of Apple’s Airport routers. In fact, Time Capsule was never a great device anyway. If you’re thinking of picking one up before current stocks run dry, don’t. Buy a proper router instead, and hook up a USB drive. It’ll be cheaper, more expandable, and easier to use. Goodbye Airport? Good riddance, I say.


