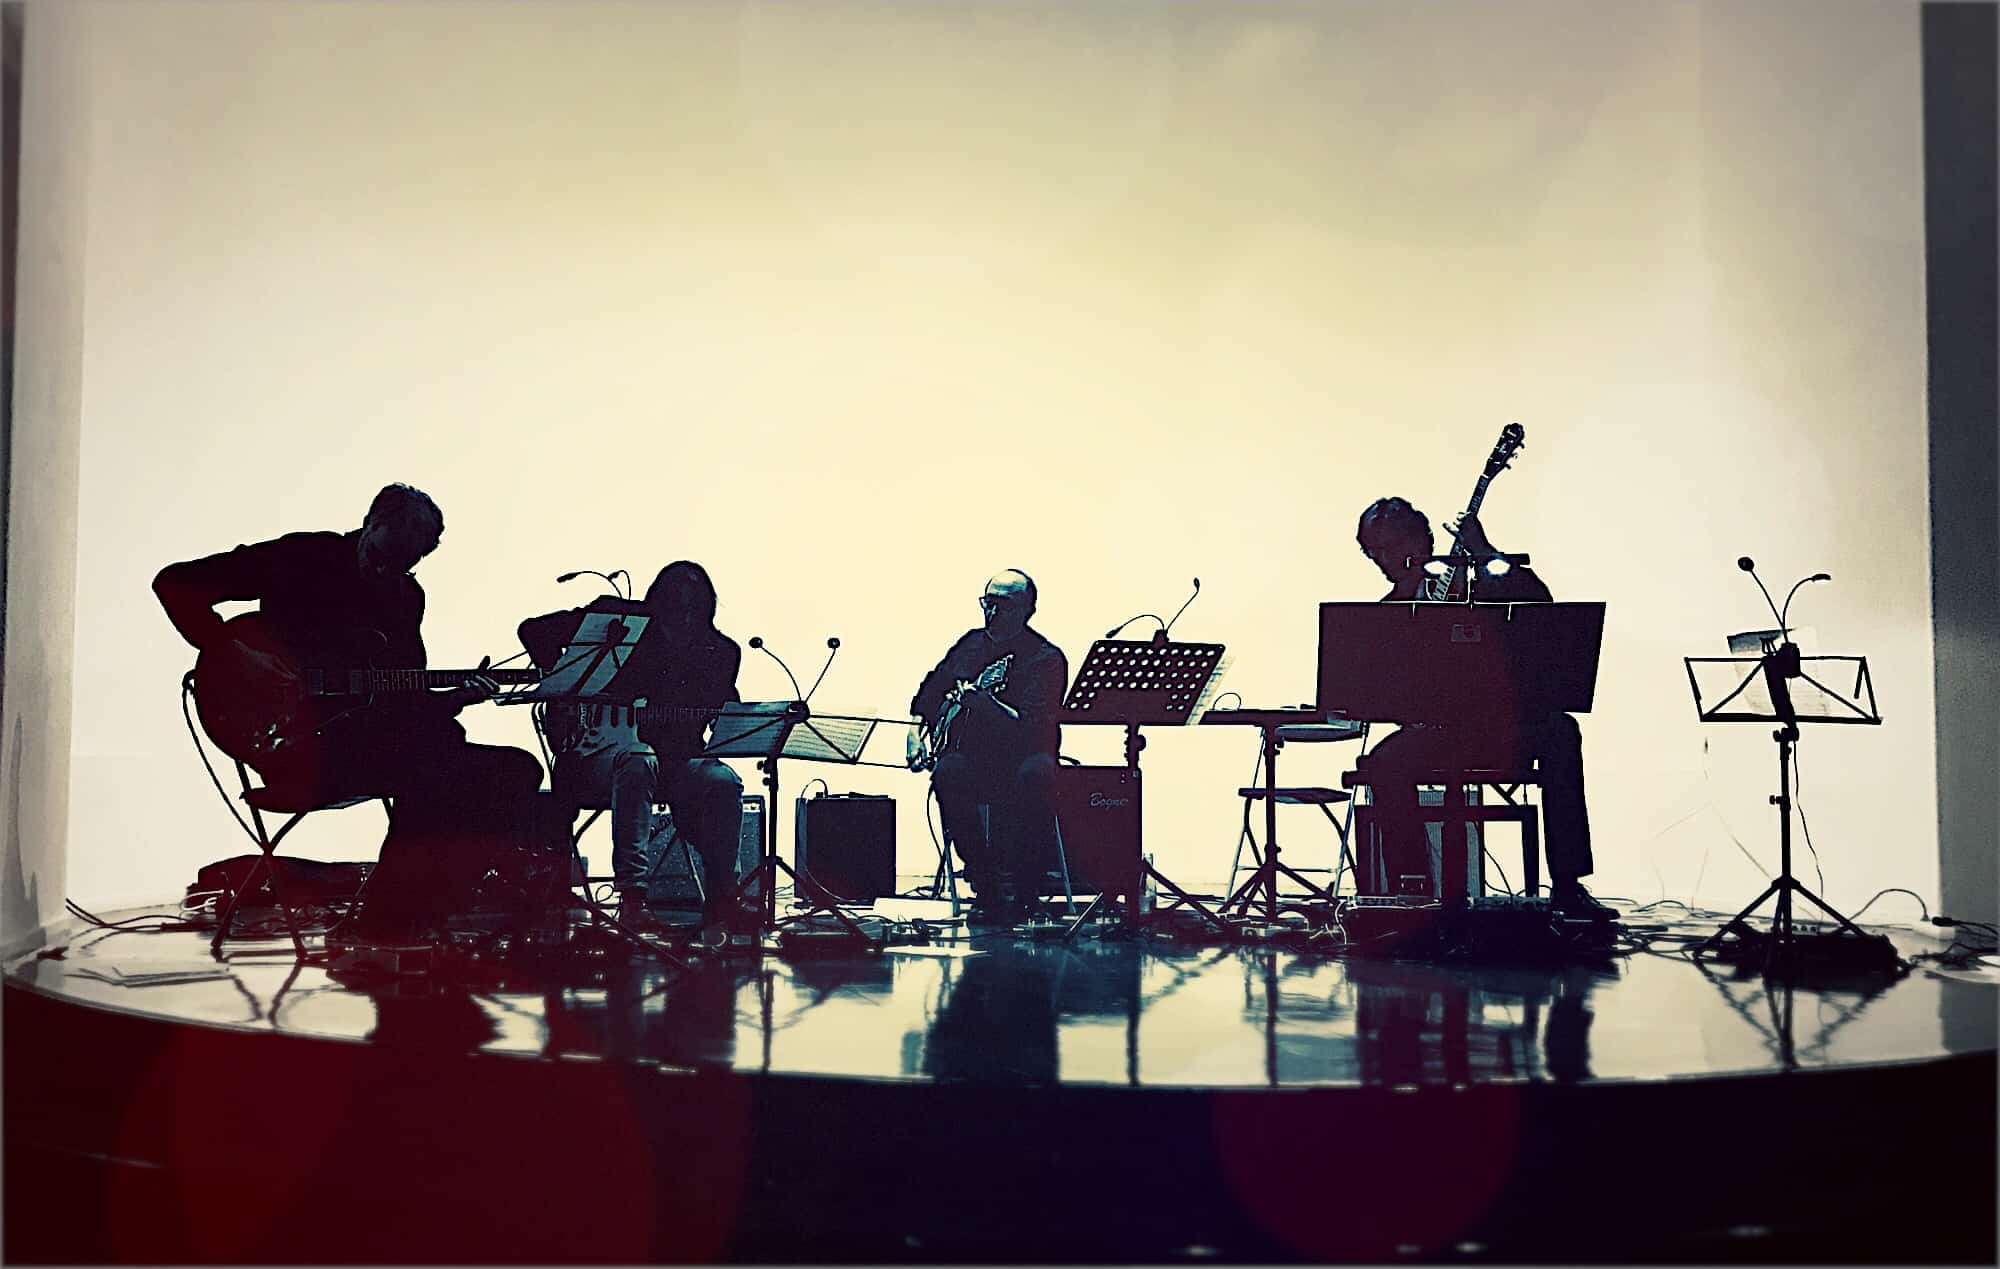
Apple’s iOS accessibility features might be hidden away in the Settings app, but they are useful for everyone. For instance, Guided Access lets you lock your iPhone or iPad so it can use only one app, and you can even disable parts of the screen just by drawing on them. This is handy for giving the iPad to kids, or to people with impaired motor skills, but it is also fantastic for stage performers. A musician, for instance, might be using the iPad to produce or process their sound. The last thing you want to do in the heat of a performance is to accidentally do a four-finger swipe and end up on your Facebook page.
Today, then, we’ll see how to use Guided Access to keep your iPad safe on stage, but the same tips apply if you’re deploying an iPad as a cash register in your coffee shop, or as an information point at an exhibition.
How to set up Guided Access
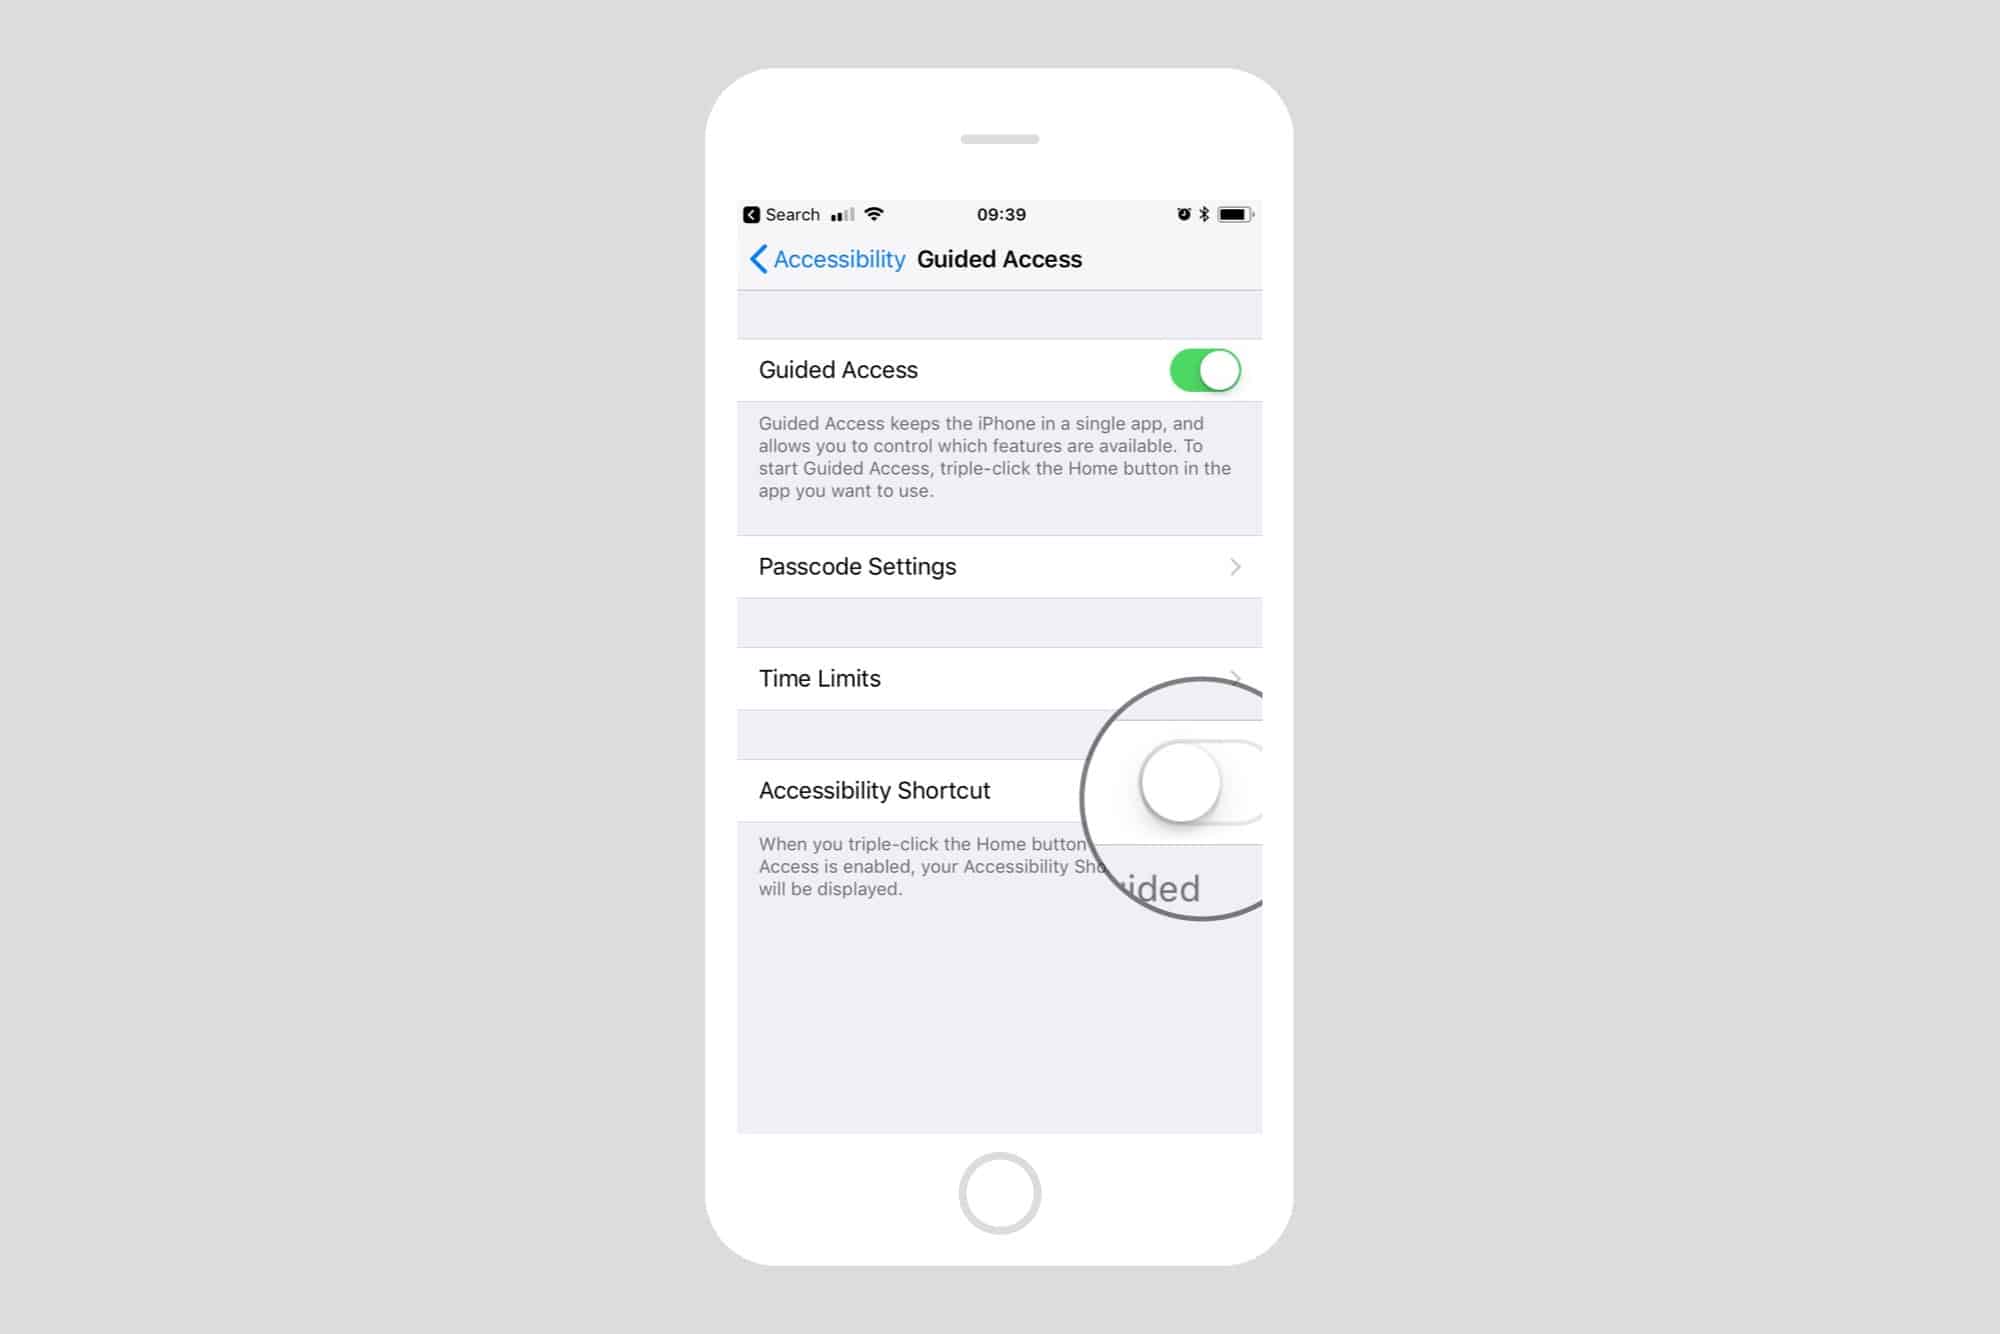
For all its power, Guided Access is super easy to use. First, you need to enable it, in Settings > General > Accessibility > Guided Access. Here you can switch Guided Access on and off, but a better option is to enable the Accessibility Shortcut.

Photo: Cult of Mac
This lets you triple-click the home button to enable Guided Access at any time. It also lets you triple-click the button to exit Guided Access, which is a nice safety rope to have when first testing things. You can ignore the other options right now.
Customizing Guided Access for your apps

Photo: Cult of Mac
Guided Access‘ purpose is to lock off parts of the screen, and/or the hardware buttons, to either prevent folks from tampering with the iPad (handy when the device is left unattended), or to stop accidental interactions (good for folks with impaired motor skills, or musicians thrashing around on stage). To get started, open up the app you want to restrict, and triple-tap the home button. In the panel that pops up, choose Guided Access. The app’s window will shrink back, and some new controls will surround it.
For this example, I’m using the guitar amp simulation app, ToneStack. I’m going to block off the controls that I don’t want to use, and disable the hardware buttons so I can’t accidentally adjust the settings, nor can I change the volume, return to the home scree, or sleep the iPad.

Photo: Cult of Mac
You’ll be invited to draw around areas that you want to disable. Go ahead and do this. Any shapes you draw will be auto-completed, and you can drag the shapes to resize them. Tapping the little X will delete the shape. I found the easiest way to cover up the controls I want to disable was to draw a small rectangle, then drag it over the area I want it to cover. Keep going until all the controls you want to disable are covered. You can also switch off touch support altogether. This option is good if your iPad only needs to display a slideshow or a movie.
Hardware options
You can also choose to disable hardware functions. To do so, tap Hardware Buttons Options, and toggle the functions you want. to have on or off. By default the Sleep/Wake and Volume buttons are disable, but you can also switch off keyboard support, and also motion.
When you’re ready to go, tap Start. The first time you use it, you’ll be prompted to add a passcode. Then Guided Access will begin, and you’ll be able to see the disabled areas covered with their gray transparent boxes. This is a nice indicator to remind you what’s available and what’s not.
How to end a Guided Access session
To end a Guided Access session, triple-tap the home button again, and tap Guided Access. Enter your passcode (you can turn on Touch ID support in the Settings app), and you’ll find yourself back at the Guided Access “editing” screen. Tap End.
Your device remembers the overlays you create for any apps you use with Guided Access, which means the next time you come to use it, you can just triple-tap the home buttons, select Guided Access in the pop-up, and the session begins. Combined with Do Not Disturb, and (if you don’t need the connectivity) Airplane mode, Guided Access can make your iPad as rock solid as a standalone appliance.


