Lightroom 5 is now officially official, and you can grab the final version from Adobe for $150 (there’s a one-month trial built in if you want it). Should you upgrade from v4? Probably. Unlike Photoshop, which adds more and more flashy-but-pointless features just to keep people upgrading, Lightroom is still young enough that the new features are super useful and – ironically – they also make it less and less likely you’ll need to resort to Photoshop to polish and fix your images.
There are lots of new extras, but these are the main new features:
- Advanced Healing Brush
- Upright
- Radial Gradient
- Smart Previews
- Improved Photo Book Creation
The healing brush now works like an actual brush, letting you paint on the area to be corrected and then move around a little source shape to choose which bit of the image is sampled to replace your selection.Previously you got a little circle to cover up blemishes, which was fine for zits and dust spots, but not for much else.
Speaking of dust spots, there’s now a new view to help detect them better, turning the picture into a kind of high-contrast B&W view that makes the dust pop out. Warning: If you didn’t know that your sensor has dust spots, don’t use this or you’ll go crazy.
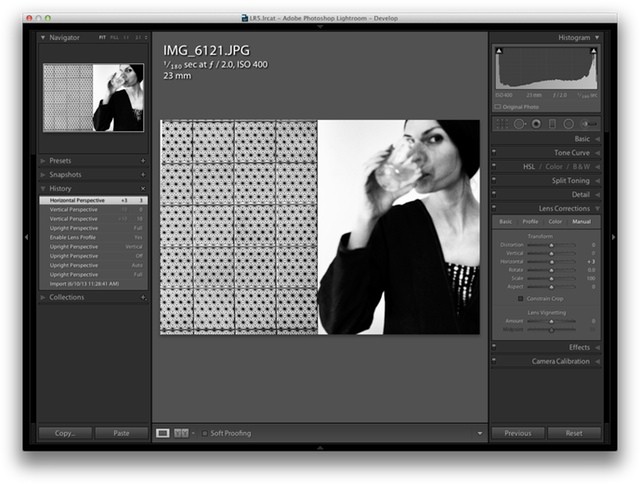
Upright is a perspective correction tool which will straighten horizons and even unskew the weirdest angles to make them right. It has several modes, and can help with less obvious things too. For instance, I used it last week to straighten up the tiled background in a photo that relied heavily on geometric patterns.
Radial gradients sound innocent enough, but they will more or less let you re-light your picture. You can add an oval to the image and use it to add in any of the effects you can access from the adjustment brushes. Thus you can “vignette” more than one part of a photo, highlighting two faces for example. Ot you can blur everything except certain chosen parts. And on and on. The smooth fade-in of the effects makes it look surprisingly natural, too.
And the big feature is Smart Previews. These are tiny previews of your RAW files rendered as lossy DNG files. That is, they are actual cut-down versions of your RAW files, only smaller than the actual JPG preview of the same photo. These files let you keep your catalog (the actual pictures from your camera) on an external drive and the Smart Previews on your MacBook’s tiny SSD, and yet still process and develop the photos. In fact, Lightroom actually uses the Smart Previews a lot of the time even when the main drive is plugged in, just to speed things up.
And because all LR edits are not actual picture edits at all (they’re just adjustment instructions written to a text file and applied to the RAW data on the fly, as it is rendered) you never need to plug in your photo drive unless you’re importing or exporting photos, or printing.
Like I said, there’s a ton more in here. I have my Lightroom set up to store the Smart Previews on my Dropbox, so I can use my iMac as a main machine but always have access to everything on my MacBook Air.
Lightroom 5 is available now for $149, and is not yet in the Mac App Store. It can also be had as a part of your Creative Cloud subscription.
Source: Adobe


