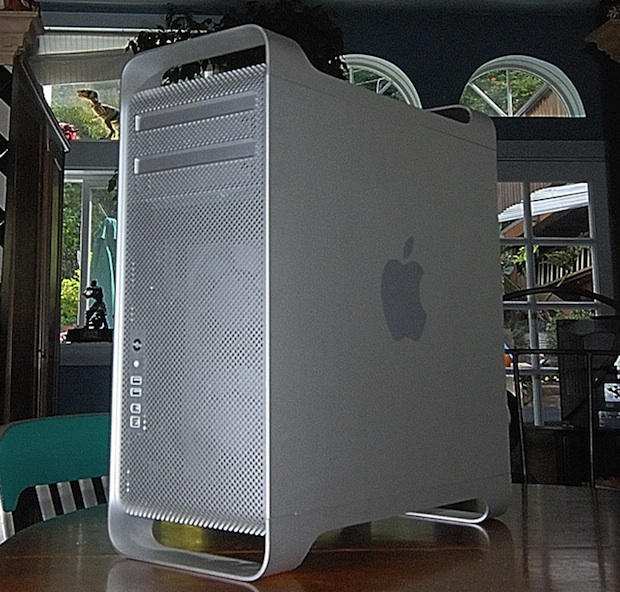
Convert your mild-mannered Mac Pro into a hard drive speed demon. Stuff it with drives fast enough to work with full-quality, uncompressed video. Get more than 300 MB/s on your internal drives! It’s so easy even I can do it!
I’ve been working in video production for the last 20+ years. When you’re working with video you need as much storage space as you can afford. You need a badass computer with big fat hard drives that scream.
You think you might wanna Hot Rod your Mac Pro? This easy, step-by-step guide will show you how.
This post contains affiliate links. Cult of Mac may earn a commission when you use our links to buy items.
What is RAID and Why Should You Care?
Intel Mac Pros have four slots for Serial ATA (SATA) hard drives. One of these holds your “Macintosh HD,” which stores your operating system, applications, system files and user files. I don’t know about you, but I bought my Mac bare bones. I did not order any extra drives so my Mac came with three empty slots. That’s going to change real fast.
The largest SATA drives available at present hold around two terabytes. That’s a total of eight terabytes if you install two terabytes per slot. Fast SATA drives read around 80 to 90 MB/s. (megabytes per second)
In order to play full-frame uncompressed 10bit HD Video, the required read/write speed is around 240 MB/s, according to BlackMagic Design. So how can we reach this seemingly impossible read speed when all we have are drives that read under 100 MB/s?
We do it with a RAID array.
RAID originally stood for “redundant array of inexpensive drives,” the “I” in RAID was later changed to “independent,” but we won’t get into that.
In a RAID 0 or striped configuration the data is distributed among multiple drives in a way that increases speed. In essence, the multiple drives in a RAID act like one big fast drive.
RAID drives are quite versatile. Instead of speed you can decide to increase reliability by using RAID 1 configuration, also called mirroring. It’s like instantly backing up your data as it is written. There is no speed increase when using RAID 1, but you can rest easy knowing everything you save is backed up simultaneously.
If you have enough drives you can mirror a pair of striped drives and have redundancy and speed. You can find much more information on the Internet about RAID and the many different configurations available.
What Are We Building Anyway?
We are building a Mac Pro with one very fast system drive and an internal RAID system with four SATA drives. Plus, we are installing an eSATA port. The eSATA port will allow us to quickly backup our media on external drives when we need to. Wait a minute — that adds up to five drives. I thought you could only fit four drives total in a Mac Pro? Not anymore.
Mac Pros have two optical bays. Unless you ordered two DVD recorders with your Mac Pro the bottom bay is empty. This is where we will install the fifth drive. Luckily there are two internal SATA connectors just below the optical drives on the logic board, and they are not being used. Great, we will use one of these to connect the fifth drive.
Did you think I was going to let the second internal SATA connector go to waste? I’ve always wanted an eSATA plug on my Mac. eSATA is one of the latest external interfaces and is about three times faster than USB 2.0 and Firewire 800. The only downside is that eSATA is not hot swappable. I don’t mind.
I am going to use my Apple Mac Pro with 2.8Ghz Quad-Core Intel Xeon Processors and eight gigabytes of RAM as our guinea pig. Don’t attempt this unless you are between projects. Never do any upgrades or modifications in the middle of a project. Excrement Happens.
I’m going to assume you have plenty of RAM. What good is having fast drives when you don’t have enough RAM to load your editing and photo software? RAM is relatively cheap, get as much as you can afford. We’re not here to talk about RAM, so lets move on.
Ingredients
Here’s a list of what you’re going to need:
4) 1TB SATA Drives (Amazon: Western Digital 1 TB Caviar Green SATA Intellipower for $84.99)
1) 300GB VelociRaptor (Amazon: Western Digital 300GB SATA for $229.00)
1) 10” SATA/SATA 7-pin cable (Amazon: $8.98)
1) Noiseblocker 3.5” to 5.25” Adapter Bracket (Amazon: $27.99)
1) SATA Power Connector / 4-pin male to 15-pin SATA (Amazon: $0.05)
1) eSATA Extender Cable (Amazon: $24.95)
I elected to get four 1TB drives. They are not the fastest terabyte drives out there but they are less than $90 each. You can decide to get faster drives and will surely exceed my RAID speeds if you do.
For the system drive (Macintosh HD) I decided on the 3.5” Western Digital VelociRaptor. This 300GB drive spins at a whopping 10,000 RPM and is said to be one of the fastest around. With a name like VelociRaptor it has got to be a screamer. This will help to speed-up all system and software related read/writes.
The optical drive bay in the Mac Pro is 5.25.” In order to fit this high-speed omnivore into the optical bay I used an adapter bracket called “Noiseblocker” It allows you to install a 3.5” drive into a 5.25” bay.
You will also need two cables. A 10” internal 7-pin to 7-pin SATA cable and a SATA power adapter cable, which has a 4-pin male power connector on one end and a 15-pin SATA power connector on the other.
Newer Technologies makes the eSATA extender cable. This cable connects to the internal SATA connector on the logic board and gives you an eSATA in the back of your Mac Pro, which fits in one of the PCI card slots. This allows you to use the much faster eSATA external drives available today.
Let’s Do This!
Before we go on, remember I cannot be responsible if you damage your computer while attempting to modify it. I would think that installing the fifth drive in the optical bay might void your warranty with Apple. Check with Apple and or do your research before commencing. By no means is this a comprehensive instruction manual. Continue at your own risk.
First you must clone your system drive. I use Carbon Copy Cloner. Use “Macintosh HD” as the source and the 300GB VelociRaptor as the target disk. You can also format the 4 drives that are going into the internal slots. They usually have Windows formatting from the factory. You might get away with formatting them after you install them into the slots, but I’ve never had four drives simultaneously need initializing.
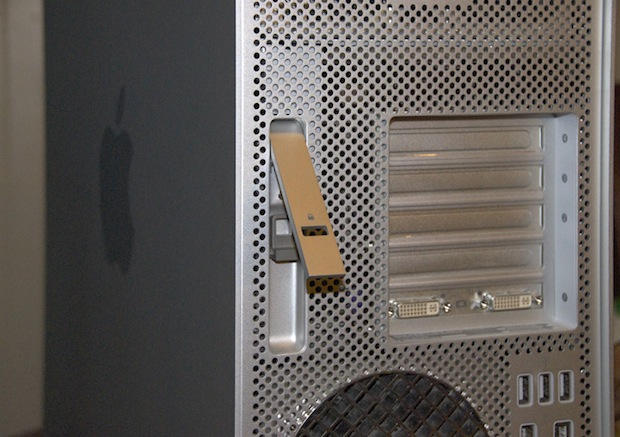
Disconnect all cables and power cord on your Mac Pro. Open the latch and remove side access panel. The Newer technology installation manual for the eSata extension cable covers this part of the installation rather well. Please follow it carefully.

Pull out the four drive brackets. I love Apple for this one; these brackets are great. Slide them out, attach a SATA drive slide them back in, genius!
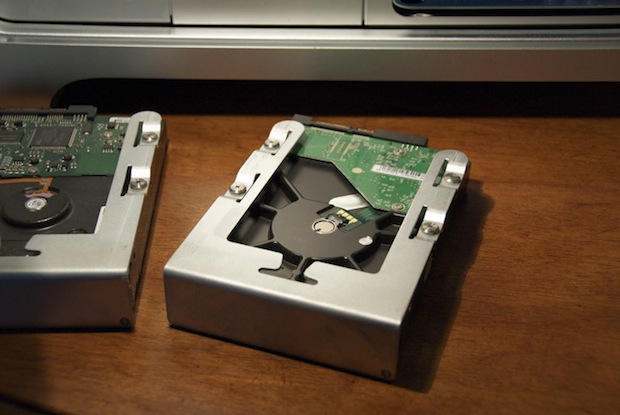
Don’t slide them back in yet, just install them in their brackets for know and leave them on you workspace.
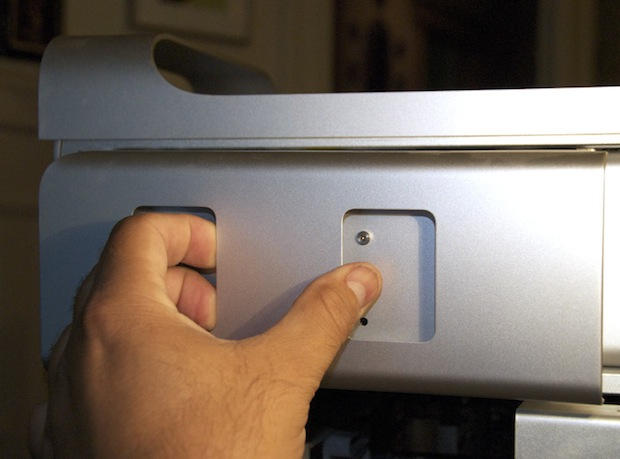
Carefully remove and disconnect the optical bay.
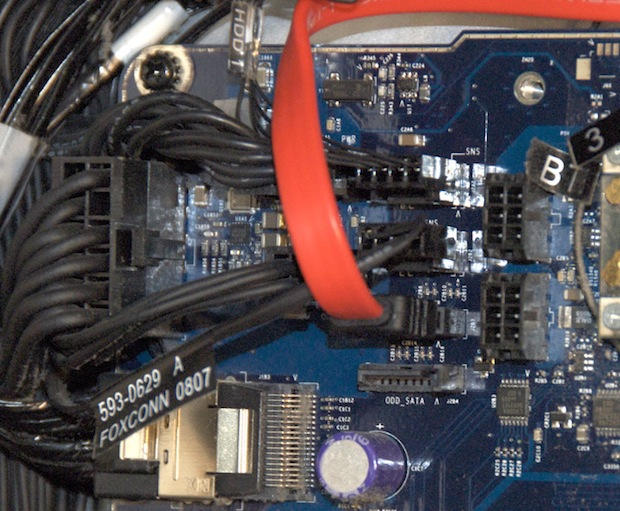
After removing the processor cover (it’s held by magnets) and the fan, install the eSata extender as shown in the instruction that came with it. I happened to use the top SATA connector.
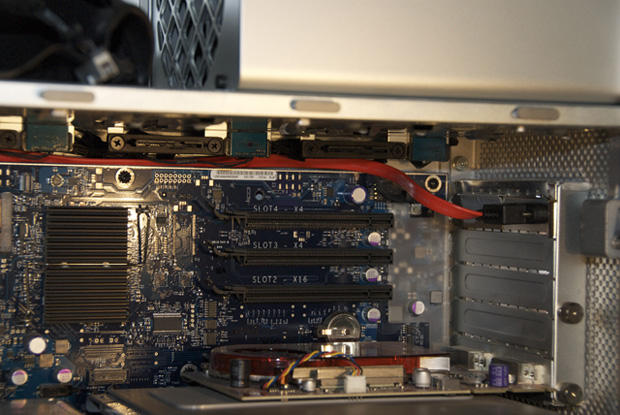
Route it all the way to the rear and insert into the PCI slot.

Connect the 10” SATA/SATA cable to the remaining SATA connector and route it up through the front of the optical bay – follow the other cables that are there.

Also connect the 4 pin power cable to the piggybacked IDE power cord that connects to your DVD recorder.
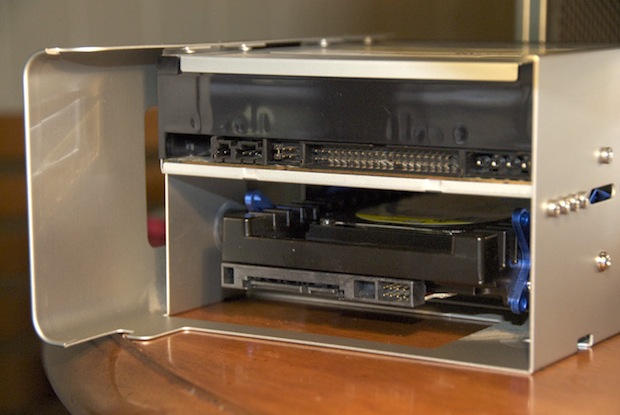
Follow the instructions that came with the Noiseblocker bracket and install the VelociRaptor in the bottom optical bay.
Now it’s time to connect everything back and install the fans and all else.
Let’s See if it Works
Hold your breath. Boot the Mac. If you were able to clone the VelociRaptor successfully you should get a good start-up.
The four drives should come up as separate drives and if you formatted them before installing them they should be ready to RAID.
Open Apple’s Disk Utility and set-up your RAID. Select any one of the four disks. Select RAID and drag all four into the window. Make sure you select Mac OS Extended, and under type, select striped RAID set. Click on Options, I used 256K. Run it and your done.
Lets see what kind of speeds we’re getting now:
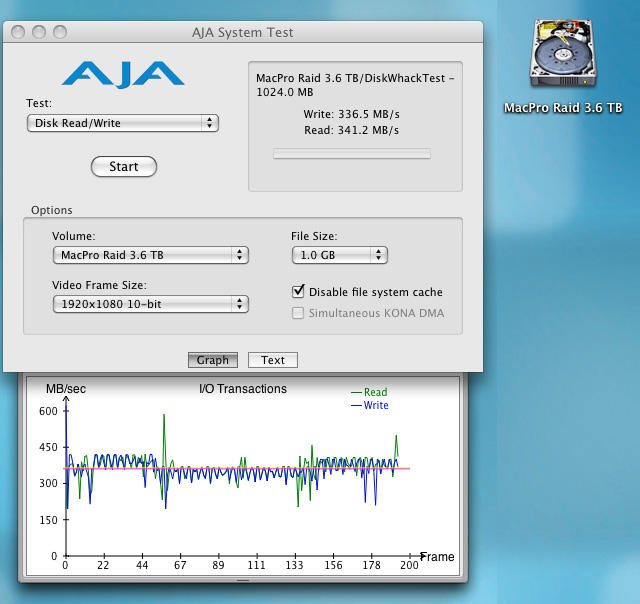
The AJA system test shows some screaming badass results for a software RAID running average speed SATA drives. This RAID is reading a whopping 341.2 megabytes per second! Theoretically, we can play uncompressed HD with those speeds. I’m impressed; I’m easily impressed though. I’ll see how this RAID performs in real world conditions as I start to use it on my next projects. I’ll let you know how it goes.
