VSCO is a fantastic photo app for iPhone and iPad, and it lets you shoot some killer photos as well as edit them directly in the same app once you’ve taken your masterpiece.
The app is universal, which means it works well on iPhone and iPad, natively. The extra screen real estate, however, makes VCSO on iPad a fantastic choice just for editing any photos you like, whether you took them with your iPad, iPhone, or any other camera you might have.
Here’s how.
Import images to VSCO on iPad

Photo: Rob LeFebvre/Cult of Mac
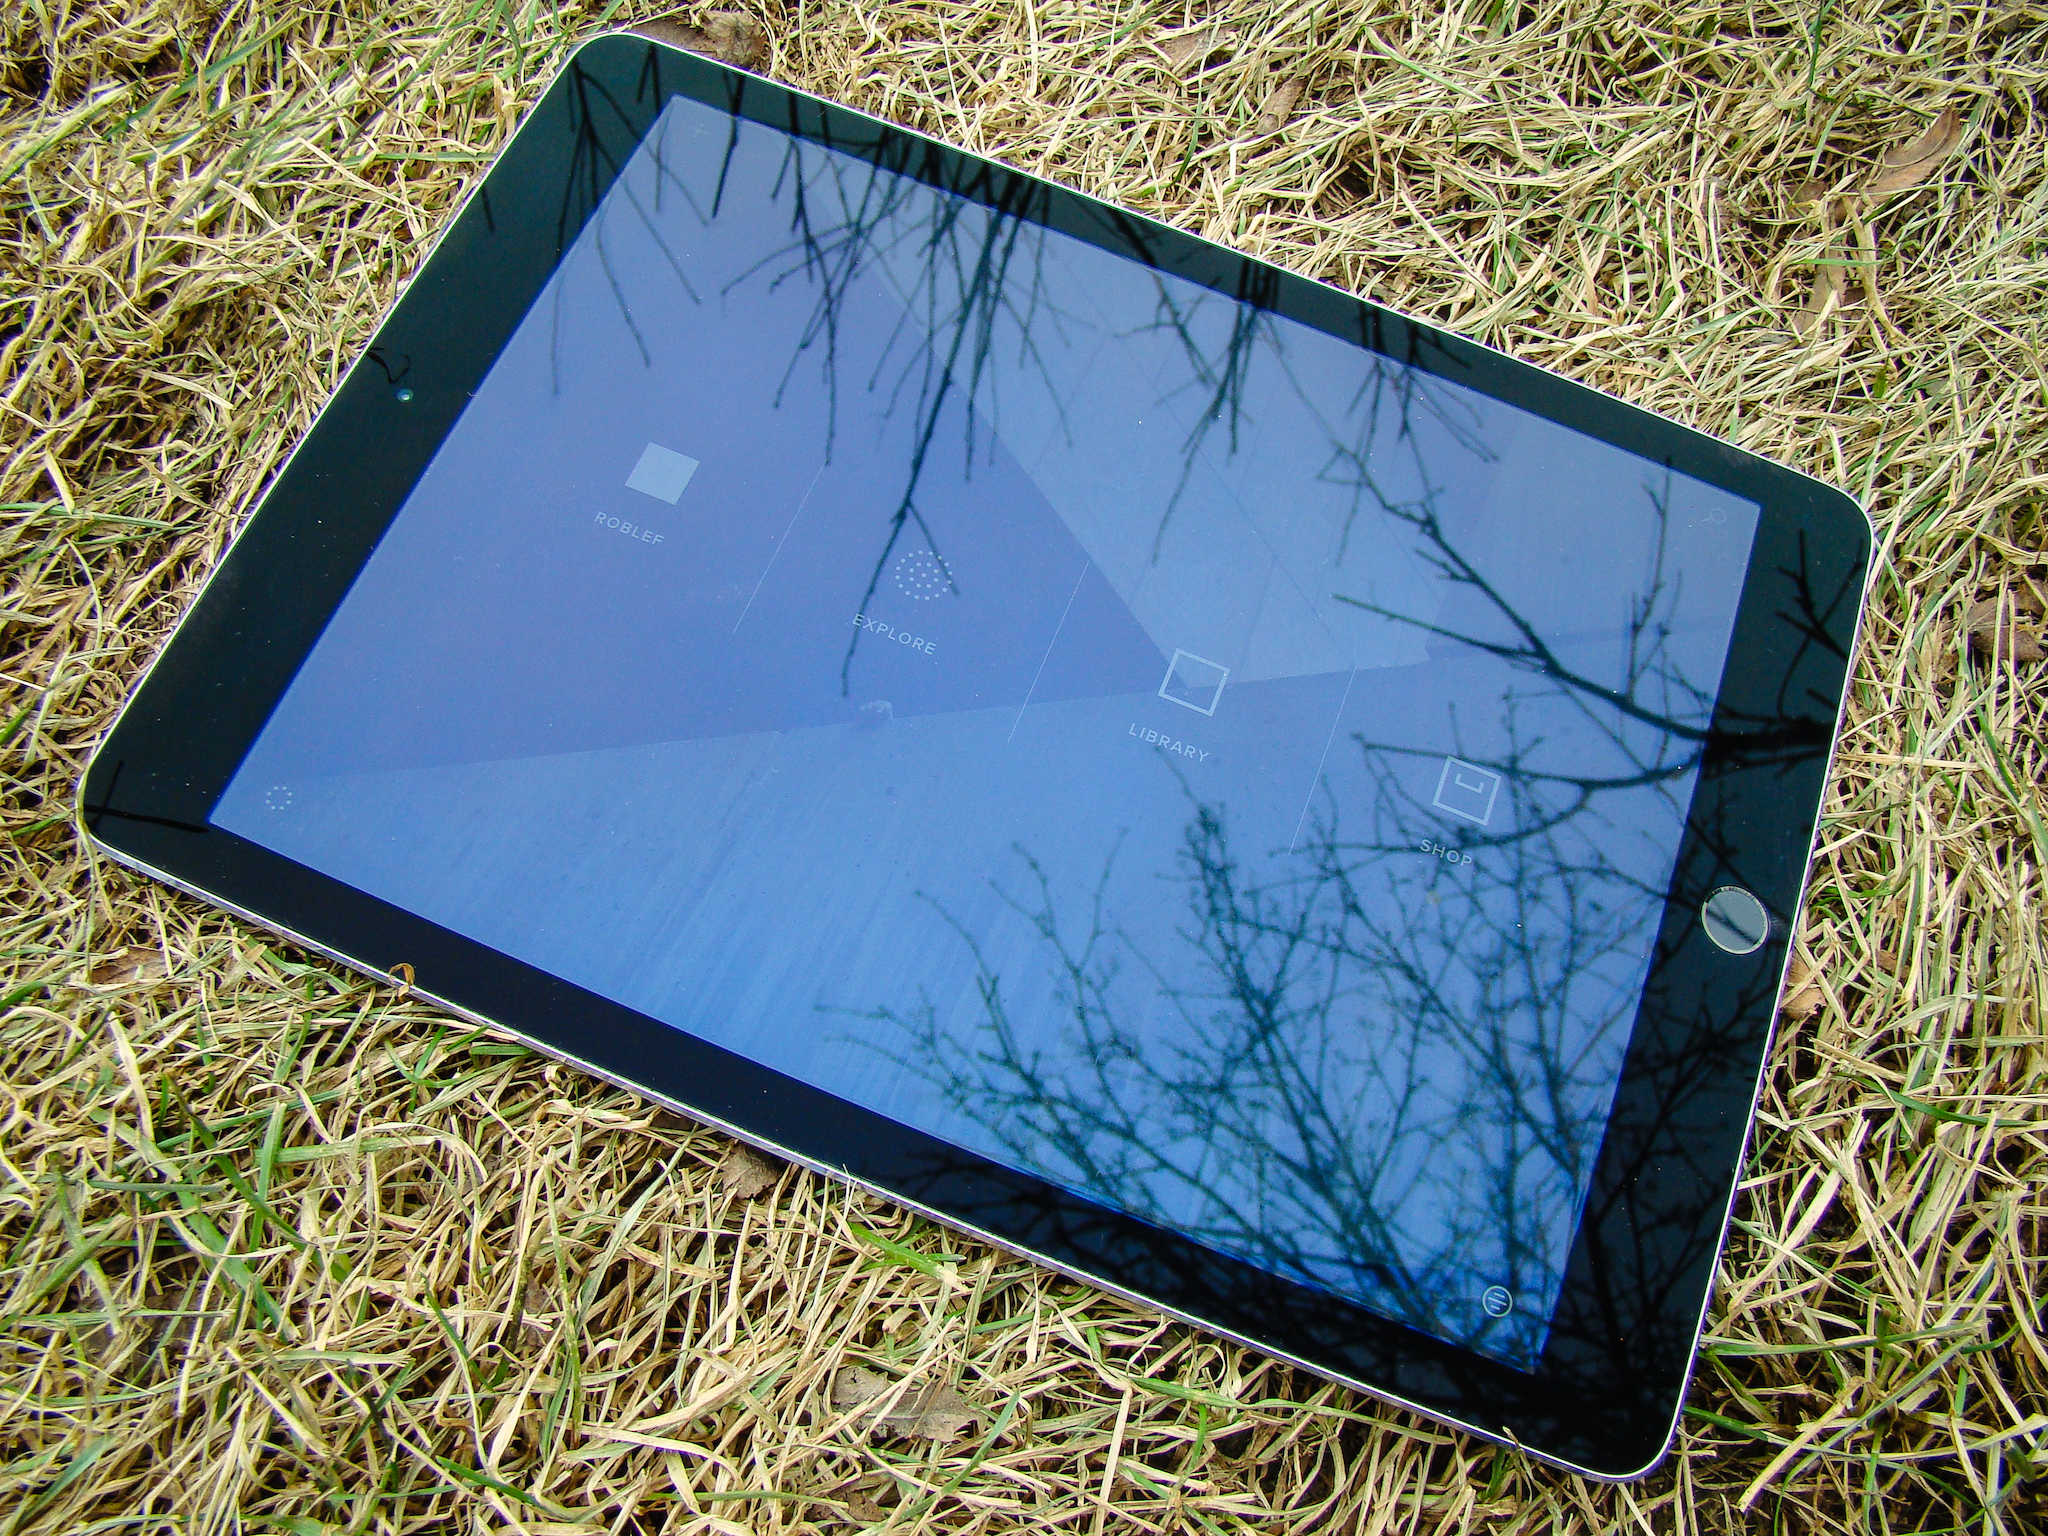
When you launch the app for the first time, you should see four choices: your own VSCO account, Explore, Library, and Shop.
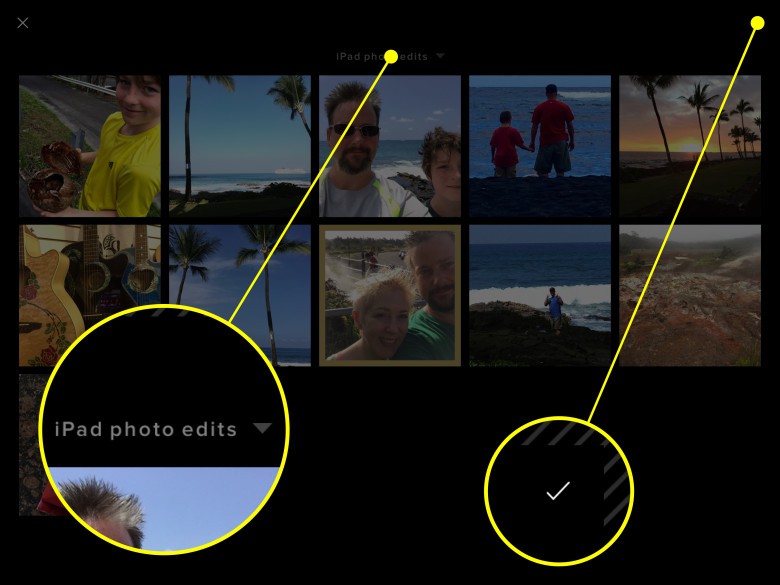
Get the photo or photos you want to edit to your iPad’s Camera Roll via AirDrop, email, or iCloud Photo Library. Tap on the Library button, then the plus button on the left side of the screen. You’ll see all the photos on your iPad’s Camera Roll there.
Tap on the All Photos menu at the top of the screen to choose a specific Album. Finally, tap on the photo you want to import to VSCO, then tap the checkmark in the upper right corner.
Basic editing with VSCO filters
Now you’re in the editing screen. Tap the little adjustment slider icon to the left to begin editing. You’ll see four new icons once you do: a paintbrush for filters, a wrench icon for more specific adjustments, and a checkmark/X button to accept your changes when done.

Photo: Rob LeFebvre/Cult of Mac
Tap on the paintbrush icon to see all the preset filters you have onboard (you can buy more than just the free set in-app). Tap on the ones you want to preview and your main photo will change according to the filter itself. Use the slider to the right to apply more or less of the effect itself. You can get some great, subtle changes this way.
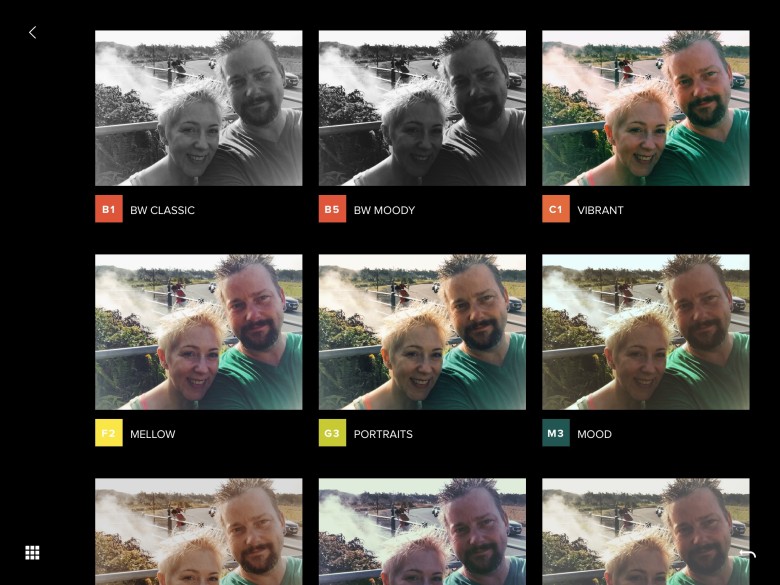
Photo: Rob LeFebvre/Cult of Mac
If you want a quick look at all the filters in one place as they’d be applied to your photo, tap the little grid icon in the lower left, then swipe up to see them all.
Once you’ve chosen your preset and effect amount, you can tap the left arrow in the upper left corner of your iPad’s screen. Now it’s time to apply some more advanced adjustments.
Advanced VSCO edits
There should be 19 different advanced editing tools along the left edge of your photo now; swipe up and down to see them all.
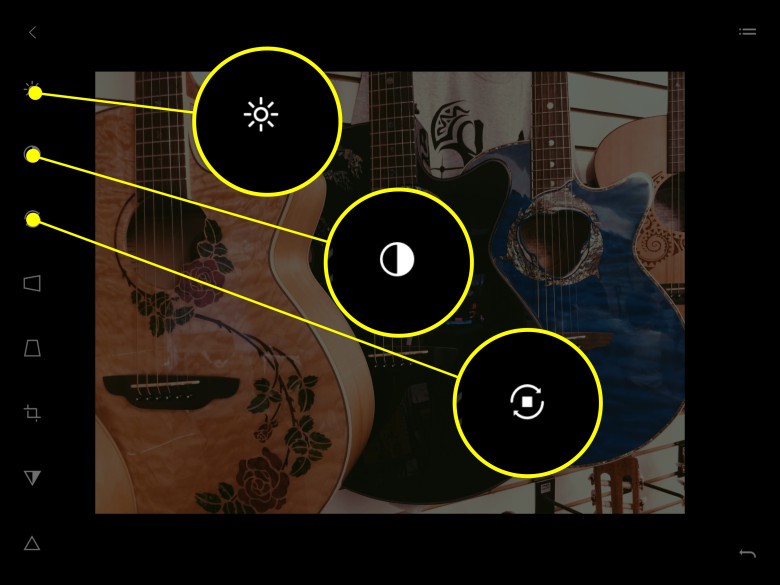
Photo: Rob LeFebvre/Cult of Mac
Tapping the exposure and contrast buttons allows you to adjust these parameters with the slider the shows up to the right of your photo; simply slide a finger up and down the vertical line to apply more or less of each.
The straighten and horizontal/vertical perspective buttons puts a slider on the left side of your photo. Slide up and down to rotate or tweak your photo into a different perspective.
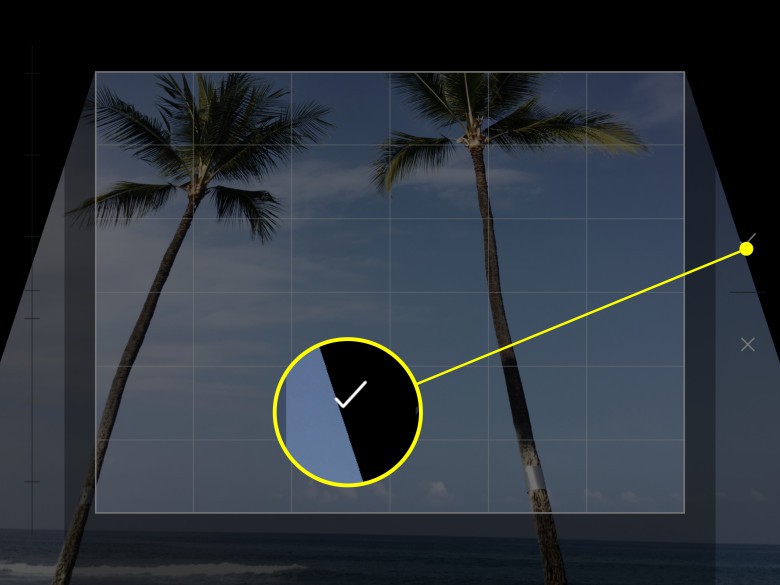
Photo: Rob LeFebvre/Cult of Mac
The crop tool works similar to most others you’ve probably seen: simply choose a ratio on the left, then tap and drag any of the four corner handles of the selection area to choose your crop. Tap on the checkmark to accept changes.
The next icons down the toolbar all use a slider on the right, as well: clarity, sharpen, saturation, highlights, shadows, temperature, tint, skin tone, vignette, grain, and fade. All you need to do for each of these is to tap the tool on the left, move the slider to the right up or down, then hit the checkmark button.
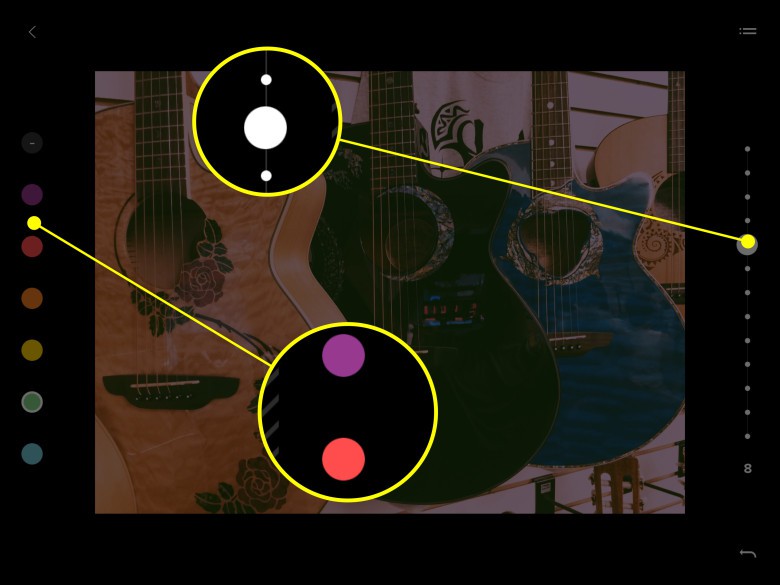
Photo: Rob LeFebvre/Cult of Mac
The final two tools let you mess with the tint of the shadows or the highlights, giving you more interesting changes to the less-obvious portions of a photo, making for unique output. Tap on one of these tools (near the bottom of the vertical toolbar on the left) and then choose the color circle that appears of the left to tint the shadows or highlights of the photo. You can also move the slider on the right to increase or decrease the tinting you’ve chosen.
Sharing from VSCO on iPad
You can share your photos to the VSCO portfolio area if you sign up for a VSCO account in the app, then tap on the up arrow icon in the main editing screen. Type a description into the Publish area, then tap on the Facebook or Twitter icon if you also want to share to those social networks.
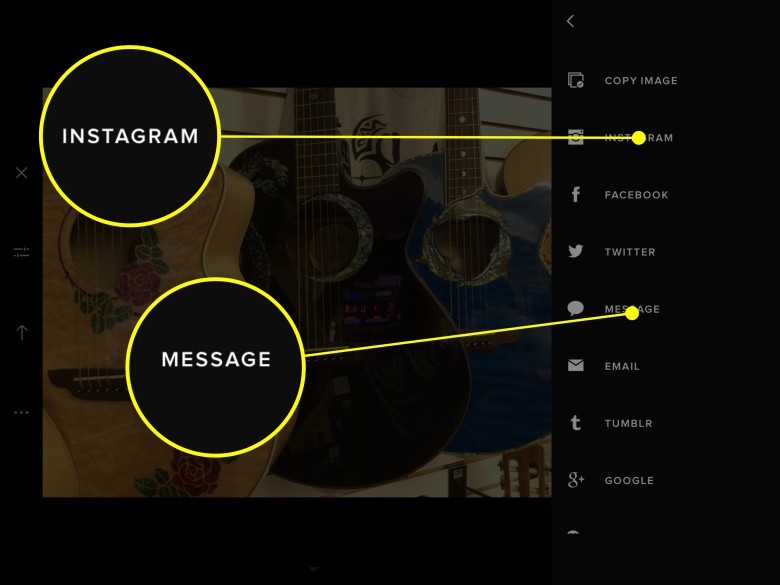
Photo: Rob LeFebvre/Cult of Mac
Tap on the three horizontal dots to get more sharing options, like Instagram, email, Tumblr, Google Plus, and the like, or save directly to your Camera Roll. You can also print the photo right from VSCO to any printer that works with your iPad.
Now you’ve got a ton of ways to create unique, interesting, and eye-catching photos with VCSO on iPad, whether you use the app to take them or not. Grab VSCO on the App Store now for free.
