I started writing stories this year – short fiction and a couple of novellas so far – and I’ve found I need to make a lot of notes. The iPhone is pretty great for this, as you’d expect, but not always: Sometimes it’s just not appropriate to tap away on a cellphone, and sometimes you might want to make little drawings, or maybe you just find it easier and faster to pull out a paper notebook or index card.
The biggest advantage of iPhone notes is that they are sync-able and searchable. Paper is neither. But using a combo of apps, old-school paper hacks and an easy-to-maintain “workflow”, I came up with a simple note-taking system that keeps paper and pixels together, both equally searchable, sync-able and usable.
Here’s a rundown of all the apps (and services) you’ll need so you can download (or sign up to) everything before we begin. That said, you probably have most of them already:
Evernote, Pinboard, Drafts, Clever Snap, IFTTT, nvALT and Scrivener.
Overview
The idea is that you have two inboxes for your notes, one for paper and one for plain text, and another to collect snippets from the Internet. All of them end up in Evernote (if you like – I keep my text notes separate for reasons we’ll see in a bit).
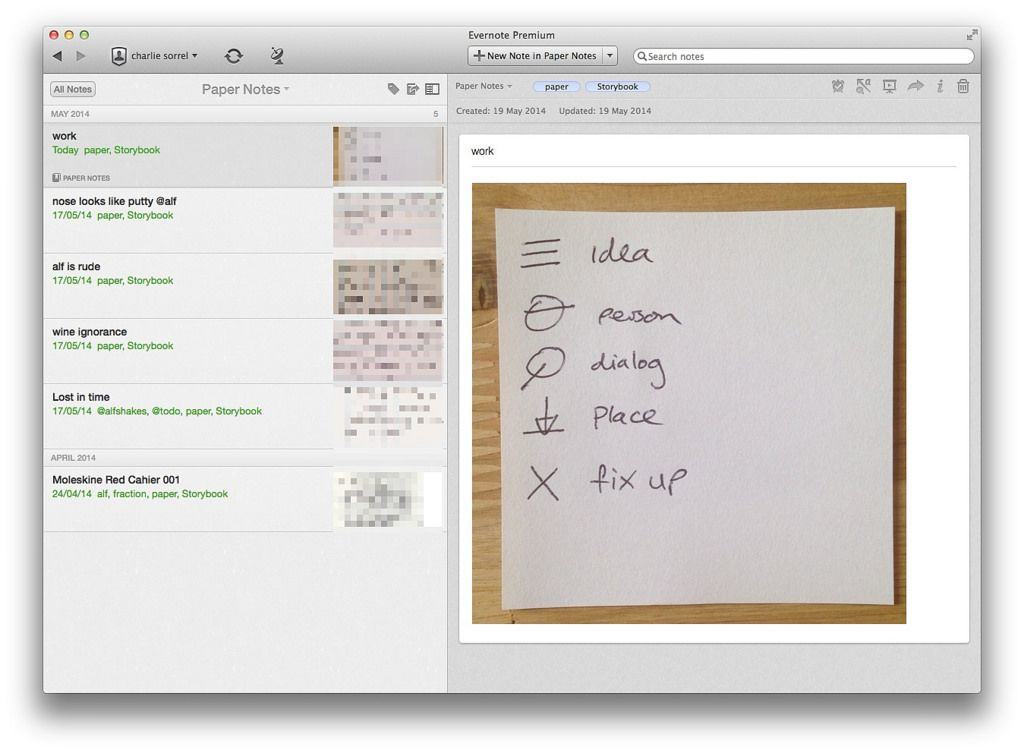
The beauty of this is that Evernote will not only index the handwritten notes and let you search them, it will also make suggestions for other related notes when you’re viewing. That’s the kind of thing that can spark inspiration. And as Evernote is also available everywhere, even in the browser, you can access your notes from anywhere.
If note capture was perfect in Evernote, this article could stop here. But it isn’t. It’s terrible, which is why we’ll need some help.
Paper notes
I carry a little Moleskine cahier notebook [1] in my front right jeans pocket at all times, along with a Jetstream pen. Sometimes I use index cards. And for sessions where I really want to write some long notes, I use my awesome Baron Fig notebook, but I almost never scan anything from that – this method is for short notes only.
What I do is take a quick note whenever anything grabs me. A bit of dialogue, an idea, a situation or a detailed description of something I see and want to remember later. You can get away with taking notes during dinner in a restaurant, or in the middle of a conversation – try that with an iPhone – so it really is handy.
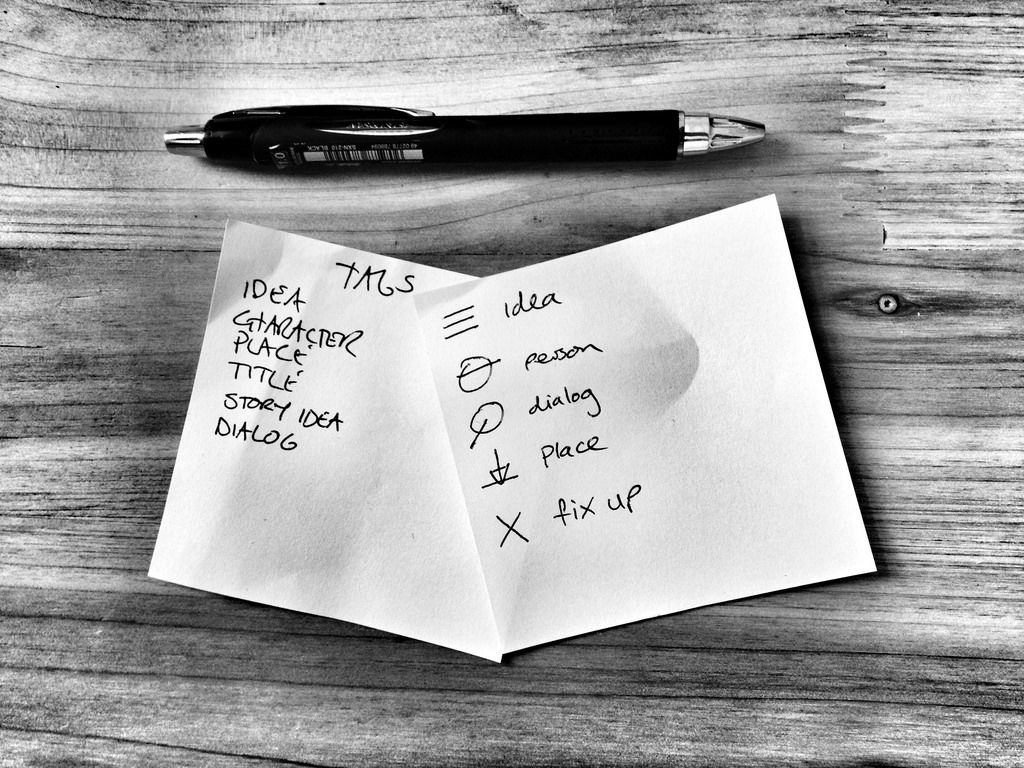
To aid me when it comes to finding a note, I have a system of symbols. I also draw a line across the page after each note to separate them. Here are my symbols:

A quick explanation. Ideas are just that. It can be a whole story idea or a just a neat twist for a current story. I can process these notes further later if I like, but idea is usually just enough.
Person is a note about a character. Perhaps an idea for a new character, or a trait for an existing one, or something odd that I saw a person in the street do. Anything related to characters gets this symbol (which is a simplified face – the line means eyes).
Dialog is snippets of dialogue or whole conversations. The symbol is supposed to be a speech bubble. The line comes out on the left so it doesn’t look like a Q.
Place. This is for locations or settings. See a creepy-looking alleyway? Describe it, and tag it with the little arrow to remember what you wrote about.
The X is for things I need to fix. I might remember that there’s no way for Marty to scare his dad into fighting Biff if he doesn’t first take his Walkman with him back to 1985. Fix up is the place to remember corrections to current stories.
In addition to these symbols I sometimes use capital letters to remind me which story I’m writing about. Sometimes I get fixer-upper ideas for a first draft that’s waiting in cold storage while I’m working on a new story. A letter helps me know which is which.
I’m not saying you should adopt my symbols, although you totally can. I arrived at these by use – I tried a bunch and these are the ones that stuck. In my first notebook I drew them inside the front cover until I learned them. Now they’re automatic.
Next up, scanning. To make a new photo note in Evernote, you need to open the iOS app, then navigate tap-by-tap back to the first page, then tap the camera button, then choose what type of picture you want to take, then tap to take it, then tap OK.
Clearly that’s not going to work. So instead we’ll use…

Clever Snap
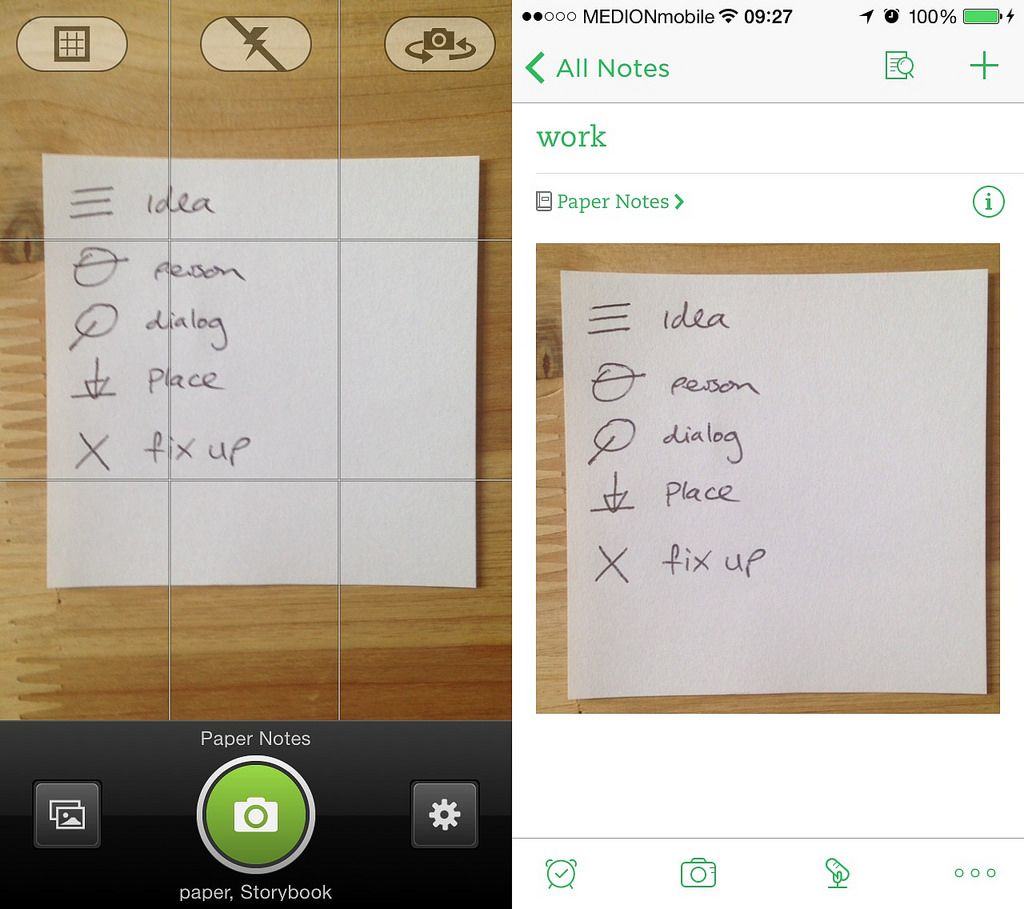
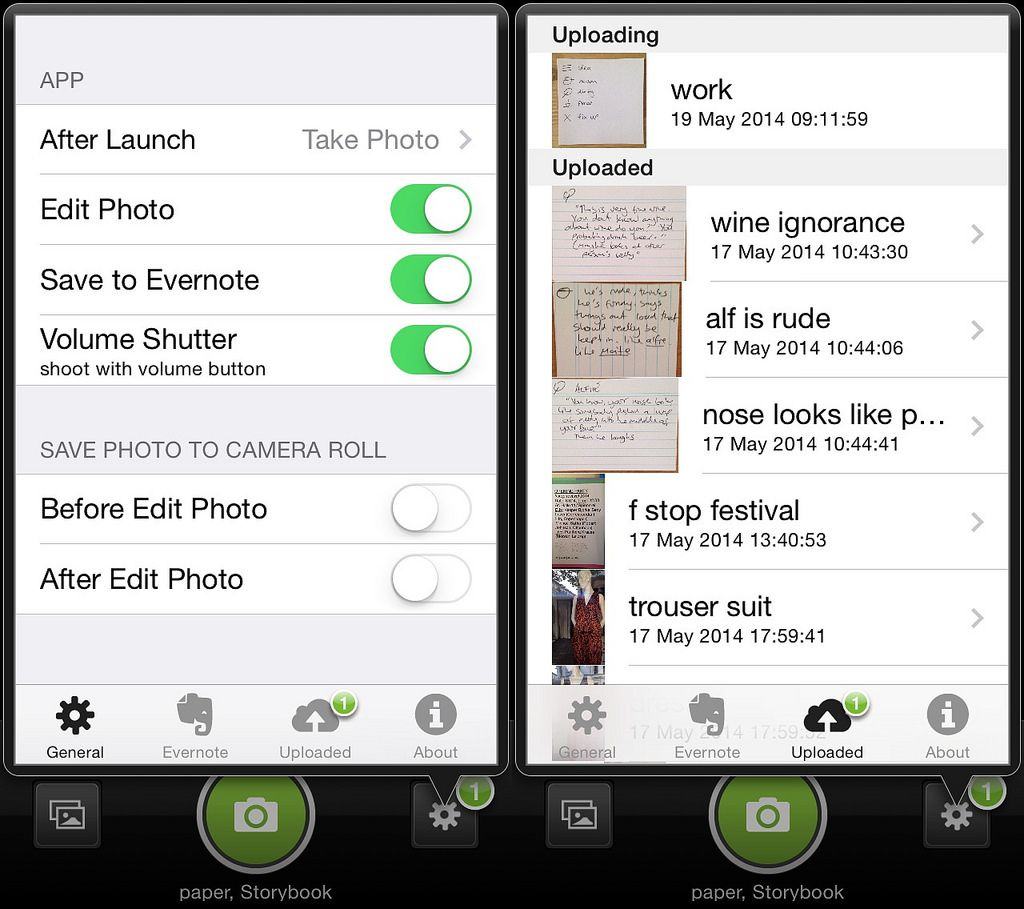
Clever Snap is an iPhone and iPad app that opens to a camera view and lets you snap a picture straight into Evernote. If you like, you can edit the pictures (I have this switched on so I can crop images) and add titles, or you can just have the photos saved direct to Evernote.
The options are all useful, and all toggle-able so you can switch them off if you like. These include saving to the camera roll, adding some predefined tags before upload, popping up a dialog box to add a title, and whether to save the photo’s location. Clever Snap is just about the best app for adding pictures to Evernote that I’ve yet found. It can even handle multiple accounts.
I have mine set to allow editing so I can crop the scans before upload. I also have location recording switched on (because why not?), and I have the app save my pictures to a dedicated Evernote notebook called “Paper Notes,” with the tags paper and Storybook. Storybook is my catch-all tag for anything that relates to fiction writing – these scans, notes taken in Drafts and also web pages saved from Pinboard.

Do I scan my pages as soon as I’ve written them? No. What I do is, every day or two, run through the pages and snap each note, cropping it if it only takes up part of a page and giving it a quick title to help with searching in the future (you could also add @ tags in the title, but that’s advanced stuff right there!). And speaking of searching, Evernote’s handwriting recognition means you can search on all those notes.
A variation is to use index cards, and make just one note on each. I like this too, but it’s easier to just take notes in a notebook. Scanning and processing shouldn’t interfere with the capture of the notes. Also, I tend to only write on one side of the index cards, which is clearly bad for the planet and the future of the dolphins.
A quick note on scanning
Before I settled on scanning one note at a time, I waited until the end of a book, cut off its spine with a pair of kitchen shears and fed the pages into a Doxie scanner one by one. I then saved all the pages into one Evernote notebook, which is nice for browsing but useless for anything else: The notebook tends to show up in every search I do, and getting to the relevant section is a pain.
The piecemeal approach wins. Also, because each snippet has a useful title, I can quickly scan the search results to locate the note I’m trying to find.
Next: Dealing with iPhone notes and web research
You might also like Part 2 of this series, which covers taking text notes on your iPhone and syncing them into Evernote, and Part 3, which shows how to quickly suck your web research into Evernote using IFTTT and Pinboard (coming soon).
-
I don’t like Moleskine books much – the paper bleeds and the prices are absurd, but they’re easy to find and they fit in a pocket just fine. ↩


