John Gruber’s three keys to Internet success are:
- A fussy way to make coffee
- A clicky keyboard
- A SodaStream
I’m no longer 12 years old, so I’ll skip No. 3, but I’m so deep into Nos. 1 and 2 that it more than makes up for my aversion to carbonated drinks. The keyboard is the majestic Filco Majestouch 2. And the fussy coffee method is the AeroPress.
This post contains affiliate links. Cult of Mac may earn a commission when you use our links to buy items.
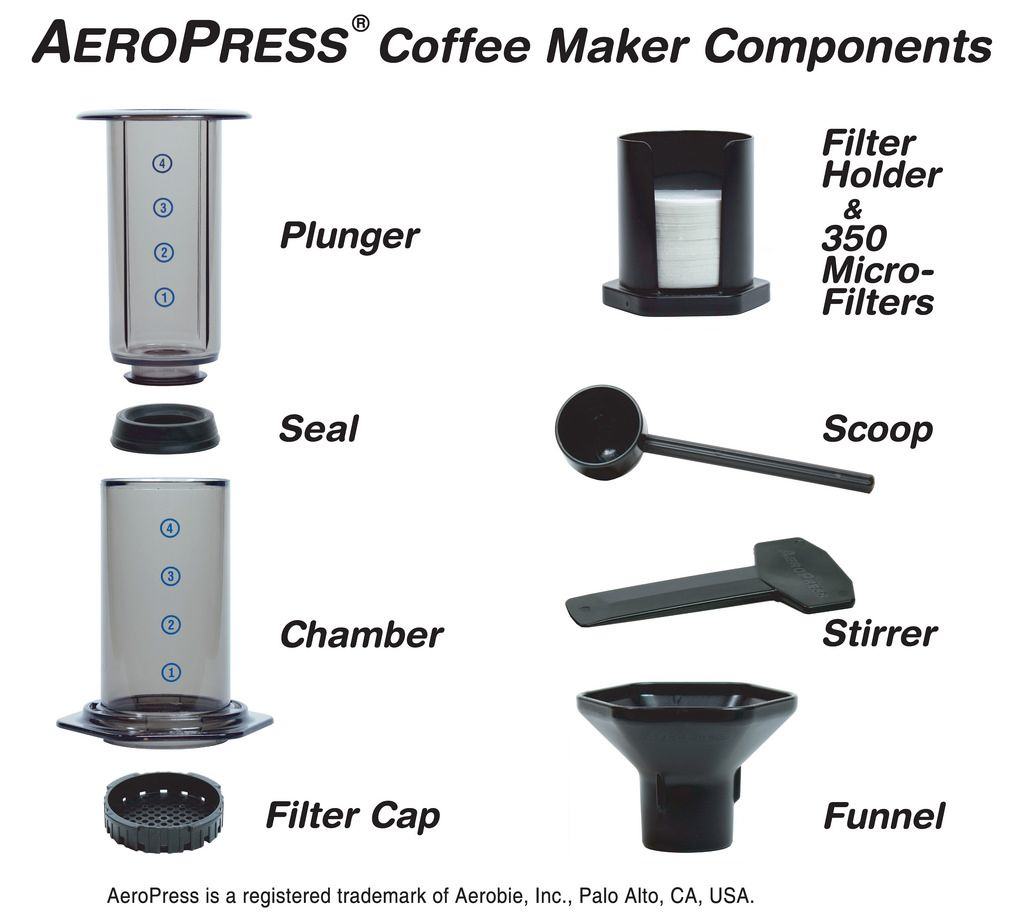
The AeroPress is nothing more than a plastic tube with a perforated cap and a plunger that pushes coffee through a paper filter held in the lid. It’s like a giant syringe for injecting caffeine into your cup.
The AeroPress is a giant syringe for injecting caffeine.
It comes from Alan Adler, inventor of the Aerobie flying disk. (If you owned a company that was expert in making plastic and silicone widgets and you wanted a better coffee maker, you’d probably do the same as Adler and make your own.)
Ever since I bought my first AeroPress in January 2012, my other fussy coffee gadgets have stayed in the kitchen toy chest. It manages the magical feat of making the best coffee I’ve ever had, while being one of the quickest and easiest ways to make this brew of the gods. A novice can open the box and – in just a few minutes – enjoy a cup of coffee that shows up that K-Cup crap for the simplified sludge it is.
I bought my AeroPress in the Fashion Show Mall in Las Vegas. They weren’t available in Spain at the time, so when I arrived for CES I forced Buster and Erfon to drive me there on my very first day in town. I don’t think a day has passed since when I haven’t used the AeroPress at least once. The Lady is a convert too, which is why I bought a second unit so she wouldn’t have to go without when I’m traveling.

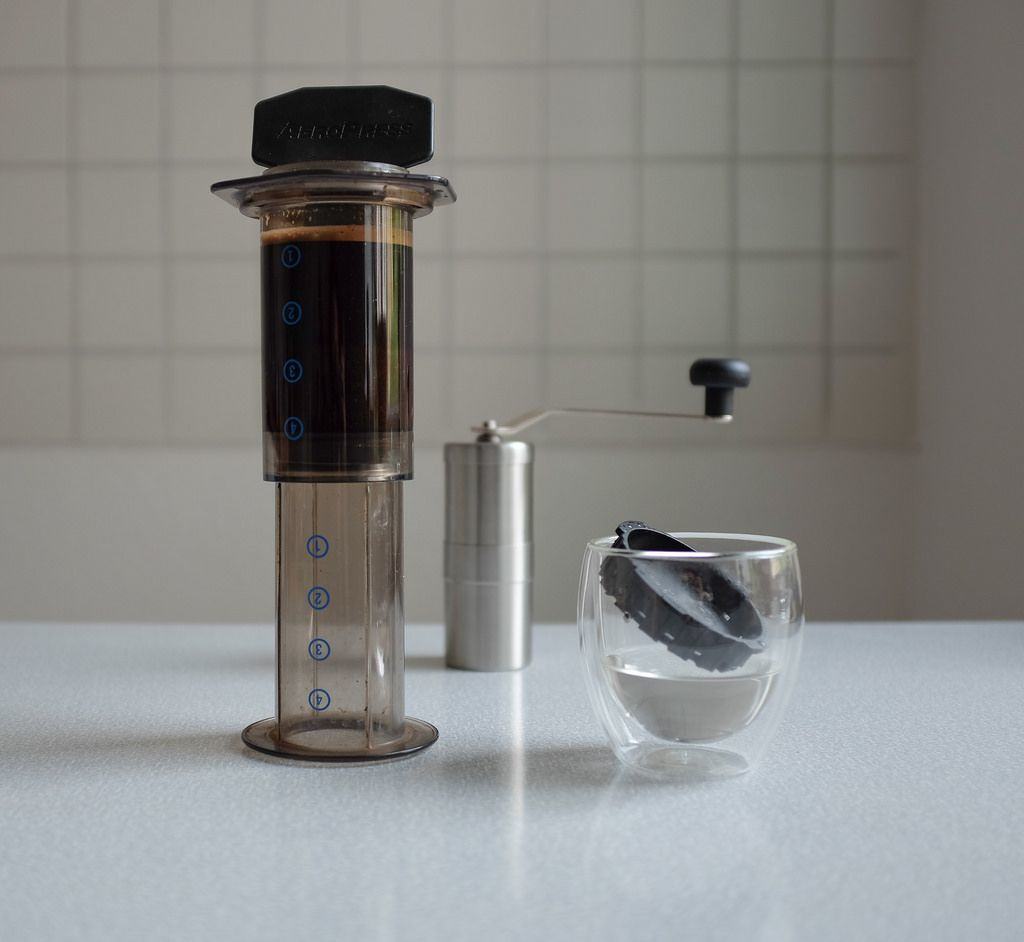
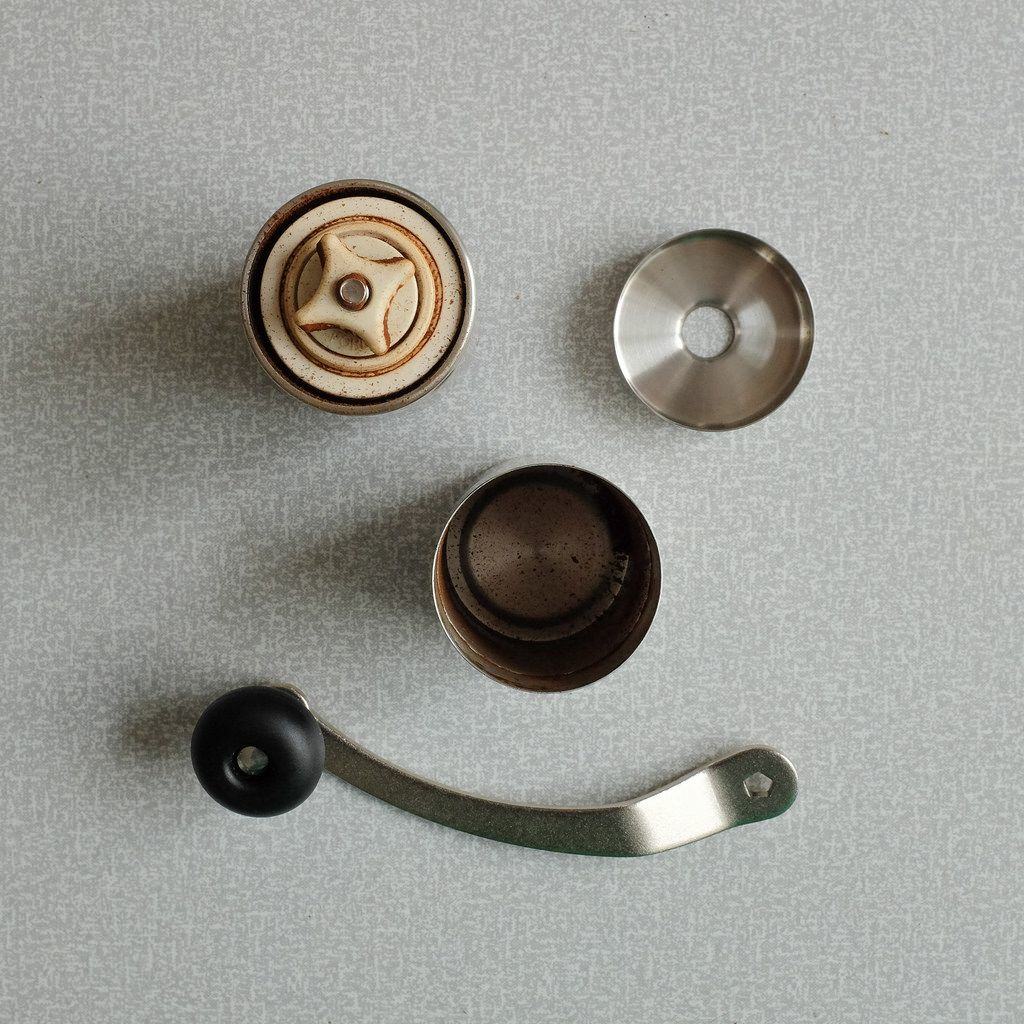
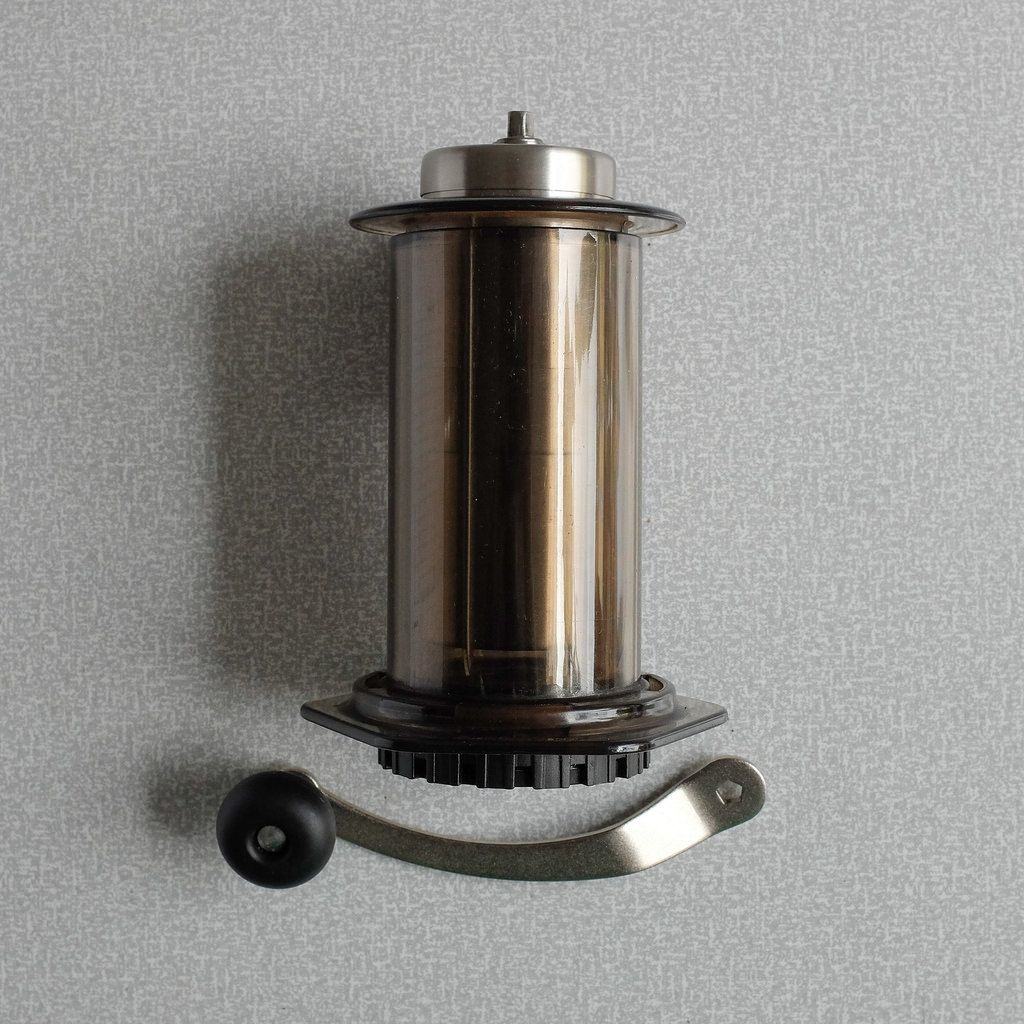
The AeroPress is the perfect road companion, especially when paired with the Japanese Porlex Mini coffee grinder. Because nothing says “fussy coffee” to your host like the sound of a ceramic burr buzzing at 7:30 in the morning. I bought the Porlex to replace a Hario Mini mill, partly because the stainless-steel Porlex looks awesome, but mostly because the metal mini grinder fits inside the AeroPress.

Ask anyone – your grinder is the most important part of your fussy coffee setup. Actually, don’t ask just anyone. Ask coffee nerd and The New Yorker contributor Matt Buchanan, who says this: “You’re going to spend more money on a grinder than the actual brewing gear. And that’s okay, because it’s the most important piece of coffee gear you’ll own.”
At home I use an electric grinder – I’m not an animal – but on the road it’s Porlex all the way. It’s quieter than the Hario (good when you get up as early as I do), it grinds more quickly and the construction keeps the center cone of the burr grinder more stable. The Hario’s burr floats and wobbles, resulting in an uneven grind. The Porlex is rock-solid.
But the best part is that it slips right inside the AeroPress’ plunger, making for a super-compact travel setup. You just need hot water and a cup (and take your coffee beans with you unless you want the most stressful trip like ever).
A recipe
That’s the gear. How do you use it? I use 18 grams of beans, bought from the best roaster in Leipzig, Peter at the Brühbar. I grind them pretty fine, just a little coarser than espresso. The texture between the fingers is like fine beach sand.

I flip the AeroPress upside-down (the “inverted” method), dump in the coffee and add a splash (around 20 grams) of just-boiled-but-not-boiling water, enough to make a dry paste with the grounds. I let this “bloom” and then top the water up to 150 grams (5.3 ounces). Yes, I do it on a scale (except when I’m traveling – then I eyeball the water, but as I always use the same recipe I know exactly where 150 grams reaches on the scale on the side of the AeroPress).
I stir for 15 seconds, then let it steep. Total brewing time is two minutes, with another quick stir at one minute. Then I attach the lid and the metal filter. Flip it and press. Cleanup involves popping the puck into the recycling and rinsing the lid and silicone plunger. The plunger has already wiped the inside of the tube clean as it plunged.
Wait, what? A metal filter? Yes. I use the Able Brewing disk instead of paper filters. It’s not for environmental purposes – those disks are so tiny I’d have to use them for a year to equal the waste of a single piece of junk mail. It’s the taste. And the convenience. A perforated disk is smaller than a wad of filters, and you can’t run out. That makes it better for travel. But it also filters out fewer particles than a paper filter. This makes the coffee less clean, but it’s also tastier, to my mind anyway.
And that’s it. A cheap portable setup for making amazing coffee anywhere. But be careful: Once you’re spoiled on AeroPress coffee, almost nothing else will be good enough.
 AeroPress by Aerobie ($30 list) AeroPress by Aerobie ($30 list)The good: The best coffee you’ve tasted, in the easiest-to-use device you’ve ever made it in. The bad: Smoked plastic makes it look like a 1970s joke. The verdict: If you like coffee, this will be the best $30 you can spend, short of buying a new grinder. Buy from Aerobie |


