Sure, you can use something like iPhoto to really dig in and edit your iPhone photos, but if you just want a simple, no frills simple edit or two–plus some nifty filters if you have an iPhone 5 and up–the built-in Photos app in iOS 7 is a pretty great choice. It’s easy to use, and you already own it.
We showed you how to apply the new iOS 7 filters in yesterday’s tip post, so let’s look at the other four options available to you: rotate, auto-enhance, red eye, and cropping.
Launch a photo you want to edit and tap Edit in the upper right-hand corner. That should drop you into white -on-black editing screen where you’ll see the five editing option icons along the bottom row.
To rotate your image, simply tap the rotation icon in the lower left. Each tap will rotate your image 90 degrees to the left, letting you fix those odd sideways photos that you might get.

Auto-enhance is the best one-tap fix for any photo, in my opinion, as it seems to balance the darks and lights, ups the contrast and brightness, and generally makes any crummy photo good. It can even, at times, make a good photo great, but don’t hold your breath for too long on that one. Tap the little icon that looks like a magic wand and your photo will show the little “Auto Enhance On” message. Tap it again, and the message–and all the pretty fixes–will be gone. Be sure to hit Save in the upper right when done.

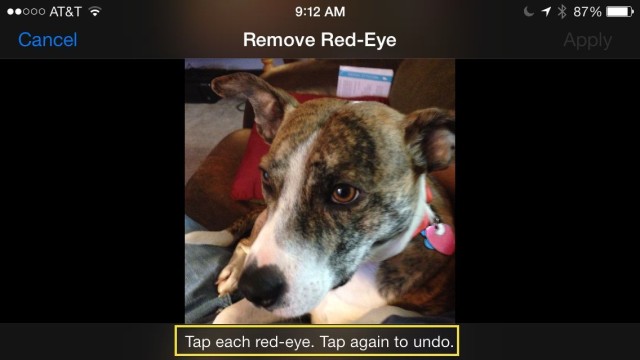
Red-Eye got you down? Well, all you need to do for a quick fix is to tap the little crossed-out eye icon under your photo in the editing screen and then tap on all the red eyes in the photo. Your iPhone will fix them right up. It can be useful to zoom in a bit before you start tapping on eyeballs, though; that screen is pretty tiny for precision work.

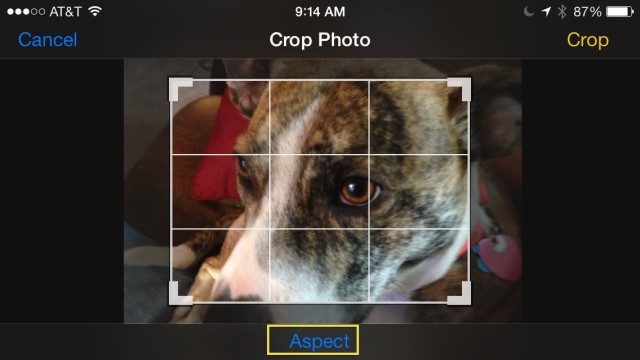
Finally, there’s the crop tool. Tap on the little icon to the far bottom right of your editing screen, and you’ll get an area bounded by drag handles that you can move to the left and right or up and down to crop your photo down, including grid lines to help you properly implement the rule of thirds. You can even constrain the crop to specific aspect ratios by tapping on the Aspect button at the bottom of the screen, choosing from square, 3 x 2, 3 x 5, and 4 x 3 ratios.
![How To Use The iOS 7 Photos App To Edit Right On Your iPhone [iOS Tips] IMG_1472](https://www.cultofmac.com/wp-content/uploads/2014/01/IMG_1472.jpg)

