One of the best things about using an iPhone to shoot your photos is the huge range of accessories you can buy to help out. But what if you’re on a budget? Or you just aren’t really into photography enough to spend more money? Or if you’re just bored today and feel like playing around?
Then you’re in the right place, because we’re about to take a look at DIY iPhone photo filters. And lenses. And other modifiers. And best of all, you probably have most of them around your home or office, ready for some instant procrastination. Let’s go!
History And Principles
First, lets take a look at the history of DIY mods. The most famous is Hollywood’s preferred way to make actresses look perfect (in the olden days at least): soft focus. Soft focus doesn’t mean “out of focus.” It means diffusion. Specifically, in Hollywood, it meant Vaseline. Cinematographers would smear vaseline over the lens to diffuse incoming light.
Because the front of the lens is so close to, well, the front of the lens, the Vaseline would remain blurred, so there’s be no trace of its texture in the photo. But it would diffuse any highlights, the same way that dirty spectacles diffuse light in the movie theater to drive you crazy.
So we see two things: One is that almost anything can be used to modify the light entering the lens, and the second is that if you get that modifier close enough to the lens itself, then its primary properties will disappear.
Soft Focus
Vaseline, as mentioned above, is a great way to get a dreamy atmosphere in your pictures. Just don’t smear it straight onto the lens. Instead, use a piece of glass or plastic, or even combine it with one of the other mods below.
Another old trick for soft focus is to stretch a woman’s stocking over the lens. And if you’re still skeptical that something can almost disappear just because it is close to the lens, try this experiment. Take an SLR (the lens on the iPhone is too small) and hold a pencil in front of it. Make sure that the aperture is at its widest setting, and take a look through the viewfinder. No pencil!
Macro Lenses

We have written about using the lenses inside CD and DVD players, or laser pointers, to fashion a cheap iPhone macro lens, but even that might be overkill.

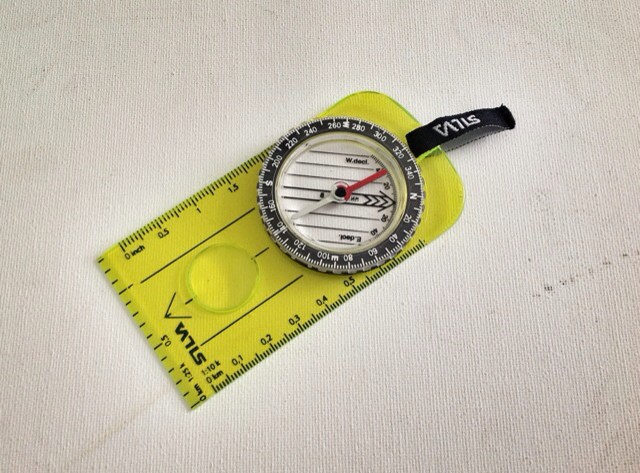
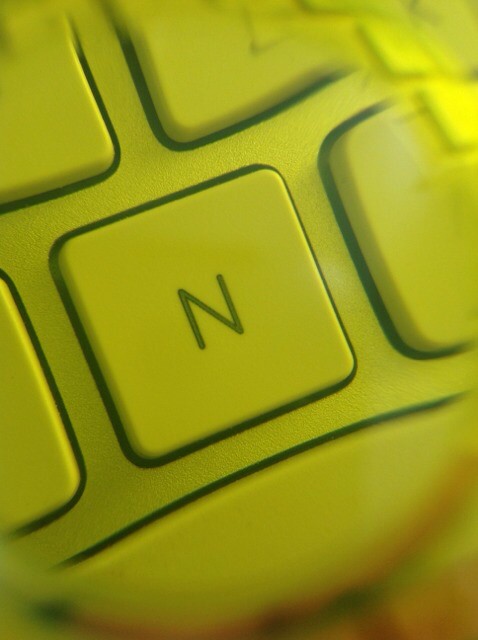
For instance, this picture is taken by holding the magnifying glass section from a magnetic compass over the lens of my iPad (all of these tricks work with the iPad as well as the iPhone, but sometimes actually reaching a button to snap the picture can be almost impossible). It has a green cast, which could easily be removed in post, but I quite like it.
The trick here is that, in order to get sharp focus, you need to change the distance between the iPhone and the lens, as well as the distance between the lens and subject. Experiment.
Places to look for macro lenses: rulers, kitchenware and – for the brave – drops of water.
Telephoto Lenses
This one is easy. Grab anything that already gives you a closeup and shoot through that. Binoculars work very well (here the tiny lens in the iPhone is an advantage, as it can peer through small spaces), as do telescopes. But you can also use camera lenses, and (if you have an expensive SLR with a big viewfinder) you can shoot through the camera itself.
For a great example of what can be done with an iPhone and a pair of binoculars, look at the work of Dan Chung, who used this exact setup to shoot the Olymics.
Colored Filters

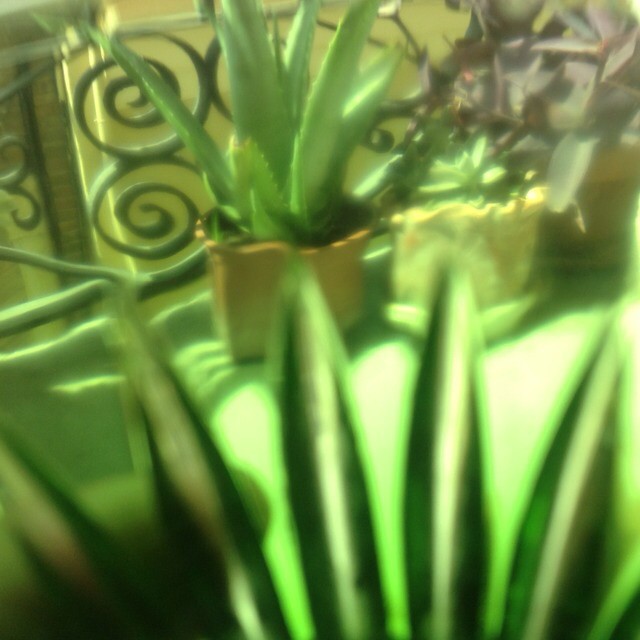
For colored filters you can use anything you like, as long as enough light can get through to make a picture. Flash gels are ideal if you have some, but candy wrappers also work great. As do 3-D glasses (the old kind), or colored drinking glasses, or, or… you get the point. Take a walk around the kitchen now and see what you can find. I found an old green wine glass at the back of a cupboard, although I can’t quite get the angle right to avoid the slashes cut into the sides.
Neutral Density
Sometimes there’s a little too much light for your little camera’s sensor. And the iPhone 4S, with its wide ƒ2.4 maximum aperture, is no exception. Sometimes you just need to cut out some light. The “proper” way is to use a neutral density filter, which does nothing but reduce brightness.
And what else reduces brightness? Yup, sunglasses. Hold your shades in front of the lens and you can shoot in bright sunlight. And as it’s unlikely that your sunnies are entirely “neutral” in color, you get the bonus of a nice color cast.
Mirrors
Believe it or not, mirrors are actually used in camera lenses. Mirror lenses – as they’re called – work a lot like a monocular in that they fold the light path in order to make telephoto lenses shorter. Unlike monoculars, which use prisms to reflect the light, they use mirrors in the center of the lens. This has a few results. One is the tell-tale donut-shaped highlights in the photos. Another is that there is no aperture control – you get a fixed aperture and it is usually small, at best ƒ8.
But mirrors can make great filters too, especially if they’re crappy, old, scratched or – in the case of the photo above – not even glass. This picture was snapped in the mirrored card cover of a book from my bookshelves, and then rotated 180˚ to put it upright.
Real Lenses
Finally, you can repurpose the lenses you use for other cameras as, uh, lenses for the iPhone. There are adapters available to do this, but then you might as well just use the camera the lens was meant for.
Instead, you can just hold the lens in front of the iPhone’s lens. Don’t worry about focussing – between the iPhone’s own autofocus and the back-and-forth movement of the lens, you can eyeball things pretty easily.
And another trick, which could also go in the macro section above, is to reverse the lens for macro shots. This is as easy as it sounds: put the front of the lens towards the iPhone, with the rear element facing the subject. Move in and out to focus.
This technique also works with “proper” cameras, and you can even buy reversing rings which allow you to mount the lens backwards on the camera using its filter thread. The only tricky part is that the rear element is exposed to the elements, so be careful there.
Experiment
And that’s it, for this guide at least. As you can see, if it reflects or transmits light, then you can use it to shoot photos.
And don’t forget that you can add further effects in software. In fact, combining live filters from apps like Instagram and Hueless with the live effects of real glass and plastic will give you some unique images that you’ll never get using digital alone.
The important thing is to experiment. Go raid the kitchen, the garage or the basement. You could even head to the thrift store or the dime store and pick up some junk there. Have fun.
![Shoot Incredible Photos On Your iPhone Or iPad Using DIY Filters [iOS Photography Guide] wpid-Photo-20082012-1252.jpg](https://www.cultofmac.com/wp-content/uploads/2012/08/wpid-Photo-20082012-1252.jpg)

