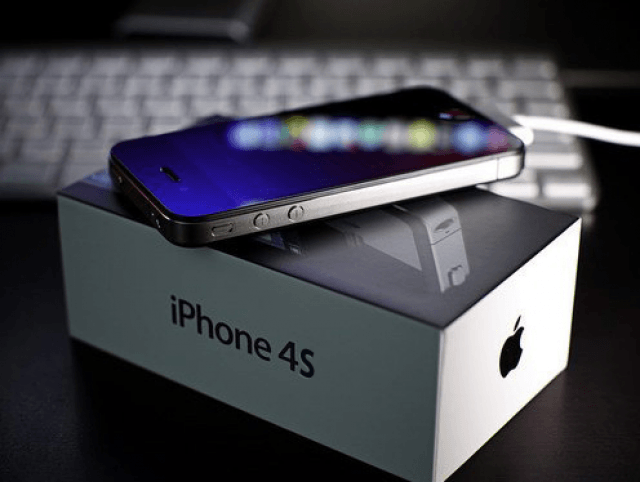
A number of Cult of Mac readers, and many more on Apple’s Discussion boards, have reported problems after trying to upgrade to iOS 5 on Wednesday. A good percentage of the time these updates go well, but they didn’t today. On Friday, we may see problems when people try to upgrade from an existing iPhone to a new iPhone 4S. Therefore, I’ll give you five troubleshooting tips that generally fix most, but not necessarily all iPhone, iPad, iPod touch (aka your iDevices) or iOS problems.
The following four procedures will work to solve a number of problems and it is recommended that you try them in the following order:
- If you are experiencing any issues with your iDevice the first thing to try is to restart or reset your iDevice by holding down the sleep and home buttons until the Apple logo appears. Once you see the logo release both buttons.
- If you are experiencing network issues then open the Settings app, then go to General -> Reset, and choose “Reset Network Settings” this will reset all your network settings to the factory defaults. If you had any Wi-Fi network passwords saved you will lose these and have to re-enter them the next time you connect to a one of the previously saved networks. If you are not experiencing network issues go to the next tip below.
- If you are still having problems then open the Settings App , then to go General -> Reset, and choose “Reset All Settings” (note: this will not erase your apps, media, or other data — that’ what the “Erase All Content and Settings just below this option will do). “Reset All Settings” just restores the factory default Settings preferences that you might have customized (i.e. your ringtone, etc.).
- Finally if none of the first three troubleshooting tips work you can restore your iDevice by plugging it into a computer running iTunes. It is recommended that before proceeding that you allow your iDevice to sync and perform a backup in iTunes before continuing. Once you’ve confirmed that you have a good back up then in iTunes, locate and click the Restore button under the Summary tab for your iDevice. Restoring the phone will erase contacts, calendars, photos, and other data on the phone, but will restore automatically backed-up information including text messages, notes, call history, contact favorites, sound settings, widget settings, etc.
The first three troubleshooting options generally resolve most iDevice and iOS problems. The fourth option is fairly drastic and is considered to be a catchall. These options have been used to resolve network connectivity issues, problems with bluetooth devices, proximity sensor issues, and a bevy of other reported problems with iDevices and iOS.
If none of these solutions work and your iDevice won’t boot, it seems frozen or caught in an endless loop then you can try one more thing the fifth and last troubleshooting option I’m going to offer you. Simply place your iDevice into DFU mode:
Start by launching iTunes and plugging your iDevice into a USB port on your computer. Now grab your iDevice and press the power button (aka the sleep/wake button) and the Home button until you see the Apple logo. Release the power button, but continue to hold the home button. This part may take about 10-20 seconds until your computer recognizes the attached iDevice and you see the iTunes logo on the iDevice.
If none of these work for you then you might consider following the Apple iPhone Troubleshooting Assistant before calling AppleCare or visiting the local Genius Bar.
Tell us about your iOS 5 or iDevice upgrade problems or solutions in the comments.


